Test – Cooler Master Hyper 612 v2: Specs | Price | CPU | Profitability| Hashrate| best Coins | Config | Advantage (Pros) and Disadvantages (Cons) and other important features that will help you make better decision.
I finished the busy week in testing Cooler Master products with another product from them, the Hyper 612 v2! Under this name hides a cooler with more than generous dimensions designed for silence while not sacrificing performance, the price is also an argument in favor of the Hyper 612 v2 because it is available at 40.90 €, the same price as its first big brother of the name. The Hyper series has always had an excellent performance / price ratio because the coolers are no frills and focus on the essentials, cooling, let’s see what the Hyper 612 v2 has in store for us.
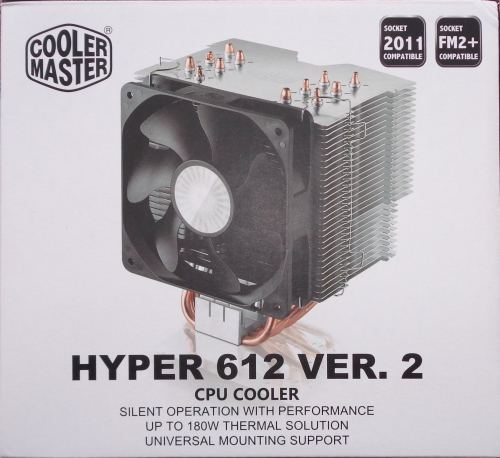
The box of the Cooler Master Hyper 612 v2 is very sober, there is a profile photo of the product on a white background, the brand logo, the name of the model as well as a special mention on the compatibility with the 2011 socket and FM2 + .
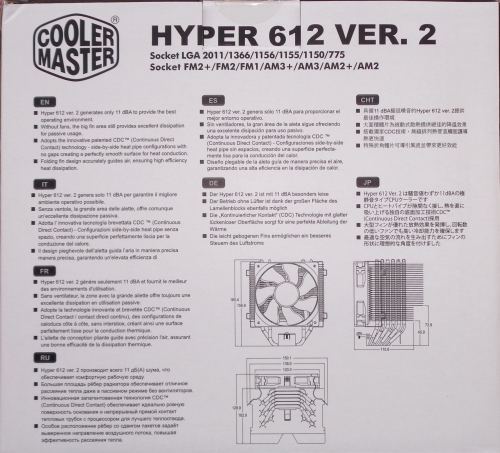
At the back a listing of the main advantages of the cooler, silence, operation in passive use etc. .. and this in 8 different languages! A diagram showing the dimensions of the beast with precision is also available, as well as the list of compatible sockets.
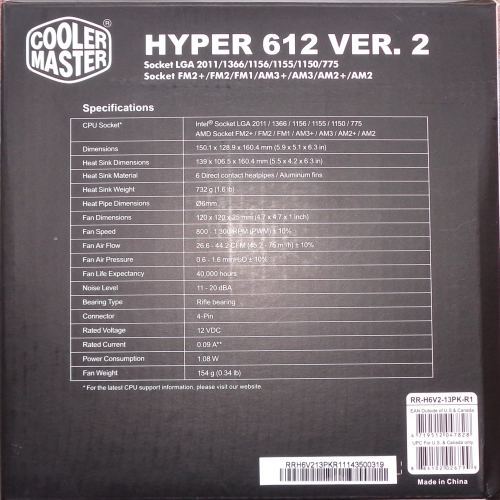
On the sides you can see the technical characteristics, weight, size, MTBF dimensions etc … nothing is missing!
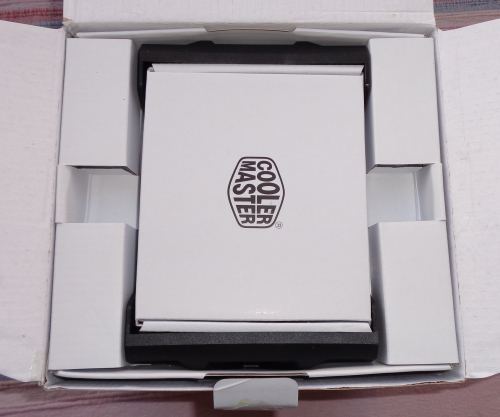
When opening the box, we find the small box of accessories with the Cooler Master logo printed on it, in case we have forgotten 😀 The 2 pieces of black plastic serve as quick couplers for the fan, we will see that below!
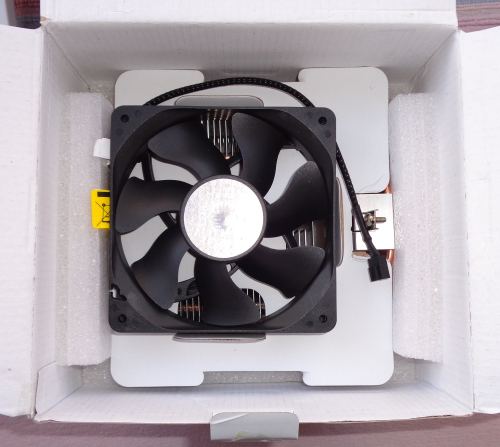
Under the first compartment is another compartment with the fan.
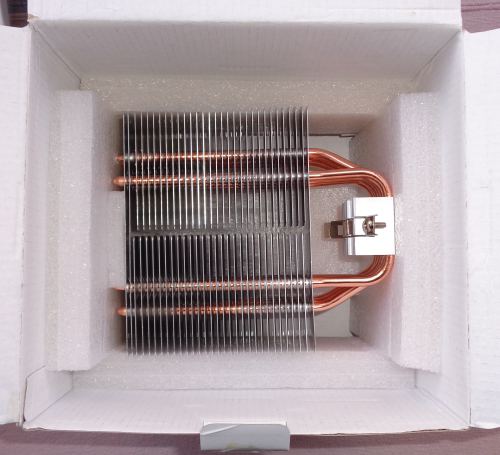
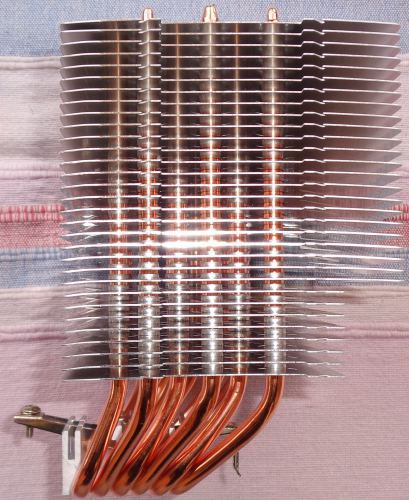
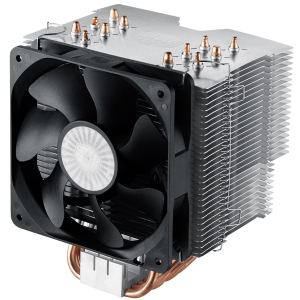
Here is finally the radiator! 1 piece of foam on each side and 1 below the protections are very sufficient to deal with the vagaries of transport, you never know what can happen!
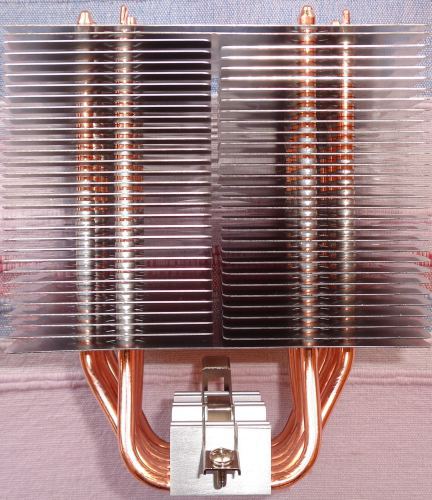
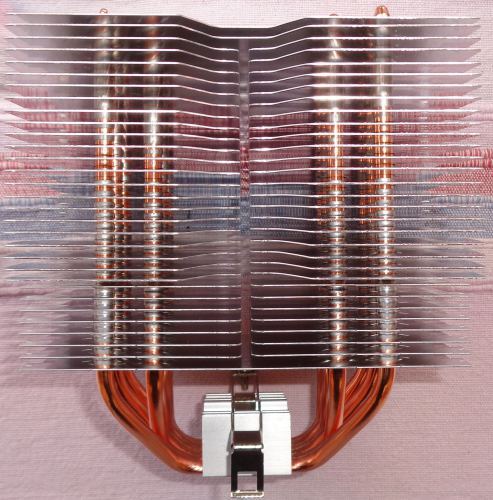
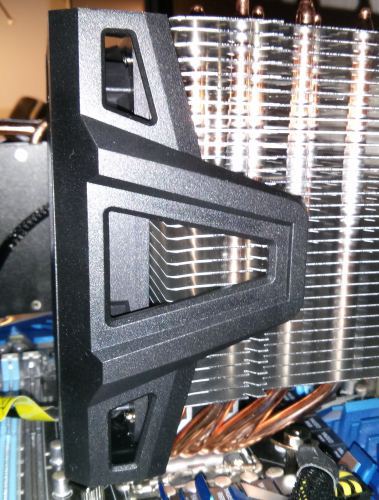
The radiator is composed of 31 stages, the first 2 fins cover the entire width while the others are separated by the middle, as we can see they are not at the same level and do not have the same inclination, see instead:
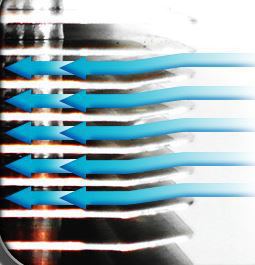
The inclination will aim to guide the air flow for better performance.
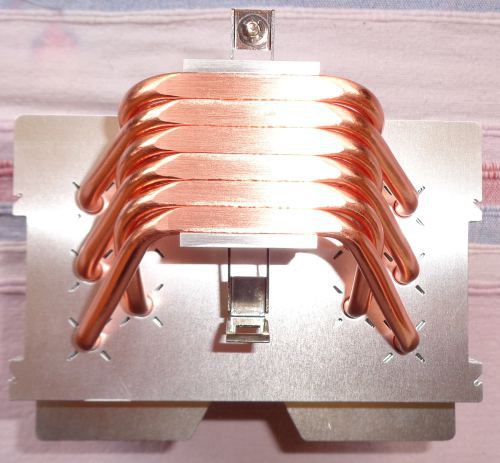
On peut voir que le Hyper 612 v2 est asymétrique, en effet dans un soucis de compatibilité mémoire le tout est déporté vers l’arrière de la carte mère (dans le cas d’une installation sur un socket Intel). Les 8 ailettes du bas et toujours du côté de l’arrière de la carte mère ont été rabotées afin d’accueillir des barrettes mémoire avec un grand dissipateur dans le cas de l’utilisation avec un socket 2011 qui dispose de mémoires des deux côtés.

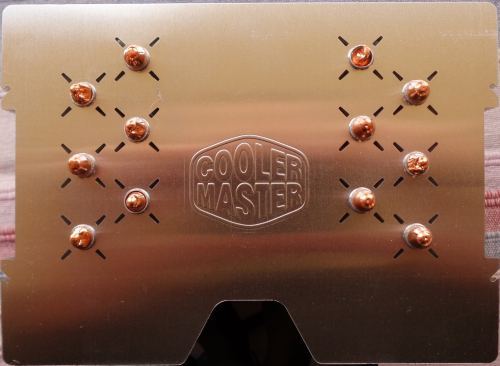
The base is made up of 6 6mm thick copper heat pipes all glued to each other and in direct contact with the processor, Cooler Master has even registered a name for this technology, the “Continuous Direct Contact”! The build quality is very good even if it does not have a high-end finish (nickel-plated heat pipes, contact surface with mirror effect, etc.) which is quite normal at this price.
The top fin features the Cooler Master logo, we can see that the dissipation surface is more than substantial!
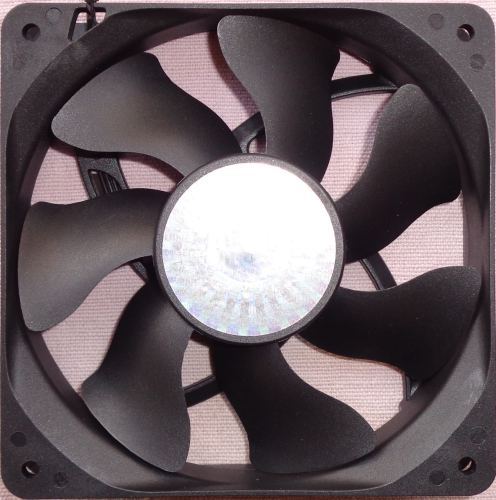
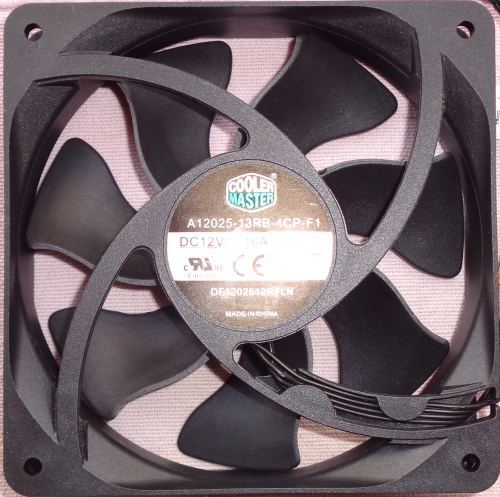
The 12cm fan has 7 blades, the build quality is good here even if the plastic used does not seem to be very upscale, however this will have no impact! The fan is a DF1202512RFLN given for a rotation speed ranging from 800RPM (we will see that it goes much lower) to 1300RPM for a consumption of 1.92 Watt.
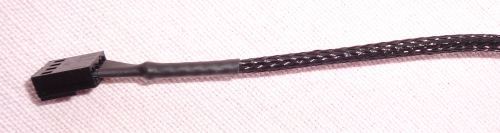
Even though the Hyper 612 v2 was built to get down to the basics, Cooler Master still took the trouble to wrap the fan cable in black, which is always a good idea!
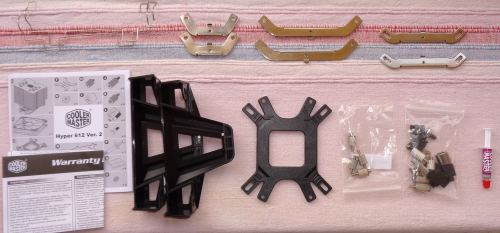
The bundle consists of:
- 1 Hyper 612 v2!
- 2 metal fastener for the fan
- 2 plastic quick couplers for the fan
- The different fixing bars for the different sockets
- 1 plastic back mounting plate
- 1 tube of thermal paste
- 4 anti-vibration rubber pads for the fan
- The necessary screws
- 1 installation manual
- 1 warranty leaflet
Cooler Master offers here everything you need to install the Hyper 612 v2 without any problem, there will be everything you need without going into unnecessary accessories!
Specification: Cooler Master Hyper 612 v2
| Cooler Master Hyper 612 v2 | |
|---|---|
| Sockets | Intel: LGA 775 / 1150 / 1155 / 1156 / 1366 / 2011 / 2011-3 AMD: AM2(+) / AM3 (+) / FM1 / FM2 (+) |
| Weight (With fan) | 732 g |
| Dimensions (With fan) | 160.4 (H) x 150.1 (L) x 128.9 (P) mm |
| Dimensions (Without fan) | 160.4 (H) x 139 (L) x 102 (P) mm |
| Number of heat pipes | 6 |
| Fan supplied | 1 |
| Maximum number of fans | 2 |
| Guarantee | 2 years |
| Price | 40.90€ TTC |
| Fan | |
| Fan dimensions | 120 x 120 x 25 mm |
| Connectivity | 4-pin PWM |
| Type of bearing | Rifle bearing |
| Rotation speed | 800 ~ 1300 RPM |
| Consumption | 1.92 Watt |
| Sound level in dB | 11 -> 20 dB |
| Flux d’air | 26.6 -> 44.2 CFM |
| Weight | 154 g |
| MTBF | 40,000 hours at 40 ° |
As we can see the dimensions of the Cooler Master Hyper 612 v2 are rather huge for a cooler composed of a single tower, with 16cm high, 15cm wide and 13cm deep with the fan installed, it does not fit in the lace. ! Its weight of 732g on the other hand is rather contained (we are far from the 1.3kg of the Noctua NH-D15 for example) and it should therefore not put too much strain on the poor motherboard. As we saw above the number of heat pipes is 6 (6mm in diameter) in direct contact with the processor to ensure maximum cooling, it will be possible to install a fan at the back if space and desire allow it.
The 12cm fan will turn at a maximum of 1300RPM for a noise ranging from 11dB to 20dB at the maximum, the consumption will not exceed 1.92 watts. The MTBF is announced at 40,000 hours (ie 4.5 years in continuous use).
Offered at a recommended price of € 40.90 incl. Tax, the Cooler Master Hyper612 v2 is in the mid-range and should be an excellent choice if performance follows, we will see this during the tests!
Let’s talk little, let’s talk well, it’s all well and good to admire the beast but as much as it is necessary to install it, let’s go!
First of all you have to prepare the back plate that will accommodate the beast, unpack all the screws and there are the square head screws and plastic clips:
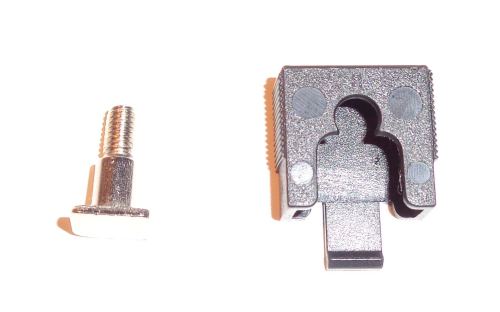
Once found, just take the back plate, put the square screw in the hole and place the plastic clips, 3 notches are available depending on the socket used, 1156 in my case so the middle notch, like this:
Once the operation is done, we place the plate under the motherboard and we end up with this:
We screw the metal spacers on the back plate screws:
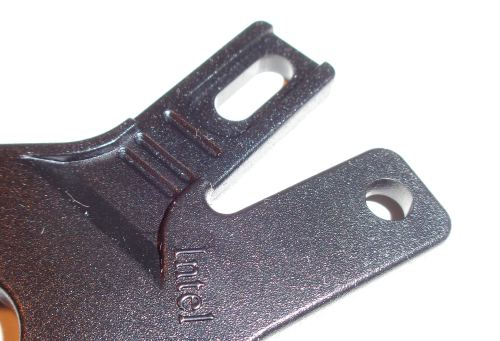
Once all this is done we place the 2 fixing bars on the spacers, 2 placements are possible, fan towards the top of the box or towards the back of the box:
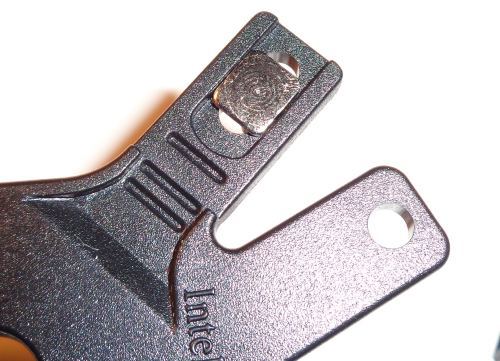
Then screw the nuts on the fixing bars with the tool provided in order to secure everything together:
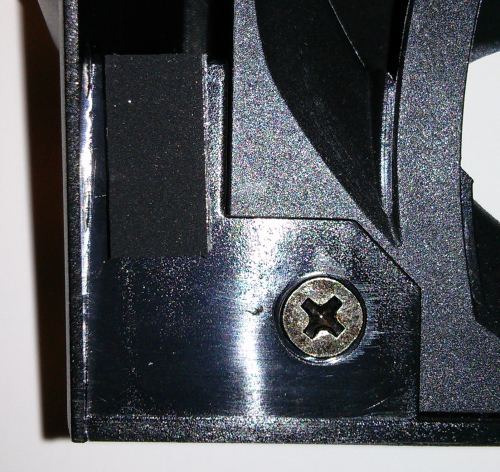
Another spacer to screw into the middle hole of the fixing bar closest to the memory modules which will be used to screw the radiator, and we apply a grain of thermal paste rice:
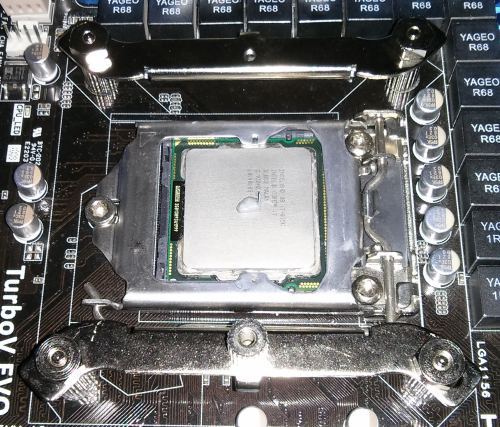
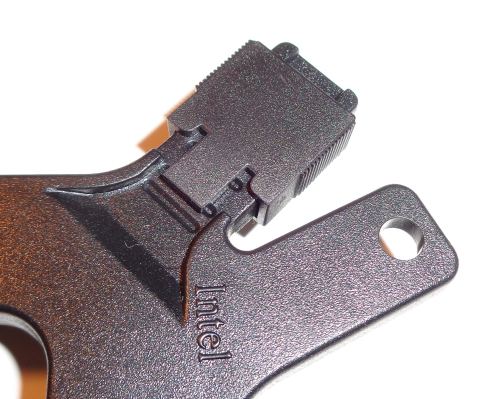
Then you have to put the radiator (without fan!) On the processor making sure that the fastener on the side opposite the memory is well fixed at the level of the bar, and we screw!
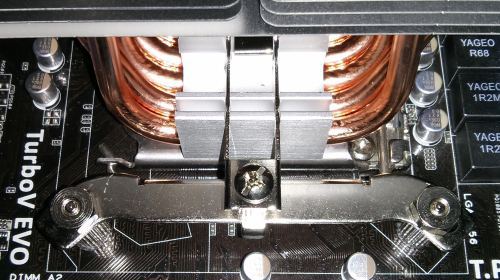
The radiator is now ready for use! All you need to do now is prepare the fan 🙂
There are 2 methods for this, either with metal clips like 99% of the coolers on the market or with plastic “quick clips”, this is the method I will use describe yourself below, let’s go!
You have to take the 2 pieces of plastic and put the fan in the middle and screw it with the 4 screws provided, like this:
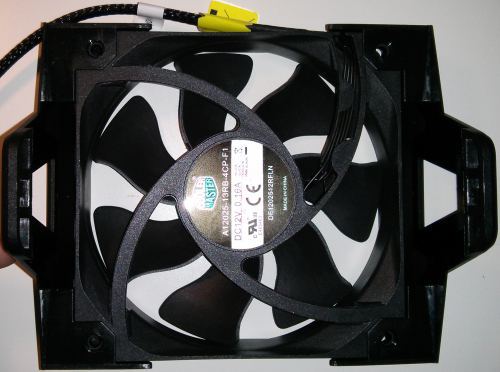
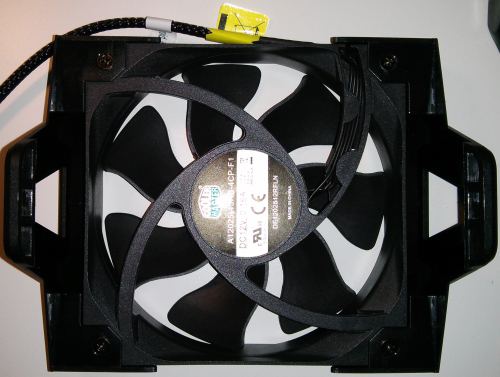
It is not finished! Cooler Master had the good idea to provide 4 anti-vibration pads, to install them you have to put them next to the screws, like this:

The end of the tunnel is there, you just have to place everything on the cooler and voila, the Hyper 612 v2 is ready to do battle!
Memory / PCie compatibility
The question that arises every time when buying a cooler, especially if it is obviously overweight like our little Cooler Master Hyper 612 v2, let’s see what it looks like!
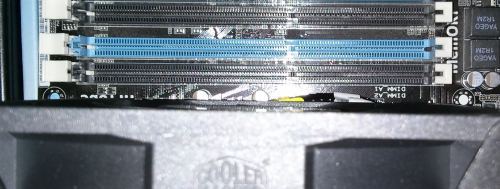
In terms of memory, everything is fine, it will be possible to install all the memories on the market, no incompatibility! Now go to the first PCIe port glued to the socket:
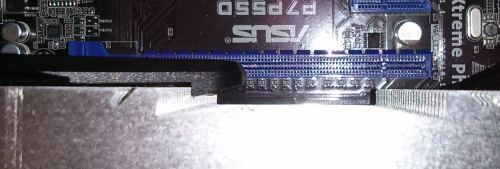
Niet! If the motherboard has a PCIe 16x port glued to the socket, it will unfortunately not be possible to install a graphics card (even with the metal clips instead of the plastic clips).
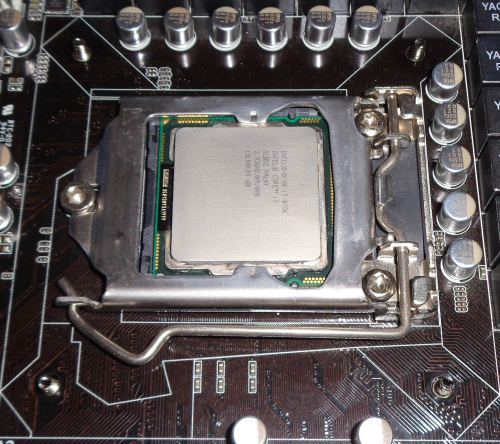
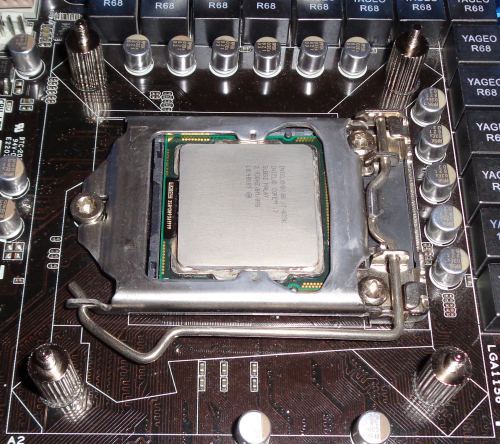
The test platform
The Cooler Master Hyper 612 v2 has been tested on the configuration below:
- Processor : Intel Core i7 875K @ 3.2 Ghz
- Motherboard : Asus P7P55D
- Mémoire: Kingston HyperX 4 x 2 Go 1600Mhz
- Disque dur: WD Raptor 150 Go
- Graphics card : Sapphire Toxic 5850
- Power supply : Seasonic X650
The test protocol
The core i7 875K has been slightly overclocked to 3.2Ghz. The temperatures under load are an average of all the cores for 3 tests of 30 minutes on OCCT, the temperatures at rest were taken after 15mins on the desk (still an average of the 4 cores). All the tests will be done with the 5V, 12V and PWM fan managed by the motherboard.
The cooler has been tested against:
- be quiet! Dark Rock 3 (tested here)
- be quiet! Dark Rock Pro 3 (tested here)
- be quiet! Pure Rock (tested here)
- Noctua NH-U14S (tested here)
- Noctua NH-U12S (tested here)
- Scythe Mugen 4 PCGH (tested here)
- Noctua NH-D15 (tested here)
- Thermalright HR01 + 1 Nexus real silent 120 fan (tested here)
The temperatures
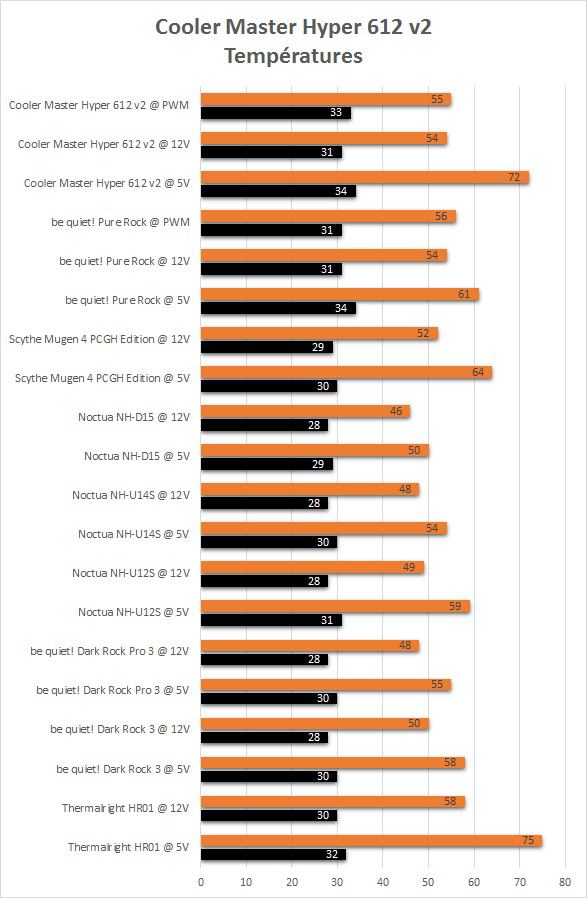
As we can see the temperatures of the processor equipped with the Cooler Master Hyper 612 v2 are rather good in 12V or PWM, on the other hand in 5V we feel that the big baby is having trouble! This is quite normal when we see that in 5V the fan barely turns at 300RPM and therefore only passes a tiny flow of air through the cooler, despite everything the processor remains within acceptable temperatures!
In 12V and in PWM mode the temperatures are very close with respectively 54 ° and 55 °, we are not in the top of the ranking here but the core i7 875K is very well contained. Something tells me that given the size of the machine and the results the noise pollution should be excellent, with a fan running faster the results would also be much better, let’s see that right now!
PS: I did not test the passive mode, in 5V the temperatures were already rather high, the Hyper 612 v2 will certainly be able to cool a passive processor as long as the TDP of the latter does not exceed 65 Watts (estimate) , such as a Core i3 or a Pentium G.
Noise pollution
Warning: Part to be taken with a grain of salt, unfortunately not having access to the appropriate equipment and using an android application to take the readings The measurements below are only indicative! The readings were taken 15cm from the cooler.
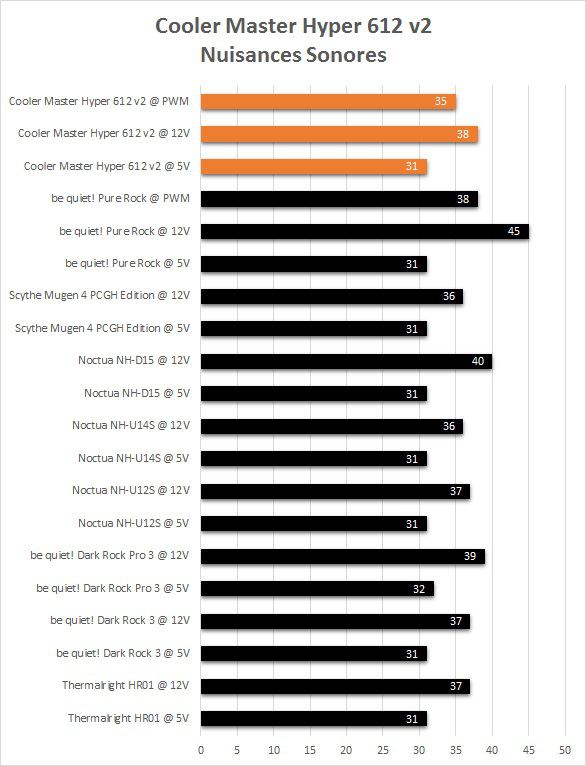
It is really the full box for the Cooler Master Hyper 612 v2 in terms of noise pollution, as we could very well have become in 5V and at 300RPM the fan is simply inaudible, even the glued ear. Once supplied with 12V the fan only rises to 38dB which is really excellent and the noise of the latter will most certainly be drowned out by the noise of the other components of the PC once in charge. The most interesting as usual is the PWM mode which displays only 35dB, it is really very little audible at 15cm in the open air so as much to say that in a box it will be forgotten!
To summarize, the results in terms of noise pollution are excellent compared to the temperatures recorded!
Here we are at the end of this test, what to say about the Cooler Master Nepton Hyper 612 v2?
Cooler Master offers us here a cooler that goes straight to the point, the manufacturing quality is very good and without frills in order to keep the costs as low as possible, the performances are really very good compared to the noise pollution noted, the memory compatibility is total and it is compatible with all sockets on the market (even the dying socket 775).
Speaking of socket, a little more and which is not the least is the presence of 2 fixing bars which will make the orientation of the cooler towards the back of the case possible on AMD socket, unlike many of its competitors. The only small complaint that could be blamed (nobody is perfect!) Is the blocking of the first PCIe 16X port if it is stuck to the socket!
Offered at a price of around 40.90 €, the Cooler Master Hyper 62 v2 is very well placed, both in terms of performance and above all noise pollution which is really excellent! Maybe the cooler for your next gamer setup? It is clearly made to please your ears!
Advantages
- Silence
- Price
- Memory compatibility
- Performance / silence / price ratio
Disadvantages
- First 16x PCIE port doomed
A big thank you to Vincent from Cooler Master who allowed me to do this test.
Where to find the Cooler Master Hyper 612 v2?
Related posts:
 7-nanometer Nvidia GPU, TSMC will handle most of the production
  ASRock X299, a new BIOS allows you to install 2 TB of memory
  MSI Prestige X570 Creation Review: Test | Specs | Hashrate
  Radeon RX 5500 XT, PCI Express 3.0 castrates performance?
  An overclocker ran 1TB of RAM on an X299 motherboard limited to 256GB
  Best Review 2021: MSI MPG X570 Gaming Edge WiFi Under $250 ($200)