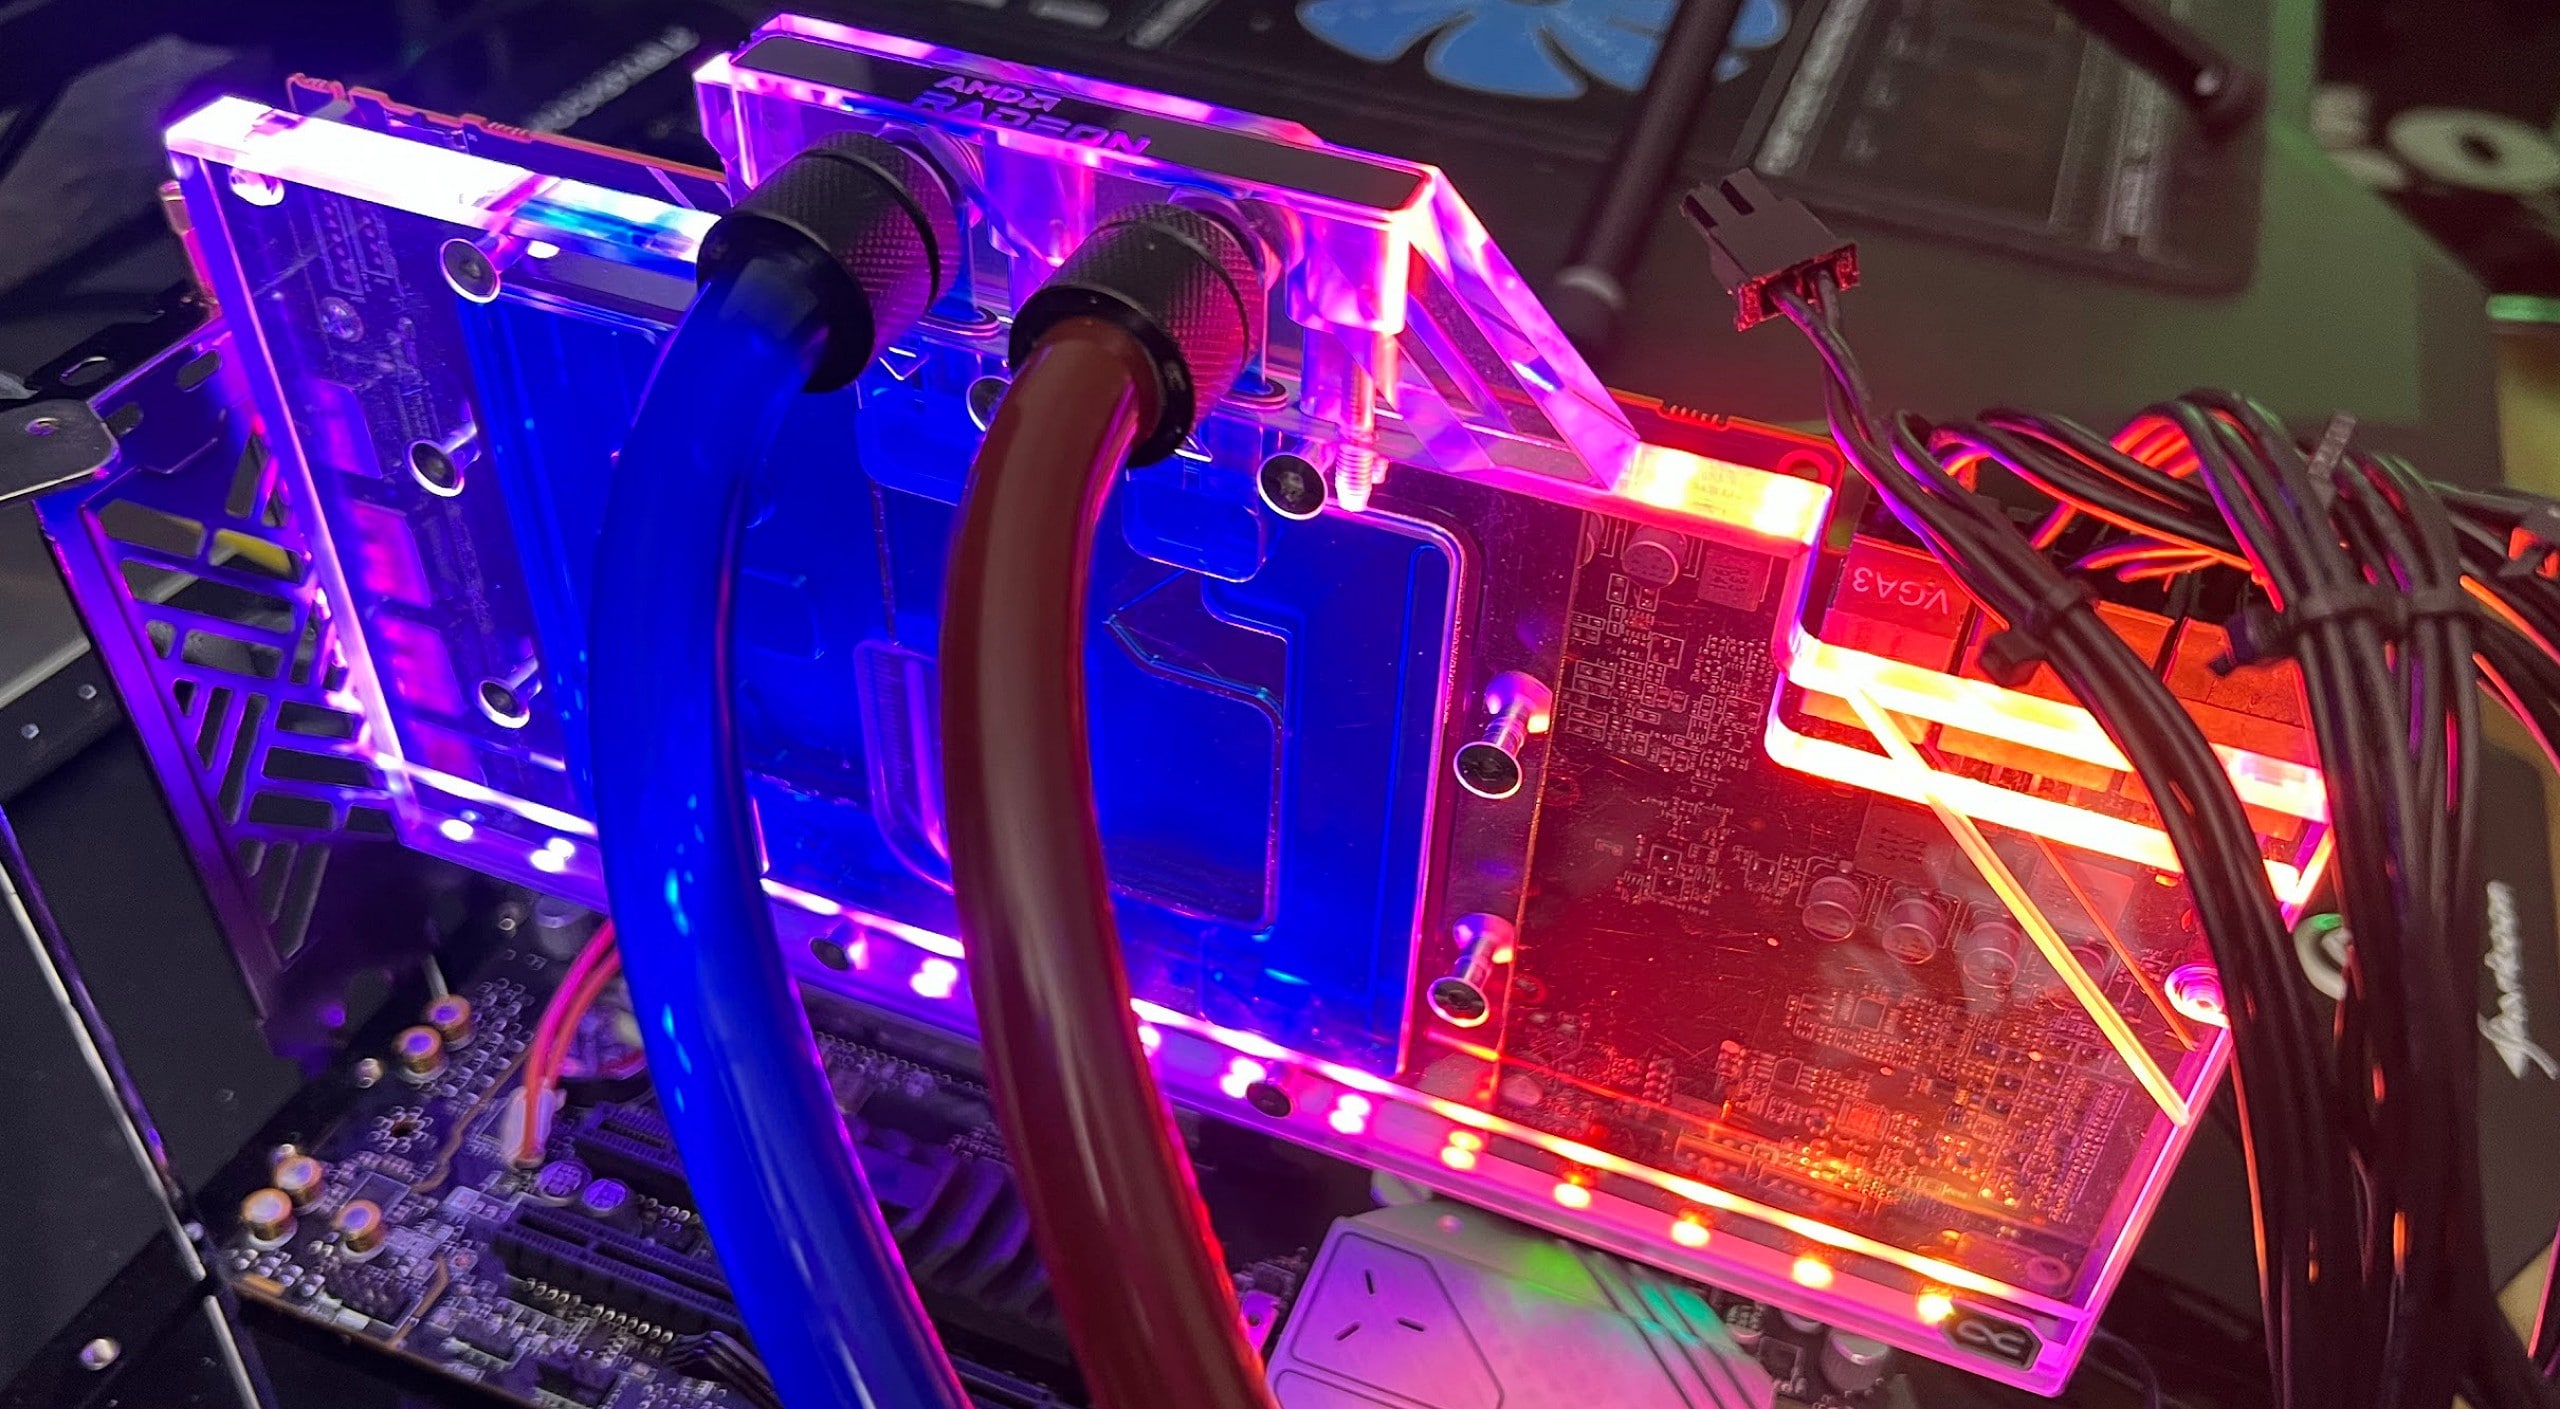
Corsair Hydro Series XG7 RGB water block for the reference design of the NVIDIA GeForce RTX 3080 and RTX 3090 in the test
As a second water block, I tested a Corsair product for NVIDIA’s large ampere cards with the Hydro Series XG7 RGB. Interestingly, the interest of most manufacturers in detailed tests is now rather restrained, because the comparison series of the RTX 2080 Ti has shown very clearly that RGB and bling-bling do not help with cooling and that some supposed top dogs make unexpected cooling deficits instead. Then the supposedly free PR quickly turns into a little smack through such a test.
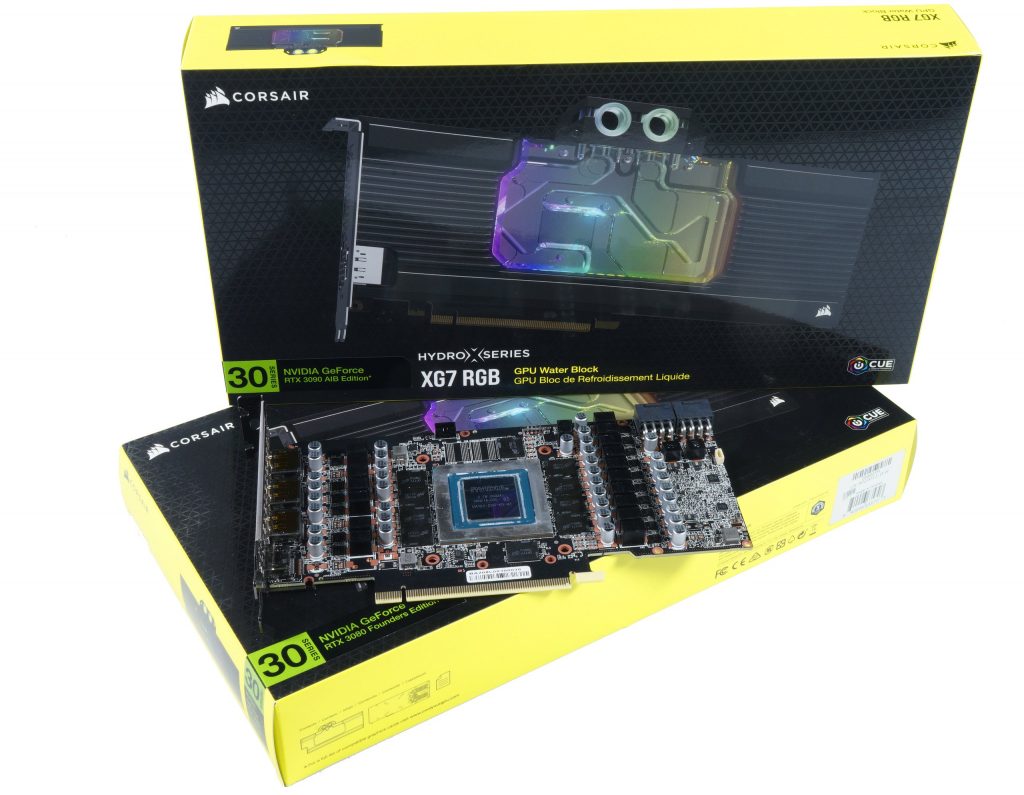
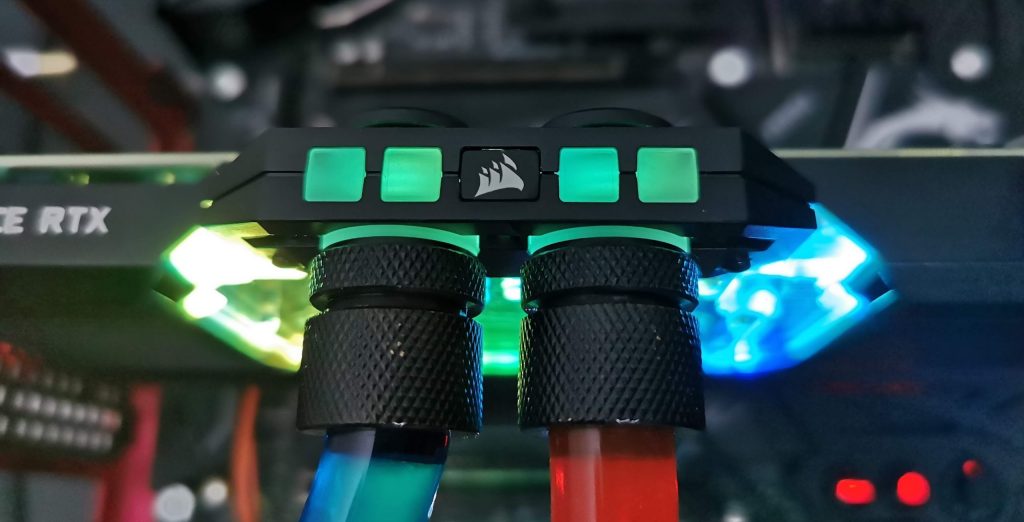
But back to the XG7 RGB. After the terminal problem with the RTX 2080 Ti, Corsair has at least recognized this problem and has also elegantly solved it, so much in advance, because the water spraying out is no longer an issue, not even at over 200 l / h. From a purely visual point of view, the familiar design was left, which shouldn’t be rated negatively. And otherwise? Let’s unpack the part first! Incidentally, in the picture we see the block for the reference design and the one for the Founders Edition, which are fundamentally different. Here you really have to be careful what you order.

Scope of delivery and unboxing
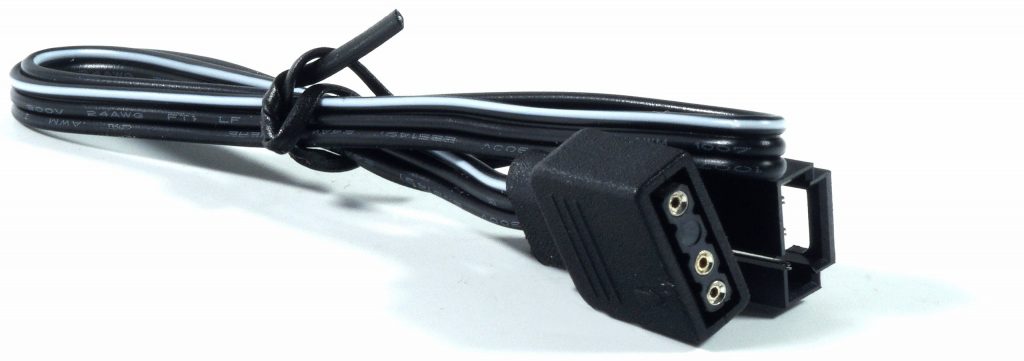
The manufacturer has fundamentally revised the inside of the cooler compared to its predecessors. You can also see this in the accessories, because in addition to the completely pre-assembled block with the firmly screwed-on terminal, the already applied thermal paste, the 1 mm thermal conductive pads and the backplate, you also get a few screws, 2 plugs, and a small tool to tighten them Plug, an aRGB adapter and the small manual. You don’t need more.
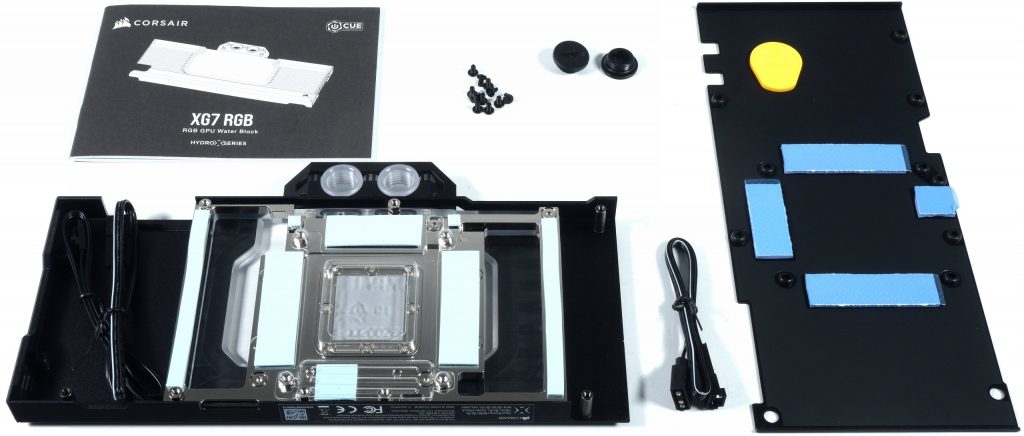
Which finally brings us to the water block. We already know the blackened aluminum cover with the well-known groove design and the Plexi insert over the cooling block. The terminal is completely new, made of acrylic and this time it is finally attached with three screws. The missing screw in the middle caused big problems with the block of the RTX 2080 Ti at the time. This is finally history. But here too, Corsair has optically incorporated the memory bar into the design and adapted the look to the Dominator products.
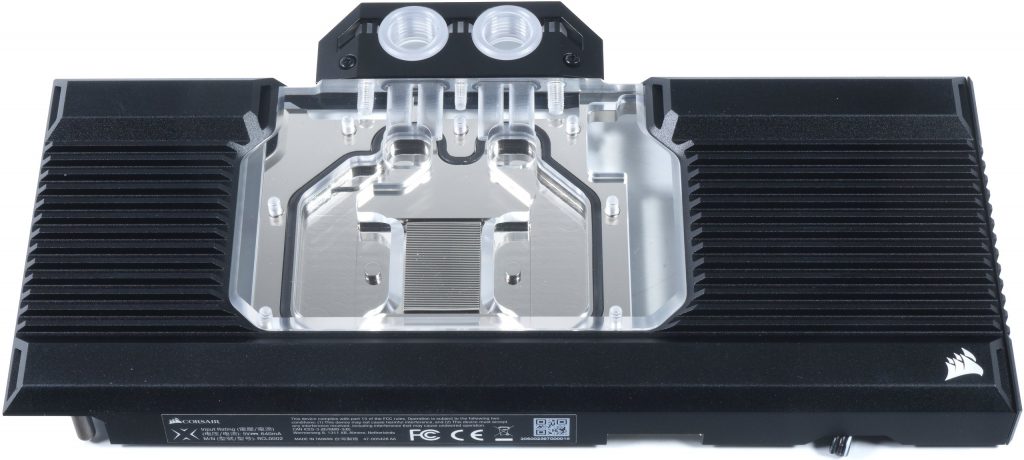
As usual, the aRGB-Stripe is embedded in the floor under the acrylic, the rest of the illumination is then done by the plastic up to the terminal.
The threads are cut relatively cleanly and the first impression of a thoroughly exact implementation is reinforced here as well. Accuracy and clean edges, a neat surface and barely visible tool marks are definitely not a reason for any criticism, on the contrary. You can even praise it once. But I have to write a few more words about the copper block itself.

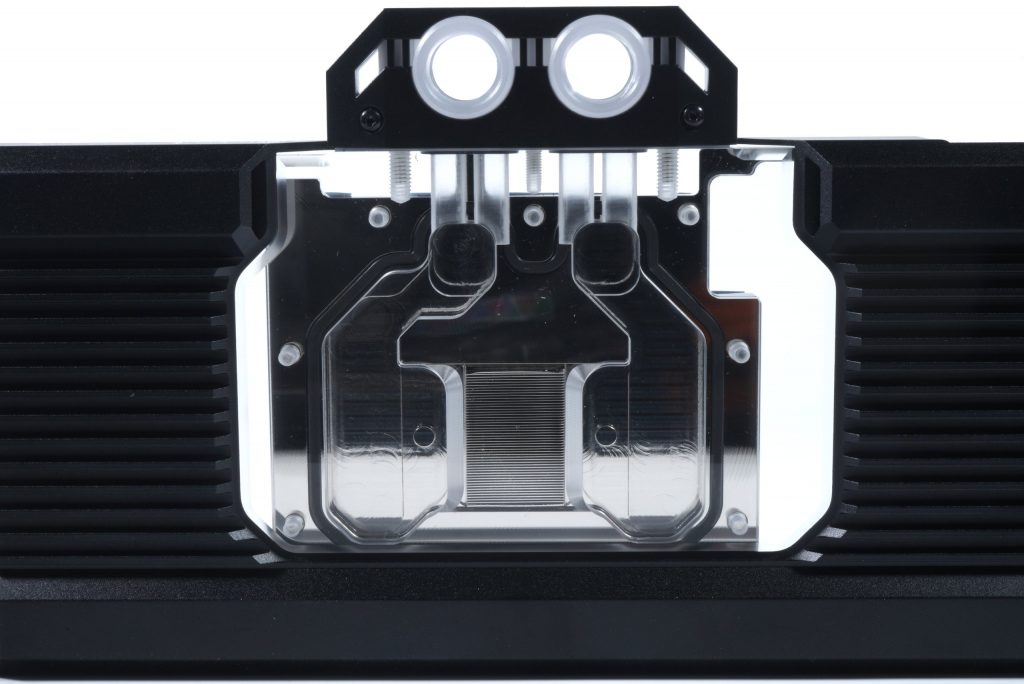
Let’s look at the cooling block from the front to see the water cycle. In principle, only one, even relatively small chamber is used here, which only actively covers the GPU and the memory with the water flow. The inlet is on the left, the outlet on the right and both sides are connected in the middle to the embedded GPU block, whose cut fins also have cross channels. Out of curiosity, I once switched the inlet and outlet and the cooling result was the same. It’s almost symmetrical. The cooler does not reduce the flow rate as extremely as the Alphacool cooler we have already tested, but this (supposed) advantage is also based on a significant disadvantage, as we will see later.
If we look at the cooling block from behind, the trained eye immediately sees the accepted deficits in the external cooling of the voltage converters. Here the cut-out copper is the only heat conductor up to the part of the block that is actively cooled with water! You don’t have to be a prophet to be able to estimate the temperatures of the voltage converters that Corsair considers so neglected. Because this is more of a cooling frame than a real cooling block. The reason can be found in the so-called reference design, which allows manufacturers to use flat SMD or tall can capacitors. Now you can split the block (like Alphacool) or use thicker copper or, like Corsair, simply make a recess. It’s not nice, but it works too.
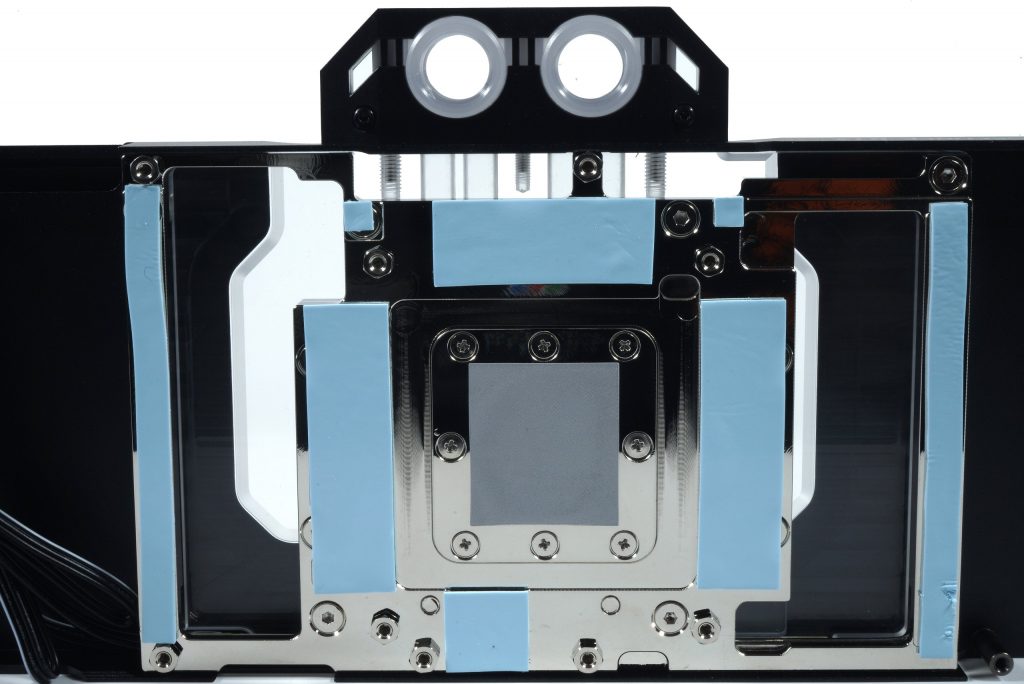
The reasons are relatively clear, because you simply save on copper. In order not to have to work with split copper blocks or even with a thicker starting material, as with Alphacool, all so-called leave-out areas are simply cut out completely from the copper. Hence the large cutouts for the areas above the coils. This also simplifies the production and shortens the production time enormously if you do not have to remove material precisely and over a large area in several levels.
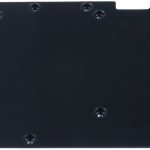
In the middle we also see the block with the cooling fins as a separately inserted part. Since you need a lot more height, but the block hardly gives this due to its small thickness, you simply cut the whole thing up. It’s simple and very effective, but it also has disadvantages. But more on that in a moment. The backplate is quite thin, but optically fits in well with the overall picture. The already applied pads on the back are intended for double-sided equipping of the GeForce RTX 3090, but with an RTX 3080 they are absolutely ineffective due to the lack of strength because they do not allow any contact with the PCB.
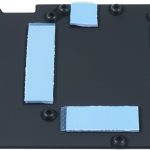
The cooling effect is almost zero with an RTX 3080, so I didn’t have to take it into account in the measurements. If you would like to make improvements here and should also do the same in the area of voltage converters, you need ultra-soft 3 mm pads. One more word about the adapter, because you can use the aRGB control of any suitable motherboard that does not have a special Corsair header.
Selection of the test card and general problems when using the GA102
The requirements are similar to Turing, even if this time I decided on a 340 watt setup and a very special GeForce RTX 3080, because it was almost impossible to find an RTX 3090 in the reference design especially for these cooler tests and also to get a card that is in the middle of the tolerance range for the package heights. There will have to be an extra review in due course, but in fairness I would like to wait for NVIDIA to answer.
If you have cleaned the PCB as usual, you should first test it with the thermal pads attached to the cooler, but WITHOUT thermal paste, by putting it on and checking whether something is tilting or there is not too much air between the circuit board and spacers. If the distance is greater than approx. 0.2 mm, you will have a problem with screwing because it could bend the board excessively. For such a case, I recommend 0.1 to 0.2 mm thick spacers made of acrylic or impregnated hard cardboard.
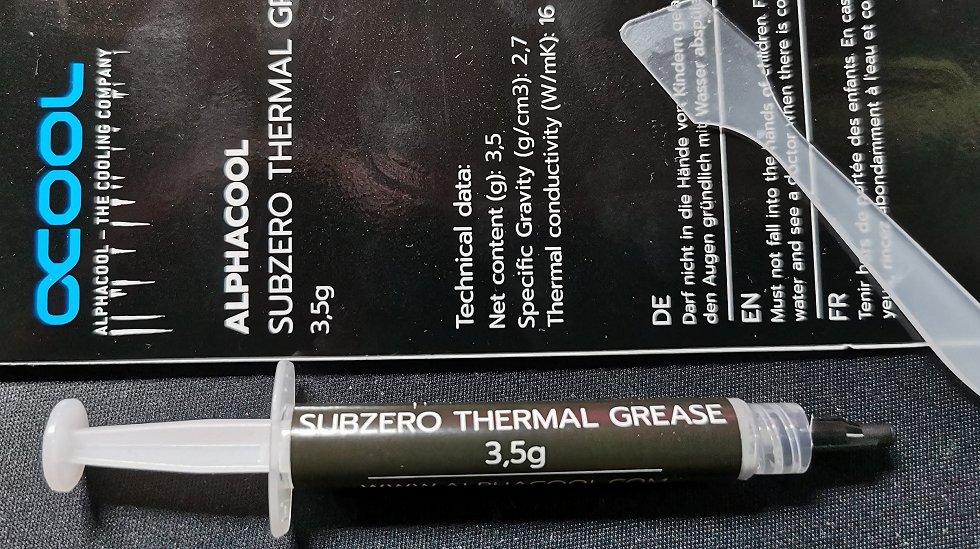
I also have an important word to say about thermal paste, because this time it’s not that easy. Either you take a popular, very thin paste and risk that the paste will slowly run out or run away through the curvature of the chip and package, or you are better off using an at least equivalent, but more viscous paste that then stays where it is they were applied. For this reason, I rely on Alphacool’s Subzero for the counter test, which also enabled me to add another Kelvin less in the delta between water and GPU sensor.
Then you screw the whole thing together, connect the hoses and you’re done. The assembly of the already mouth-ready presented block is really no rocket science, so I will forego further details here. But the whole thing is beautifully colorful, you have to admit that without envy.

- 1 – introduction, functionality, assembly
- 2 – test results and conclusion
Related posts:
 Aqua Computer Kryographics Next for the GeForce RTX 3080 and RTX 3090 in the reference design – Solid GPU water block in the test
 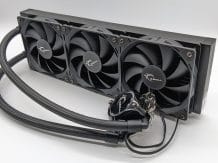 G.Skill ENKI 360 All-in-One compact water cooling in the test – first attempt successful, but with weaknesses
 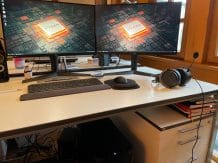 Office and gaming in one? We are building a work
 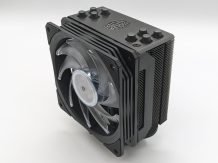 Cooler Master Hyper 212 RGB Black Edition – Tried and tested in a new look
 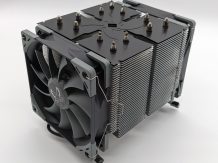 Scythe Ninja 5 in the test – cooling colossus with space problems
  Scythe Mugen 5 ARGB Plus in the test – Colorful all-rounder in many variants