


How to Blur a Face in a Video with Camtasia Studio -Pro Level
–
On some occasions when a video is recorded without realizing it, unwanted people or objects that are not pleasant to the video when it is time to see it and even more so if you want to share it on your social networks.
For these inconveniences the Camtasia Studio software is useful, where you will be able to blur the faces of the people in your videos without problems, here you will see the step by step to know how to blur the face in your video using this software correctly.
What is the complete process to blur someone’s face with Camtasia?
As mentioned above, the Camtasia Studio program is very useful when it comes to blur faces in desired videosto carry out the procedure correctly it is necessary that you follow the step by step below.
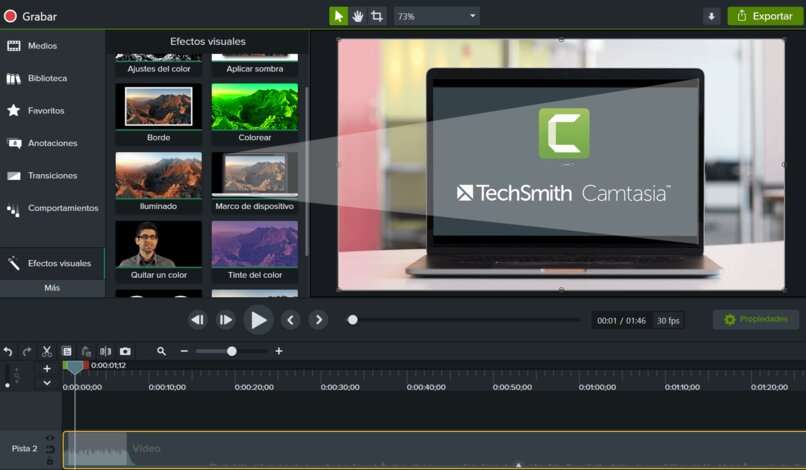
Import the video to Camtasia
It is important that you have saved the video that we edit using one of the best free editing programs to later import it to the camtasia toolfrom where the faces and other settings are blurred, with these instructions you can do it correctly:
- The first thing you should do is open Camtasia Studio program and import the video you want to edit.
- Then click on the option that says ‘Import media’, a new window will open where you will have to locate where the video is saved on the computer.
- Select the video and click once on the ‘Open’ buttonthat way you will have the video imported into the program and ready to start editing it.
Insert your video in the timeline
With the timeline you will be able to identify each part of the video, to place the video within the Camtasia Studio timeline proceed with these instructions:
- Having it already imported, what you should do is insert the video to the timeline dragging it down on the screen and then releasing it.
- It will show an ‘Editing Dimensions’ popup, click once on it and it will drop down to ‘Dimensions’, select 1280×720 – Recording dimensions and then click on the button that says ‘Ok’
- At the top right of the screen you can see as shown in the video preview.
- Click on ‘Play’ to see that the video plays correctly with the settings made and thus continue editing the video correctly on the Camtasia Studio platform.
Add the ‘Blue Callout’ effect and set its duration
In addition to blurring a face, the tool allows you to incorporate various visual effects in your videos, such as the ‘Blue Callout’ effect, with these instructions you will be able to do it correctly:
- The first step will be to click on the button where a cloud figure with the name ‘Callout’.
- Various effects will be displayed but you must click on the down arrow to display all the effects that the Camtasia Studio program has.
- Search and choose the effect named ‘Blue Callout’ where you click and that way you can see what was added to the timeline.
- In the preview you can see the ‘Blue Callout’ effect already added in the form of a box.
- Now tap on the box dragging it and hovering over the person’s face or the part of the video you want to blur.
- You can also reduce or enlarge the box so that you have no limitations in the case of a small or large face and can cover the area of the blurred effect well.
- Then go to the timeline where a magnifying glass is shown with a plus (+) or minus (-) symbol and click on the magnifying glass plus (+) that says ‘Zoom in’, which zooms in on the timeline.
- Then go to the ‘Blue Callout’ effect object and leave the viewer on top of the effect, you will see a legend where you can see more information.
- If you wish to extend the duration of the added ‘Blue Callout’ effect stand on the extreme left or right of that object and drag it to the direction you want. In this way you will have already incorporated the effect of blurring or ‘Blue callout’ to the video.
How to properly save your newly edited video?
At the end of the video editing in the program it is important to save all the configurations that you have made in it, proceed with the following indications to achieve it:
- go to the ‘Produce and share’ option where a new window will be displayed.
- In the new tab, click on the option ‘Show me how to produce my video’ where a panel with different alternatives will be displayed.
- Select the Custom production setting option and click on the button labeled ‘Next’
- Choose the video format you want and click ‘Next’ again. Then, click on ‘Production name’ where you will put the name of the video.
- Go to ‘Folder’ where we click on the box with a folder icon, choose the place where the video will be saved on the computer and Click on the ‘Save’ button.
- To finish, select the button that indicates ‘Finish’ and then a window called ‘Rendering Project’ will be displayed when you finish loading said window you will have saved the video correctly.
Related posts:
 How to access Steam games without an internet connection
  How to view FPS with Xbox Game Bar in Windows 10: Steps Made Easy
  Hacked account? How to check and remedy
  How to make video calls from WhatsApp Web
  How to increase the RAM memory of a desktop or laptop + Tips and Tricks
  How to organize your YouTube subscriptions into categories
+ Tips and Tricks
How to organize your YouTube subscriptions into categories
+ Tips and Tricks


