


How to convert images in Linux with XnConvert
Do you need to convert some image files on your Linux PC? Don’t you know the first thing about how to convert images? We can help! Follow the instructions as we explain how to convert images on Linux with XnConvert.

Installing XnConvert on Linux
XnConvert is compatible with Linux via a downloadable DEB package for Ubuntu and Debian. Additionally, Arch Linux User Repository has a community package available, and XnConvert is also available on Flathub as Flatpak.
In order for the application to work on your computer, you will first need to open a terminal window on the Linux desktop. You can open a terminal window by pressing Ctrl + Alt + T on the keyboard. Or search for “Terminal” in the application menu and run it that way.
Once the terminal window is open and ready to go, you can begin the XnConvert installation. Using the distribution-specific installation instructions outlined below, configure the latest version of XnConvert on your computer.
Ubuntu
On Ubuntu, if you want to install XnConvert, you will need to download a DEB package. To get your hands on the latest DEB package for your system, use the following wget download command.
wget https://download.xnview.com/XnConvert-linux-x64.deb
After downloading the DEB package from XnConvert, you can begin the installation. Using the fit to install command, set the latest version of the application on your computer.
sudo apt install ./XnConvert-linux-x64.deb
Debian
If you are using Debian, you will need to install the XnConvert application through a downloadable DEB package. To get your hands on the latest XnConvert DEB package, use the wget commands below.
wget https://download.xnview.com/XnConvert-linux-x64.deb
Or, if you are using Debian 32-bit:
wget https://download.xnview.com/XnConvert-linux.deb
After downloading the package to your computer, XnConvert is ready to install. Using the dpkg command, configure the latest version of XnConvert on your Debian system.
sudo dpkg -i XnConvert-*.deb
After installing XnConvert on Debian, you should correct any dependency issues that may have occurred during the installation process. To do this, run the following apt-get install -f command.
sudo apt-get install -f
Arch Linux
The XnConvert program is available on Arch Linux AUR. However, you will need to install an AUR helper for the application to work (unless you want to compile it manually).
There are many great AUR helper tools for Arch. In this guide, we will focus on Trizen as it installs quickly. For the Trizen application to work, run the following commands below in succession.
sudo pacman -S base-devel git

git clone https://aur.archlinux.org/trizen.git

cd trizen/

makepkg -sri
With the Trizen AUR helper tool running on Arch Linux, you can get the XnConvert program up and running in seconds. Then, using the trizen -S command, set the last XnConvert.
trizen -S xnconvert --noconfirm
Flatpak
Those using Fedora, OpenSUSE, or other Linux distributions not listed in this tutorial will need to install XnConvert via a Flatpak package. Fortunately, setting up the Flatpak runtime is relatively easy.
In order for the Flatpak runtime to work on your computer, install the “flatpak” package. Alternatively, follow our detailed tutorial on how to configure the Flatpak runtime.
After configuring the Flatpak runtime, install the latest XnConvert on your computer with the two commands below.
flatpak remote-add --if-not-exists flathub https://flathub.org/repo/flathub.flatpakrepo

flatpak install flathub com.xnview.XnConvert
How to convert images in Linux with XnConvert
To convert images with the XnConvert application on Linux, do the following. First, launch the application on the desktop. You can start XnConvert by searching for it in the applications menu.
With the XnConvert program open, follow the step-by-step instructions below.
Paso 1: Find the “Add Files” button and click on it with your mouse. Selecting this button will bring up a pop-up window. Find the files you want to convert with the application and import them.
Paso 2: Click on the “Output” tab within XnConvert. Then find the “Format” drop-down menu. In the “Format” drop-down menu, change the “Same as original” setting to the desired format.
For example, to convert PNG to JPG, select the “JPG – JPEG / JFIF” option.
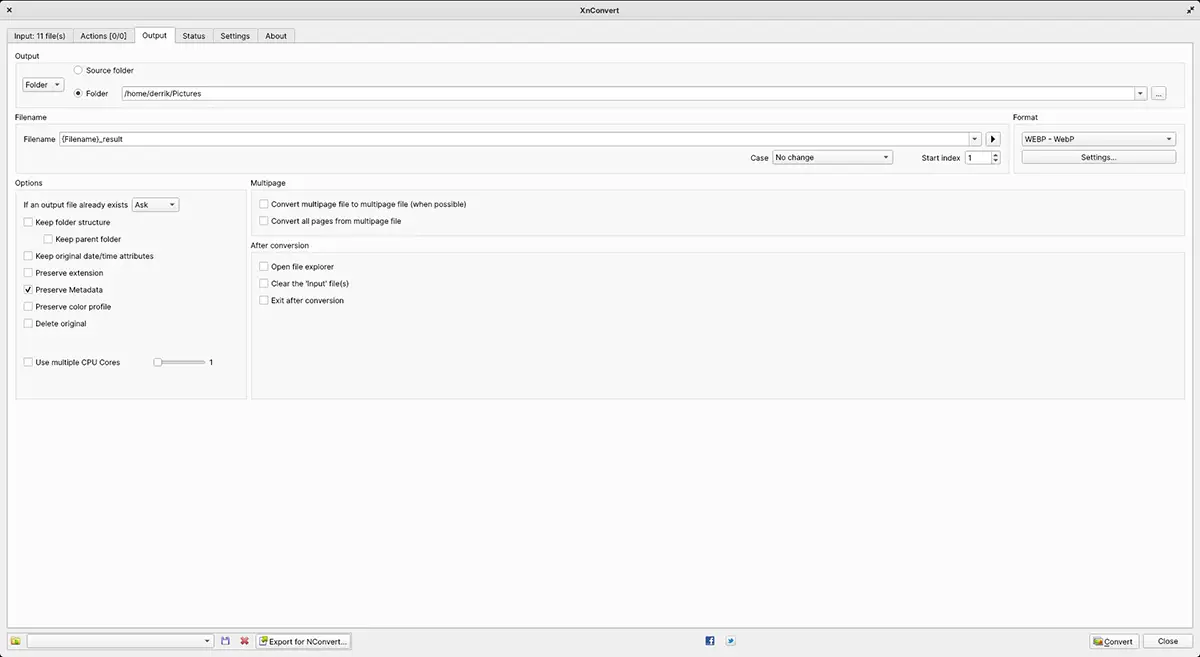
Paso 3: After selecting your format, find the “Folder” area of the Output tab. Then click the Browse button to find where you want to save the converted files.
Paso 4: Look for the “Input” tab in XnConvert. Once on this tab, click on the “Convert” button in the lower right corner. Select this button to start the conversion process.
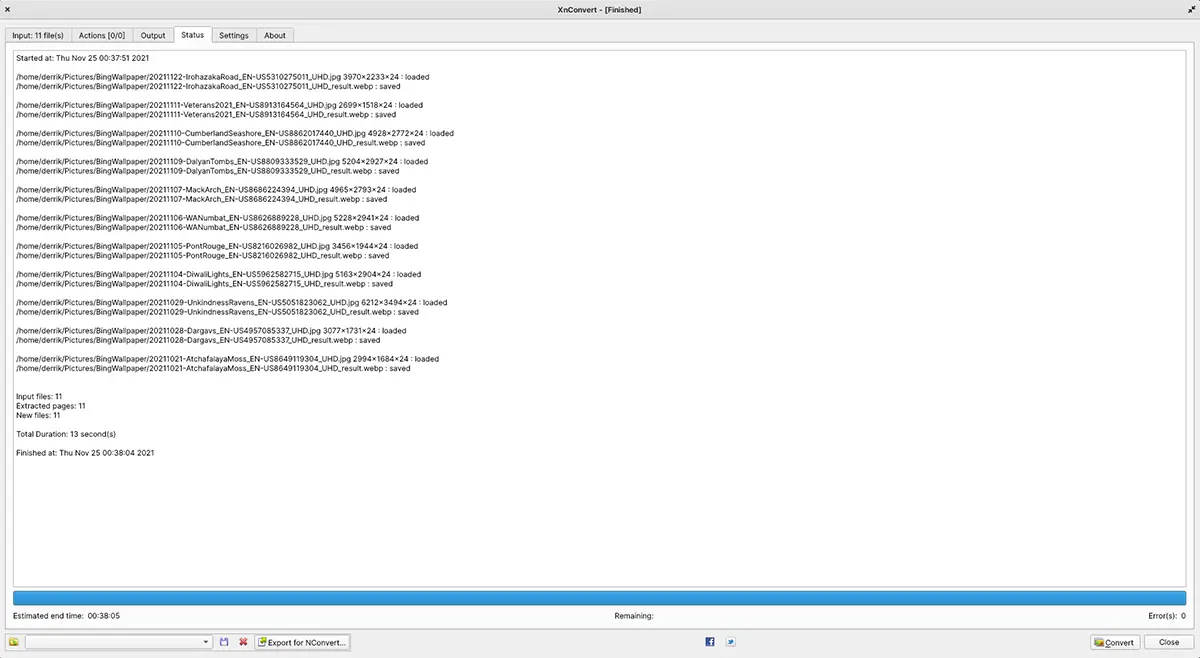
Paso 5: The image conversion process shouldn’t take long. But it may take a few minutes, especially if the image files are large. When the process is complete, open your output folder to view the newly converted image files.
Related posts:
 How to access Steam games without an internet connection
  How to view FPS with Xbox Game Bar in Windows 10: Steps Made Easy
  Hacked account? How to check and remedy
  How to make video calls from WhatsApp Web
  How to increase the RAM memory of a desktop or laptop + Tips and Tricks
  How to organize your YouTube subscriptions into categories
+ Tips and Tricks
How to organize your YouTube subscriptions into categories
+ Tips and Tricks


