


How to disable Microsoft Defender in Windows 11
Sometimes you might be in a rush to install some software and Windows built-in security may keep telling you that you can’t do it for security reasons. You may want to instantly shut down Windows Defender to test your new app. But at the same time, you might be a little scared that you don’t remember to turn it back on and be the reason your system is facing serious security threats.
In this scenario, you should ideally turn off Windows Real-time Protection yourself and let Windows turn it back on for you, in case you forget to do so. In this article, we have explained in some very simple steps how you can temporarily disable Windows real-time protection.
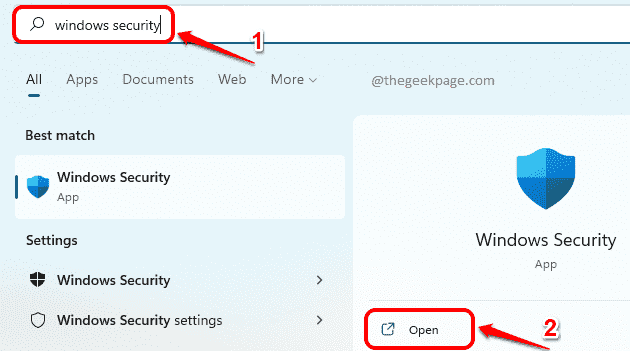
Paso 1: Click on the Look for on the taskbar.
Paso 2: At Search bar, to write windows security and click the option Opened from Windows security Search results.
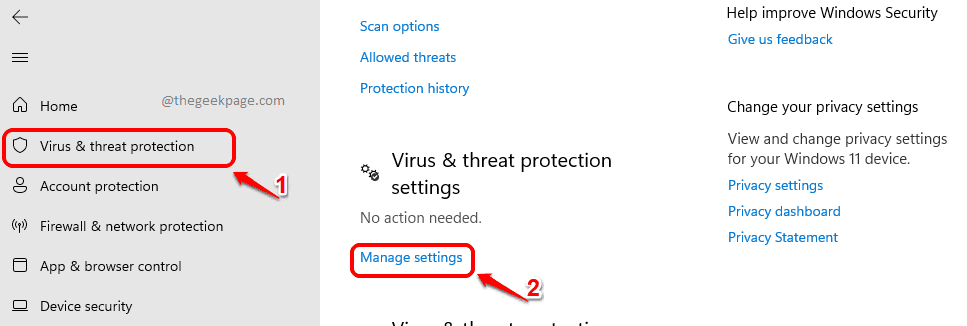
Paso 3: At left panel in the Settings window, click the Protection against viruses and threats tab.
At right window panel below Virus and threat protection settings, click on the Manage settings Link.
Paso 4: Now, in the window that opens, click the toggle button for real-time protection.
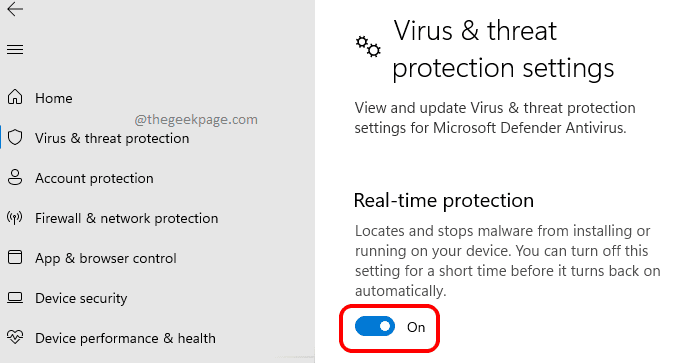
Now you will get a User account control window asking if you want the changes to apply to your machine. Click Yes for it.
Paso 5: Now you can see that your Real-time protection turns off.
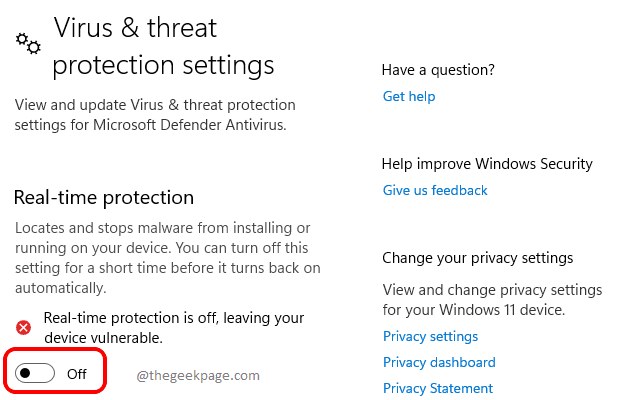
If you forget to turn Windows security back on after you’ve met your requirement, there’s nothing to worry about. After a while, Windows will automatically turn on real-time protection if it is still off.
Hope you found the article useful.
Related posts:
 How to access Steam games without an internet connection
  How to view FPS with Xbox Game Bar in Windows 10: Steps Made Easy
  Hacked account? How to check and remedy
  How to make video calls from WhatsApp Web
  How to increase the RAM memory of a desktop or laptop + Tips and Tricks
  How to organize your YouTube subscriptions into categories
+ Tips and Tricks
How to organize your YouTube subscriptions into categories
+ Tips and Tricks


