


How to enable or disable file history in Windows 11
Although it is not very common for your files to get corrupted in Windows, there is always a risk of losing them in case something happens to your machine. Therefore, it is always a good idea to back up your folders and files. Windows 11 has a built-in feature that helps you back up your files and folders very easily. The feature is called File history and it can be easily enabled or disabled with the click of a button.
The File History feature backs up your files to an external drive. So in case you lose your original files, you can always restore them using the backup you created using File History. Only the files and folders within the home directory, C: Users
Read on to find out how you can enable or disable this wonderful feature on your Windows 11.
How to turn on file history in Windows 11
To enable the File History feature, you need to connect an external drive to your PC. It can be a USB, a network drive / folder, a hard drive, or any other external drive of your choice. In this article, we have connected a USB to our PC, through which we will enable the File History function. Files will be backed up on this external drive.
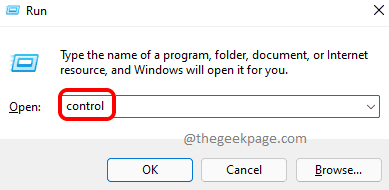
Paso 1: Start the To run window pressing keys Win y R together.
When it starts, type control and hit the OK button.
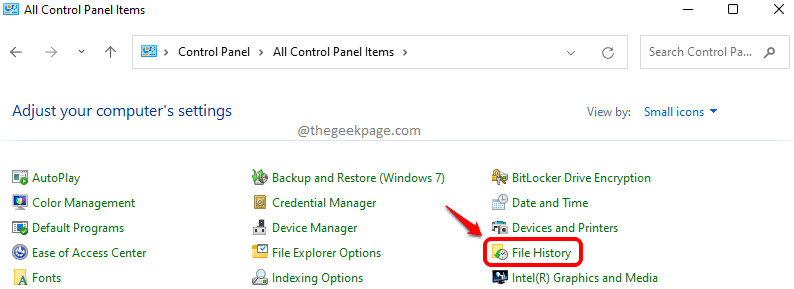
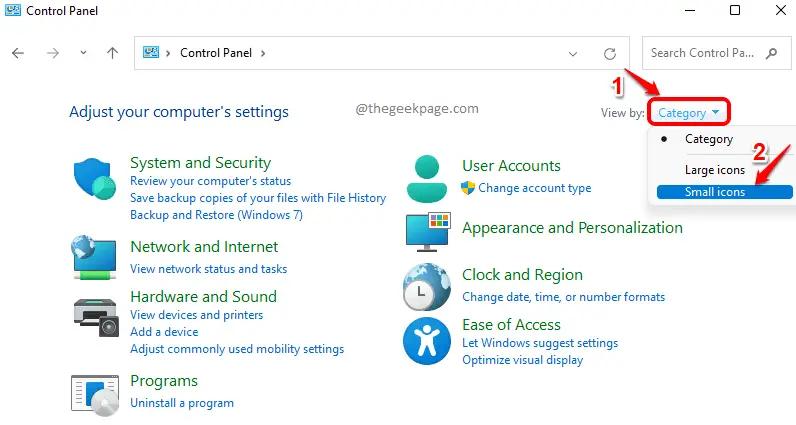
Paso 2: In the Control Panel window, click the drop-down list against View by. Choose Small icons in the drop-down menu.

Paso 3: From the list of control panel settings, click File history.
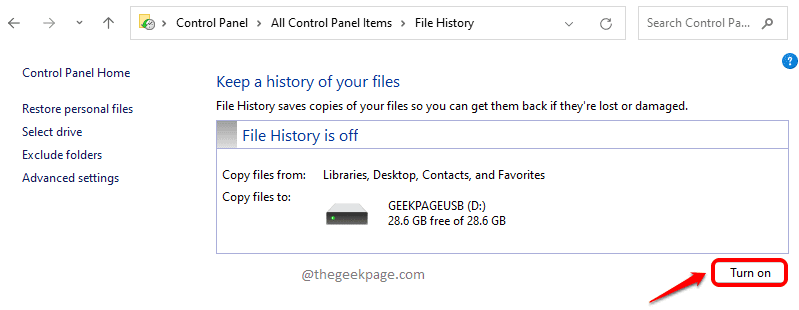
Paso 4: Windows will automatically detect whether an external drive is connected or not. If so, the Turn on the button will be activated.
Click on the Turn on button.
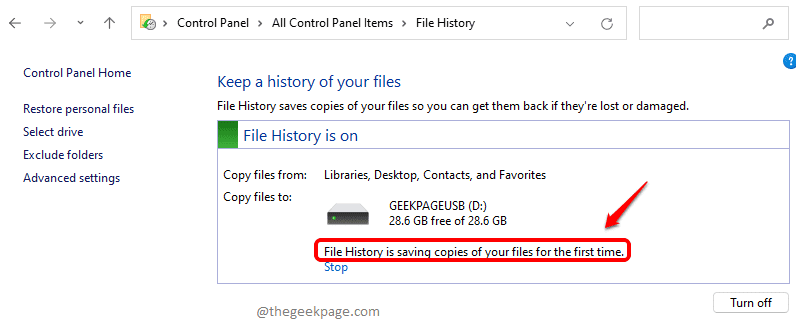
Paso 5: You will now see a message File history is saving copies of your files for the first time. Wait for the process to finish.
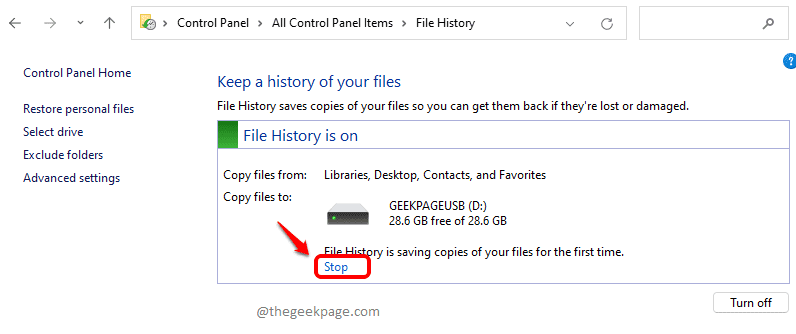
If you want to stop the copy process at any time, you can click the Stop button.
Paso 6: After the copy is finished, you can see the following message. That is all. Your files have now been backed up successfully.
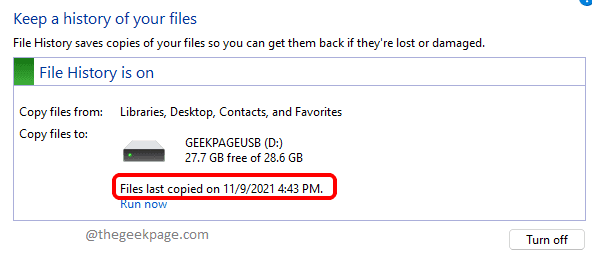
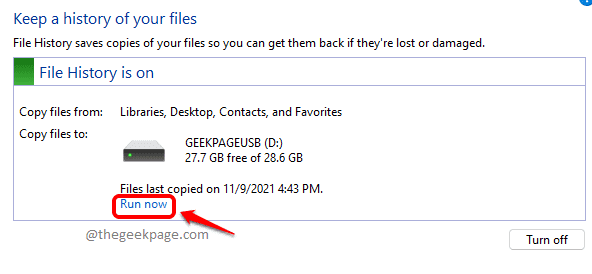
Note: The File History feature automatically backs up your files periodically whenever your external drive is connected to your PC. In case your external drive is not permanently connected to your system, you can click on the Run now link to manually start the file backup procedure via File History.
How to turn off file history in Windows 11
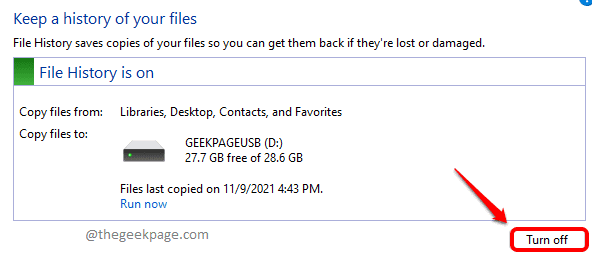
As long as the external hard drive is connected to your PC and the File History feature is enabled, your files will be automatically backed up to the external drive periodically. If you want to disable this feature for any reason, you can click the Delete button as shown in the screenshot below.
How to restore files from file history in Windows 11
First, connect the external hard drive to your PC, on which you have backed up your files. Now to restore the backed up files, follow the steps below.
Paso 1: Press the Win y R keys together to launch the To run window.
to write control and hit Get into to start the Control Panel.
Step 2: Click on the drop-down list associated with View by option. Choose Small icons drop-down menu option.
Paso 3: As below, click the File history configuration option.

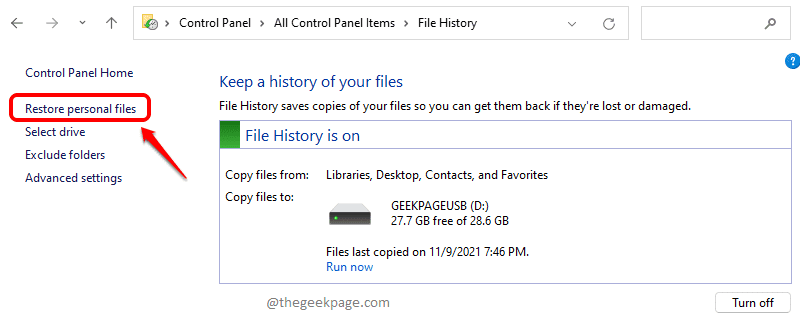
Paso 4: At left panel in the window, click the Restore personal files Link.
Paso 5: From the restore window, click on the folder or file you want to restore and then click the Restore button at the bottom.
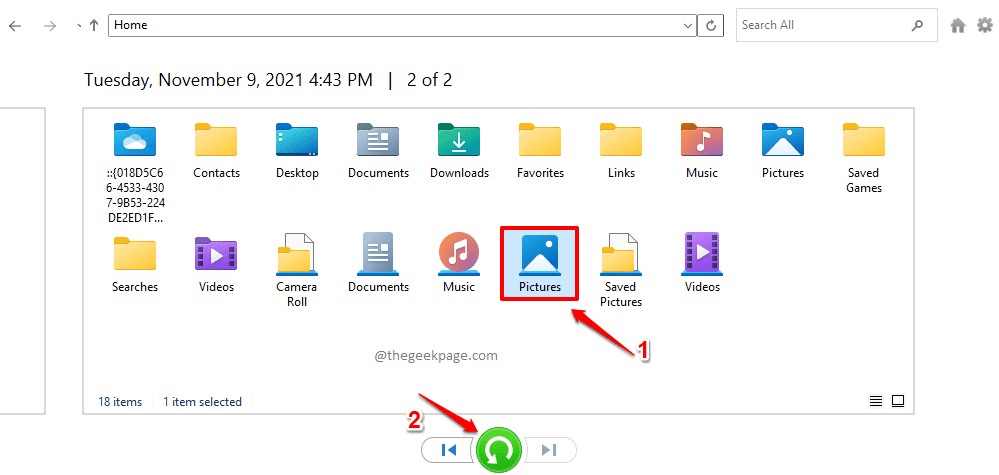
That is all. The selected file or folder will now be restored to its original location.
Note: If you want to enter into a folder, you can double click in that. Once inside, return, click on the until arrow at the top of the window.

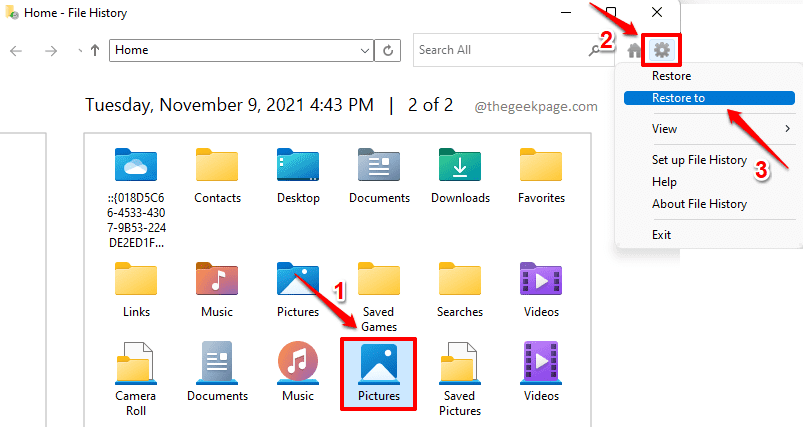
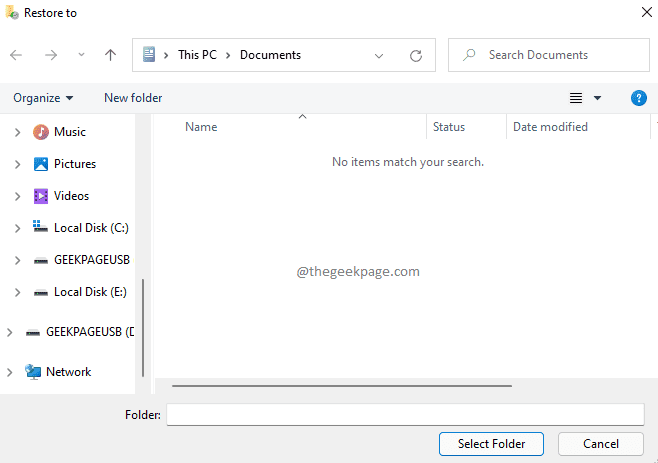
Paso 6: By default, the files would be backed up to their original locations. However, if you want to restore the file to a particular location, then click in the file / folder to select it, then click the Settings icon in the upper right corner of the File History window, and then click the Restore to option.
Paso 8: From the Restore to window that opens below, choose the location where you want the selected file or folder to be restored.
Hope you found the article useful.
Related posts:
 How to access Steam games without an internet connection
  How to view FPS with Xbox Game Bar in Windows 10: Steps Made Easy
  Hacked account? How to check and remedy
  How to make video calls from WhatsApp Web
  How to increase the RAM memory of a desktop or laptop + Tips and Tricks
  How to organize your YouTube subscriptions into categories
+ Tips and Tricks
How to organize your YouTube subscriptions into categories
+ Tips and Tricks


