


How to Highlight Text in iPhone Notes Easily – Tutorial for Apple Devices
–
One of the most popular and well-known brands in the world is Apple, since all its equipment, be it iPhone, iPad or iPod, have different functions for the user. One of those functions is Notes and in this article we will show you the things you can do in it, how to highlight a text, and how to use it correctly.
What is the correct way to start using Notes on an iPhone?
With her you can write down anything you need remember another time. It is important that before you start using it, you configure an iCloud email, so that you can take advantage of all the functions, if you place another it is likely that these will not work.
To write something in the Notes application, access it by pressing the icon like a notebook, then tap on ‘Compose’, write your note and save it to ‘Ok. Similarly, there is also the option to access Notes by placing it in the Control Center or asking Siri with your voice to write the note for you.
What else can you do with Notes?
The Notes application is a function that is loaded with options for your writing, below we will mention some of them:
Set note
First, we have the option of being able to fix or anchor a note, which will help us find this note much easier. To be able to fix a note we must, with our finger, swipe the note to the right; or go to the ‘More’ option.
You can create a checklist
For create a checklist or check in a note, tap the check option in the middle of the options with a bullet icon. Automatically, some circles that you can mark each time you complete a task that you have placed there.
Format your notes
Formatting your notes makes them look more organized; To do this, you have to press the first two options, the one with the table icon and the one with two letters (Aa). In this way, various formatting options will appear that you can choose from. for the header as bold or italic, among other.
Underline the text in your notes
To underline the text of your notes you have to access the same option of ‘Formats’ in Notes and, once you select the text, apply the underline function.
Attach a file
The fifth option they give us is to attach a file from another application; for example, locations or websites; To do this you must be in the application of the file to be attached. There, choose the option to share that file and then, select Notes from among the applications, to be able to paste it into a note and save it.
Attach a photo or video
If you want to attach a photo or video to your note, press the camera icon and among the options choose to choose it from your gallery or take a photo right away.
Create your own folders
To create folders in Notes you have to press the option at the top left of the screen and see the list and find the option to create a new folder.
The notes as in your photo gallery
The option to sort your photos as a photo gallery is available for iOS 13 devices; You just have to touch the option of ‘More’ and select ‘View in gallery’.
Delete notes
If you want to delete a note from the note list, what you should do is slide the same note with your finger to the left and touch the trash can.
How to recover deleted text?
You have to go to the arrow in the upper left corner of the screen. There you will find the ‘Recently Deleted’ folder, enter and selecting the note you want to recover, touch the option ‘Move to …’ and move it to the main notes folder.
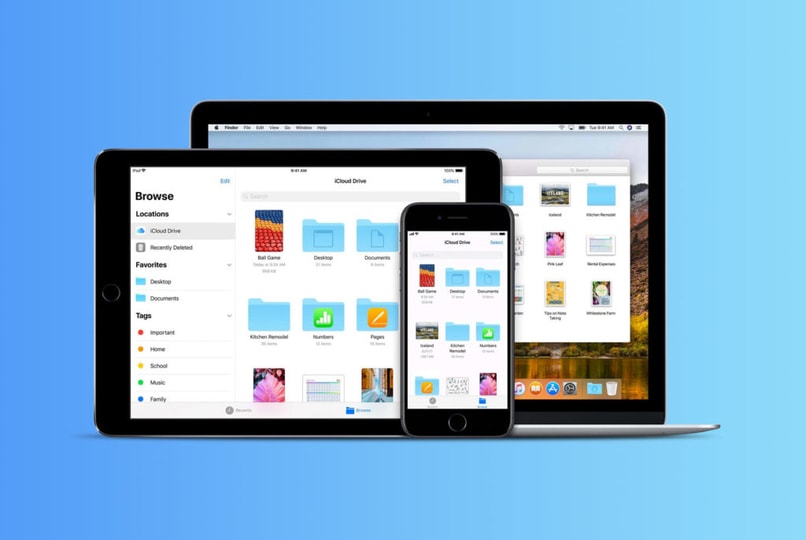
How can I sync my notes across all my iOS devices?
The way to do it is by synchronizing your mail in iCloud from the toolbar in ‘Library’ where you access your iCloud to activate or deactivate it. In case you deactivate it, also choose if you want to keep the copies that are made of the notes or that are deleted from the mobile, although they will continue to be stored in iCloud.
Related posts:
 How to access Steam games without an internet connection
  How to view FPS with Xbox Game Bar in Windows 10: Steps Made Easy
  Hacked account? How to check and remedy
  How to make video calls from WhatsApp Web
  How to increase the RAM memory of a desktop or laptop + Tips and Tricks
  How to organize your YouTube subscriptions into categories
+ Tips and Tricks
How to organize your YouTube subscriptions into categories
+ Tips and Tricks


