


How to install PyCharm on Windows 11/10
PyCharm is IDE (Integrated Development Environment) that is designed specifically for the Python programming language. It is also compatible with other programming languages like HTML, CSS, etc. It is developed by JetBrains and it comes in two editions, one, the Professional Edition and the Community Edition. Community Edition is free and is more suitable for students and beginners learning Python.
In this article, let’s look at how to install PyCharm on Windows and how to configure your first project to display a “Hello, PyCharm” message.
How to install Python on your system?
Since PyCharm is an IDE for Python, we must have Python installed on our system as a prerequisite. If you haven’t installed Python, here’s how you can do it:
1. Download a stable version of the Python installer from the official Python site.
2. Click on the Descargar button.
3. Once the download is complete, double-click the installation file.
4. Tick the option Add Python 3.x to Path. This is important.
5. Click Install Now.

6. The installer starts installing Python on your system.
7. After installation is complete, click Close.
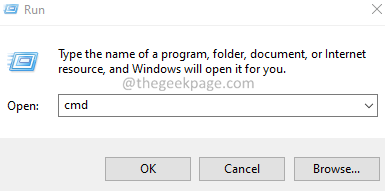
8. To check if the installation is successful, open the Run dialog box using Windows + R.
9. Enter the command cmd and press Get into.
10: In the command prompt window that opens, type piton and press Get into.
11. You should be able to see the Piton version as shown below.

How to install and configure PyCharm on Windows?
1. Download the PyCharm Community version from the official Jet Brains site.
2. Once the download is complete, double-click the executable file.
3. If you see a UAC asking for permission, click OK.
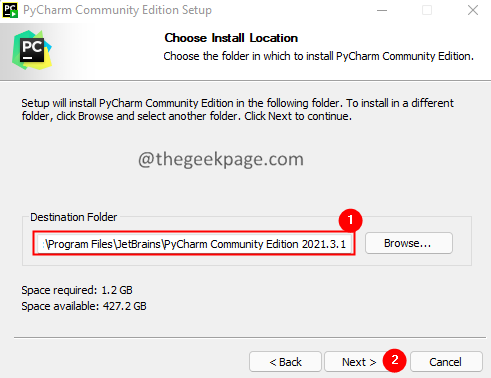
4. In the window that appears, choose a destination folder and click on the next button.
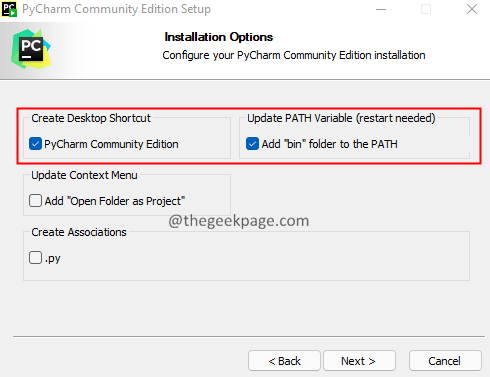
5. In the installation options window, under Create desktop shortcut, check PyCharm Community Edition. Do this if you want a shortcut to PyCharm on the desktop.
6. Under the Actualizar variable PATH, mark the option, Add the “bin” folder to the PATH.
7. Click Next.
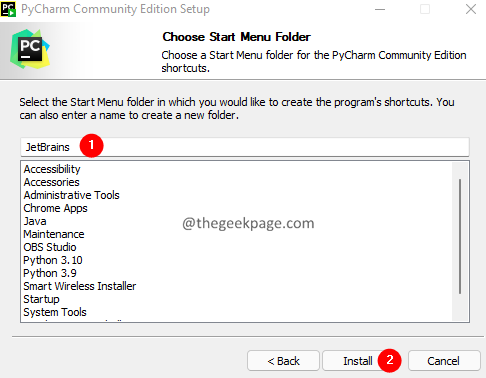
8. In the Settings window, click JetBrains and press Install on pc.
9. After the installation is complete, you will be prompted to reboot your system.
10. After the reboot, open the PyCharm application.
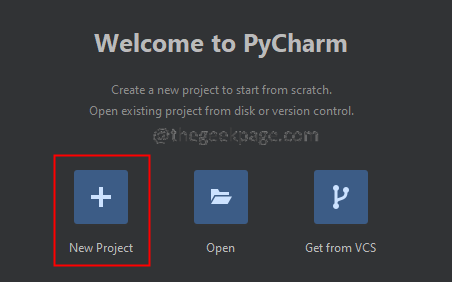
11. In the PyCharm window, click New project.
12. In the location section, give the project a suitable name.
13. Choose Virtualenv
14. Click To create.

15. You will see a main.py file open by default. I would have a sample python script to print Hi PyCharm.

16. To run the file, the right button of the mouse about principal.py As shown below. Click on To run.
17. You can see the output below in the run section as shown below.

18. Feel free to edit the main section to enter a string of your choice. Run the code to see the result.
That’s it.
We hope this article has been informative. Please comment and let us know if this was helpful to you.
Also, comment and let us know if you have any issues. We will be happy to help you.
Thank you for reading.
Related posts:
 How to access Steam games without an internet connection
  How to view FPS with Xbox Game Bar in Windows 10: Steps Made Easy
  Hacked account? How to check and remedy
  How to make video calls from WhatsApp Web
  How to increase the RAM memory of a desktop or laptop + Tips and Tricks
  How to organize your YouTube subscriptions into categories
+ Tips and Tricks
How to organize your YouTube subscriptions into categories
+ Tips and Tricks


