


How to prepare a 3D model for printing in Linux with Cura
Cura is one of the best 3D printing tools out there. It supports tons of great features and is easy to use. This guide will explain how you can use Cura to prepare a 3D model for printing on Linux.
Installing Cura on Linux
You must install the Cura application on your Linux PC before attempting to use it to print files. To configure Cura on your Linux system, follow our detailed guide on how to install Ultimaker Cura on Linux.
Configure your printer with Cura
After installing Cura on your Linux PC, you will need to configure it to work with your printer. Each 3D printer has specific hardware and settings and must be configured directly in the application or the prints could fail.
To properly configure your printer with Cura, please follow the step-by-step instructions below.
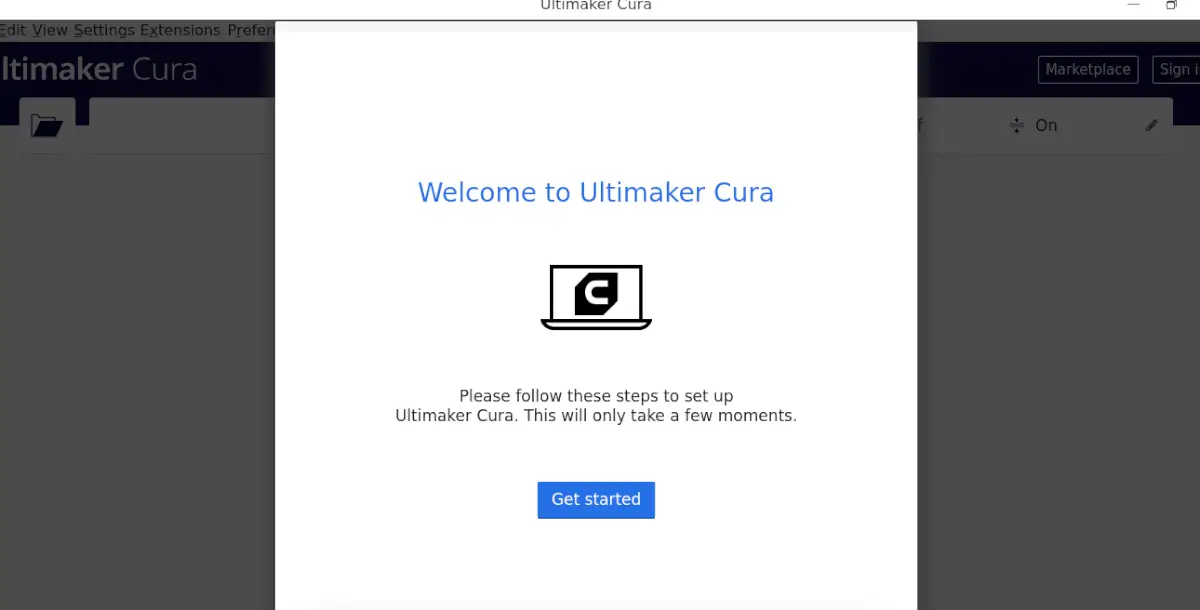
Paso 1: Launch the Cura application on your Linux PC and click the “Start” button within the application. Selecting this button will start the setup wizard in Cura.
Paso 2: Click the ‘skip’ button within the ‘Ultimaker Account’ page. After setting up your printer with Cura, we’ll cover the login process later.
Paso 3: After scrolling through the “Ultimaker Account” page in the setup wizard, you will see “Add a printer”. If you have a network printer, Cura will find it and be able to add it.
Otherwise, find the button “Add a printer not connected to the network” and select it with the mouse.
Stage 4: Once you have selected the “Printer not connected to the network” menu, Cura will show you a list of available 3D printers that are compatible. Look at the list and select your exact model.
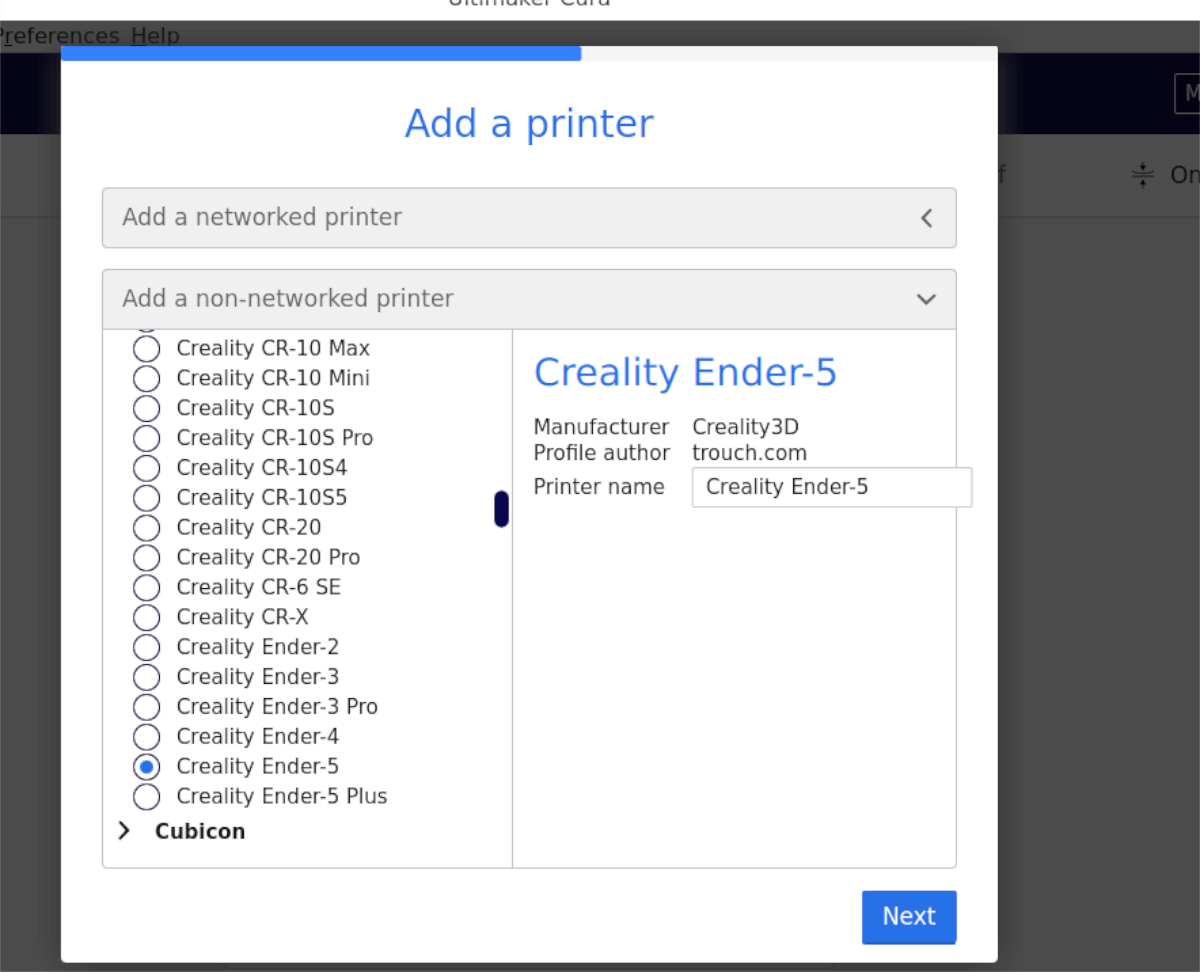
For example, to add the Ender 5, you would go to “Creality3D” in the “printer not connected to the network” menu, click on it and select “Ender 5”.
Paso 5: Once you have selected your printer from the menu, Cura will display the “Machine Configuration” window. In the “Machine Settings” window, Cura will configure your printer settings based on predefined settings. You will also configure your extruder.

Leave the default settings, unless you know what you are doing. Then click the “Next” button to go to the next page of the guide.
Paso 6: After setting up your printer in Cura’s “Machine” settings area, find the nozzles area (in generic PLA) and click on it. Then adjust it to the size of the extruder nozzle you are using in your printer.
Not sure of the nozzle size of your extruder? Leave the settings at the default settings. For example 0.4mm should work quite well.
Check in
While it is not necessary to use Cura, you must log in as you will have access to the marketplace, extensions, etc. To log in, look for the “Login” button in the upper right corner. Then click on it, create your account and log into Cura with your credentials.
Download a model
There are many places where you can download a pre-made model to use in Cura. One place is Thingiverse.com. To download a model from this website, do the following.
Paso 1: Find the “Find Thingiverse” search box and click on it with your mouse. Then enter your search term. For example, to find something related to “Star Wars”, you would type it in the search box. Finally, press Get into to view the search results.
Paso 2: Search the search results for the model you like, then click on it with your mouse to access its “Thing” page. Once on the “Thing” page, look for the blue “Download” button and select it with your mouse.
Paso 3: By selecting the download button, Thingiverse will show you all the STL model files available for the ‘Thing’. Download each file individually. Be sure to also read the instructions associated with the model so that it will print correctly.
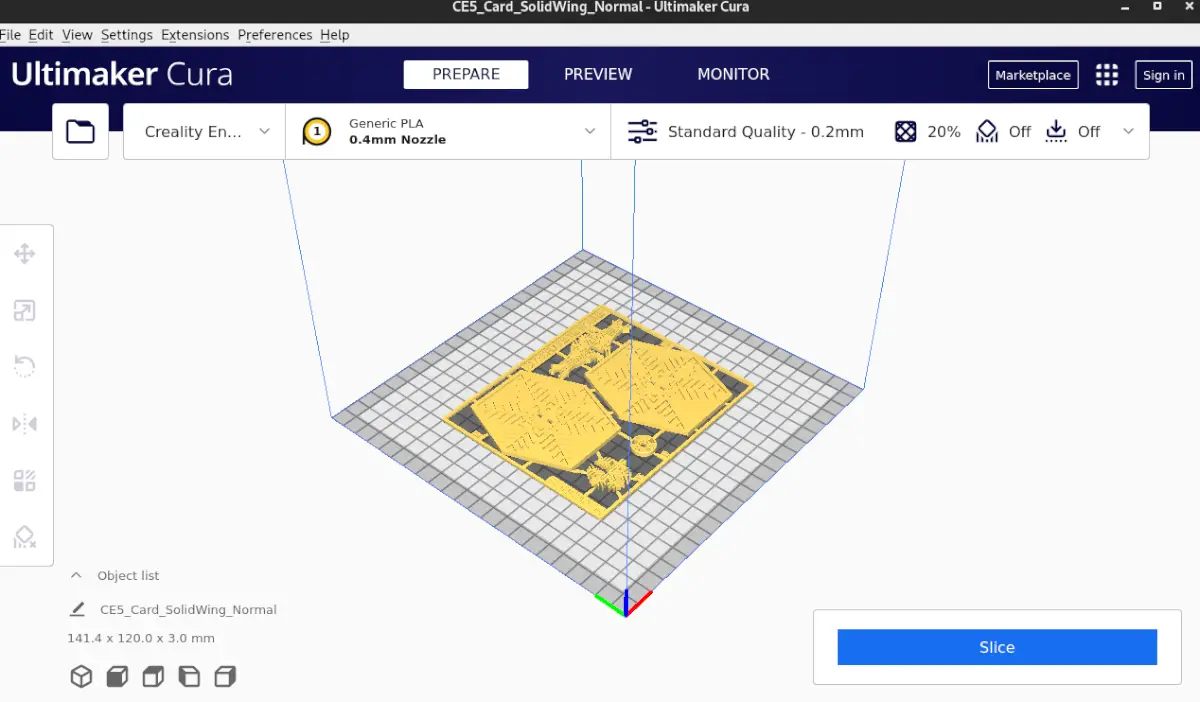
Cut the model
You must cut your model to print it with Cura. Cutting means converting the model from a 3D model file to a 3D printer compatible G-code file. Here’s how to do it.
First, find the “File” button and click on it with your mouse to open the “File” menu. Then find the “Open file (s)” button and click on it with your mouse. Lastly, browse for the STL model files you downloaded from Thingiverse to import into Cura.
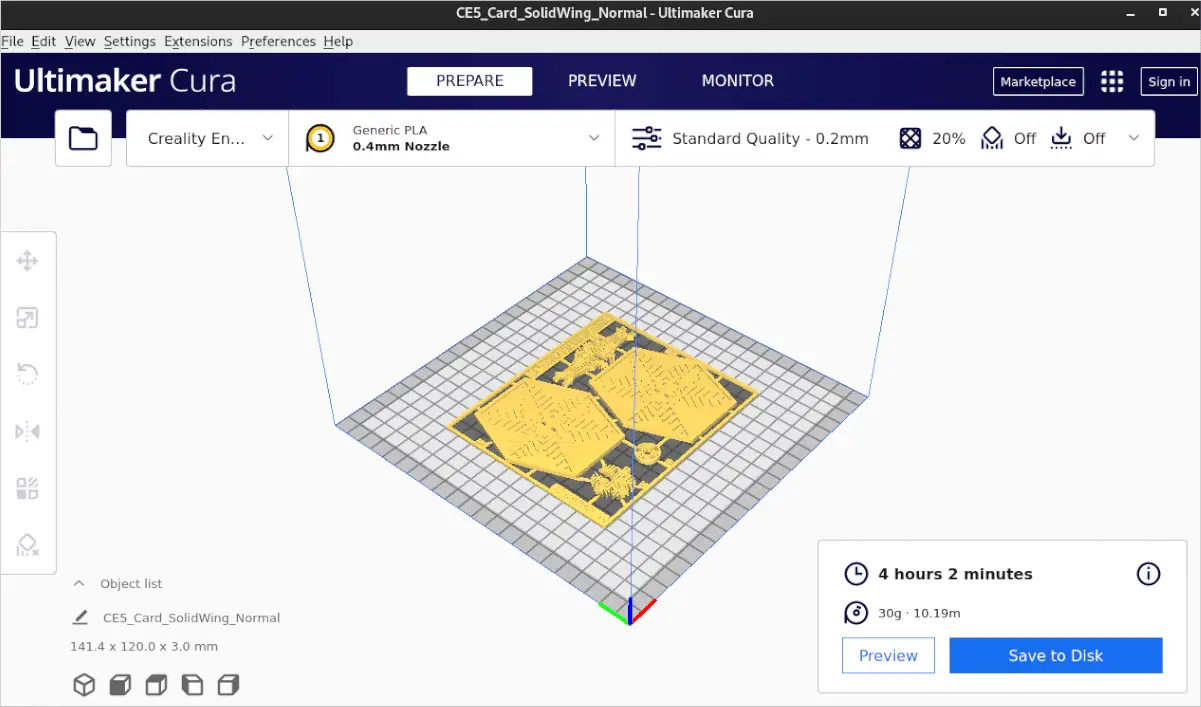
Once the model file has been imported into Cura, review the settings and configure your printing with the suggested settings for the model. Then find the “Cut” button and click on it to convert your print to G-code.
After cutting your print, click the “Save to Disk” button to save your G-code file to your computer. Alternatively, save your file directly to an SD card or USB flash drive by selecting the “save to external” button.
When you have finished exporting the file, connect it to your printer and print your model. Enjoy!
Related posts:
 How to access Steam games without an internet connection
  How to view FPS with Xbox Game Bar in Windows 10: Steps Made Easy
  Hacked account? How to check and remedy
  How to make video calls from WhatsApp Web
  How to increase the RAM memory of a desktop or laptop + Tips and Tricks
  How to organize your YouTube subscriptions into categories
+ Tips and Tricks
How to organize your YouTube subscriptions into categories
+ Tips and Tricks


