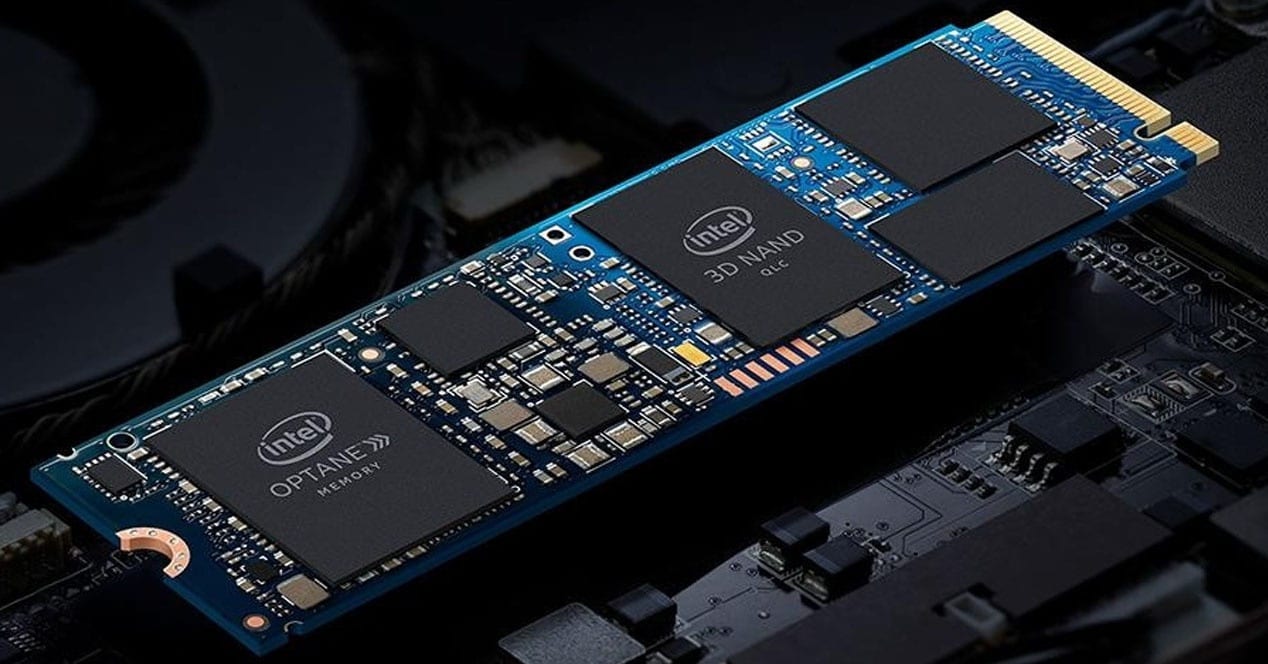
In the first place and if we do not have or remember the parameters of our SSD, it is convenient for us to go to the manufacturer's website to look at its specifications and in the way to a review where it shows us the real performance of the unit, in order to compare data.
We start from the basis and premise that we know this data, so the first step will be to check the current performance of our disk by measuring the speed of the SSD.
ATTO Disk Benchmark enters the scene
Ideally, download a benchmark as complete as ATTO, which will tell us the read and write performance of our SSD in a range of files and sizes more than interesting. The benchmark does not require anything more than pressing start and starting to measure said performance, so finally and once finished, the data it will show us will be something similar to this:
The speeds will logically vary between the different models, but in our case there is a drop in performance at some point in the writing, while the reading remains firm. This is because we have the SSD almost full, which lowers the performance in this section.
Similarly, it is a very normal behavior in SSDs that need to be deleted and restored to their initial point.
Save the data that is in the SSD
The process that we are going to carry out implies a total erasure of the disk, so the ideal is that we keep everything necessary in another hard disk before starting. After deletion, many files may not be accessible from any recovery software, so be sure what is saved and what is not.
Deleting and restoring the SSD
Although each brand offers a different software to do this process, we are going to do it from a more personal and equally effective section, since for example, if we want to recover the performance of the main unit of the operating system, no software option existing will allow you to do it while we remain in Windows.
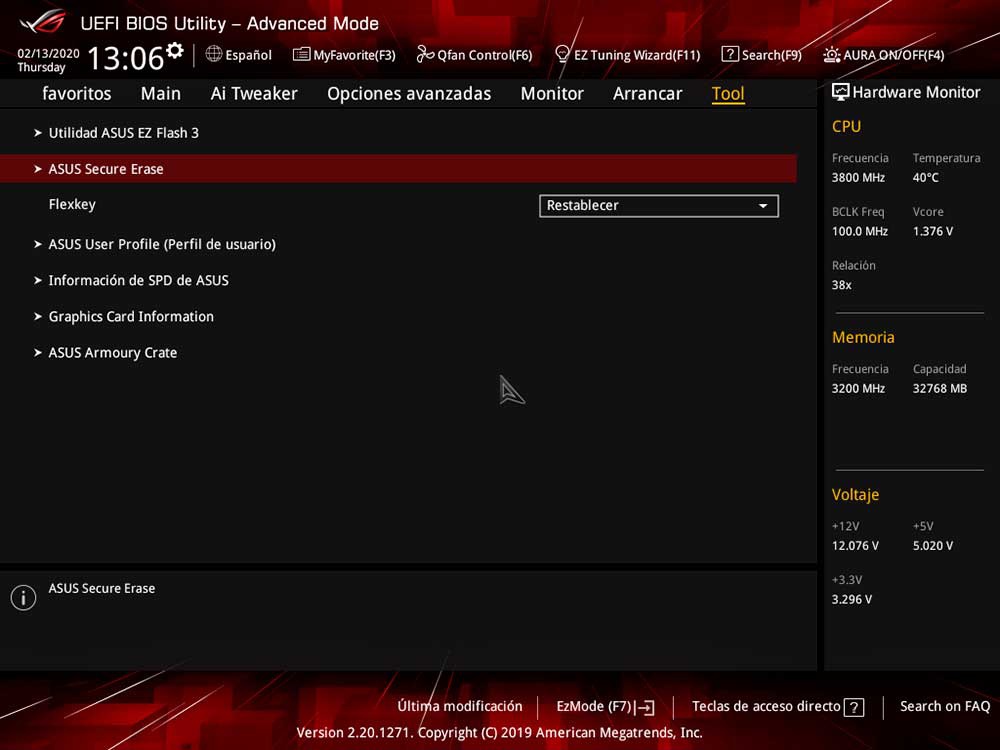
Therefore, we must enter the UEFI of our motherboard and go to the secure erase utility for SSDs. This option will vary depending on the motherboard model and perhaps the UEFI model we have, but normally today they all include it as standard.
Recover the speed of your SSD
In our case we will use a ASUS X570-F Gaming.
