Our new TDP simulator is born – even better measurements for coolers, water blocks, radiators, thermal paste and pads | practice
We all know: Igor`s LAB and reliable measurement technology belong together like Zeter and Mordio and although this is an old interjection from the jurisdiction, it hits the point quite well. I, Bernhard von CrankzWare, was consulted by Igor and asked for practical help in order to jointly develop a measurement technology prototype as a TDP simulator and bring it into the world as it were. Of course, I am happy to support my dear friend with technical and manufacturing expertise, so that in the end this project was not only a lot of fun, but also cost a lot of nerves. Just as it should be for a demanding project. Otherwise life would be bland and boring.
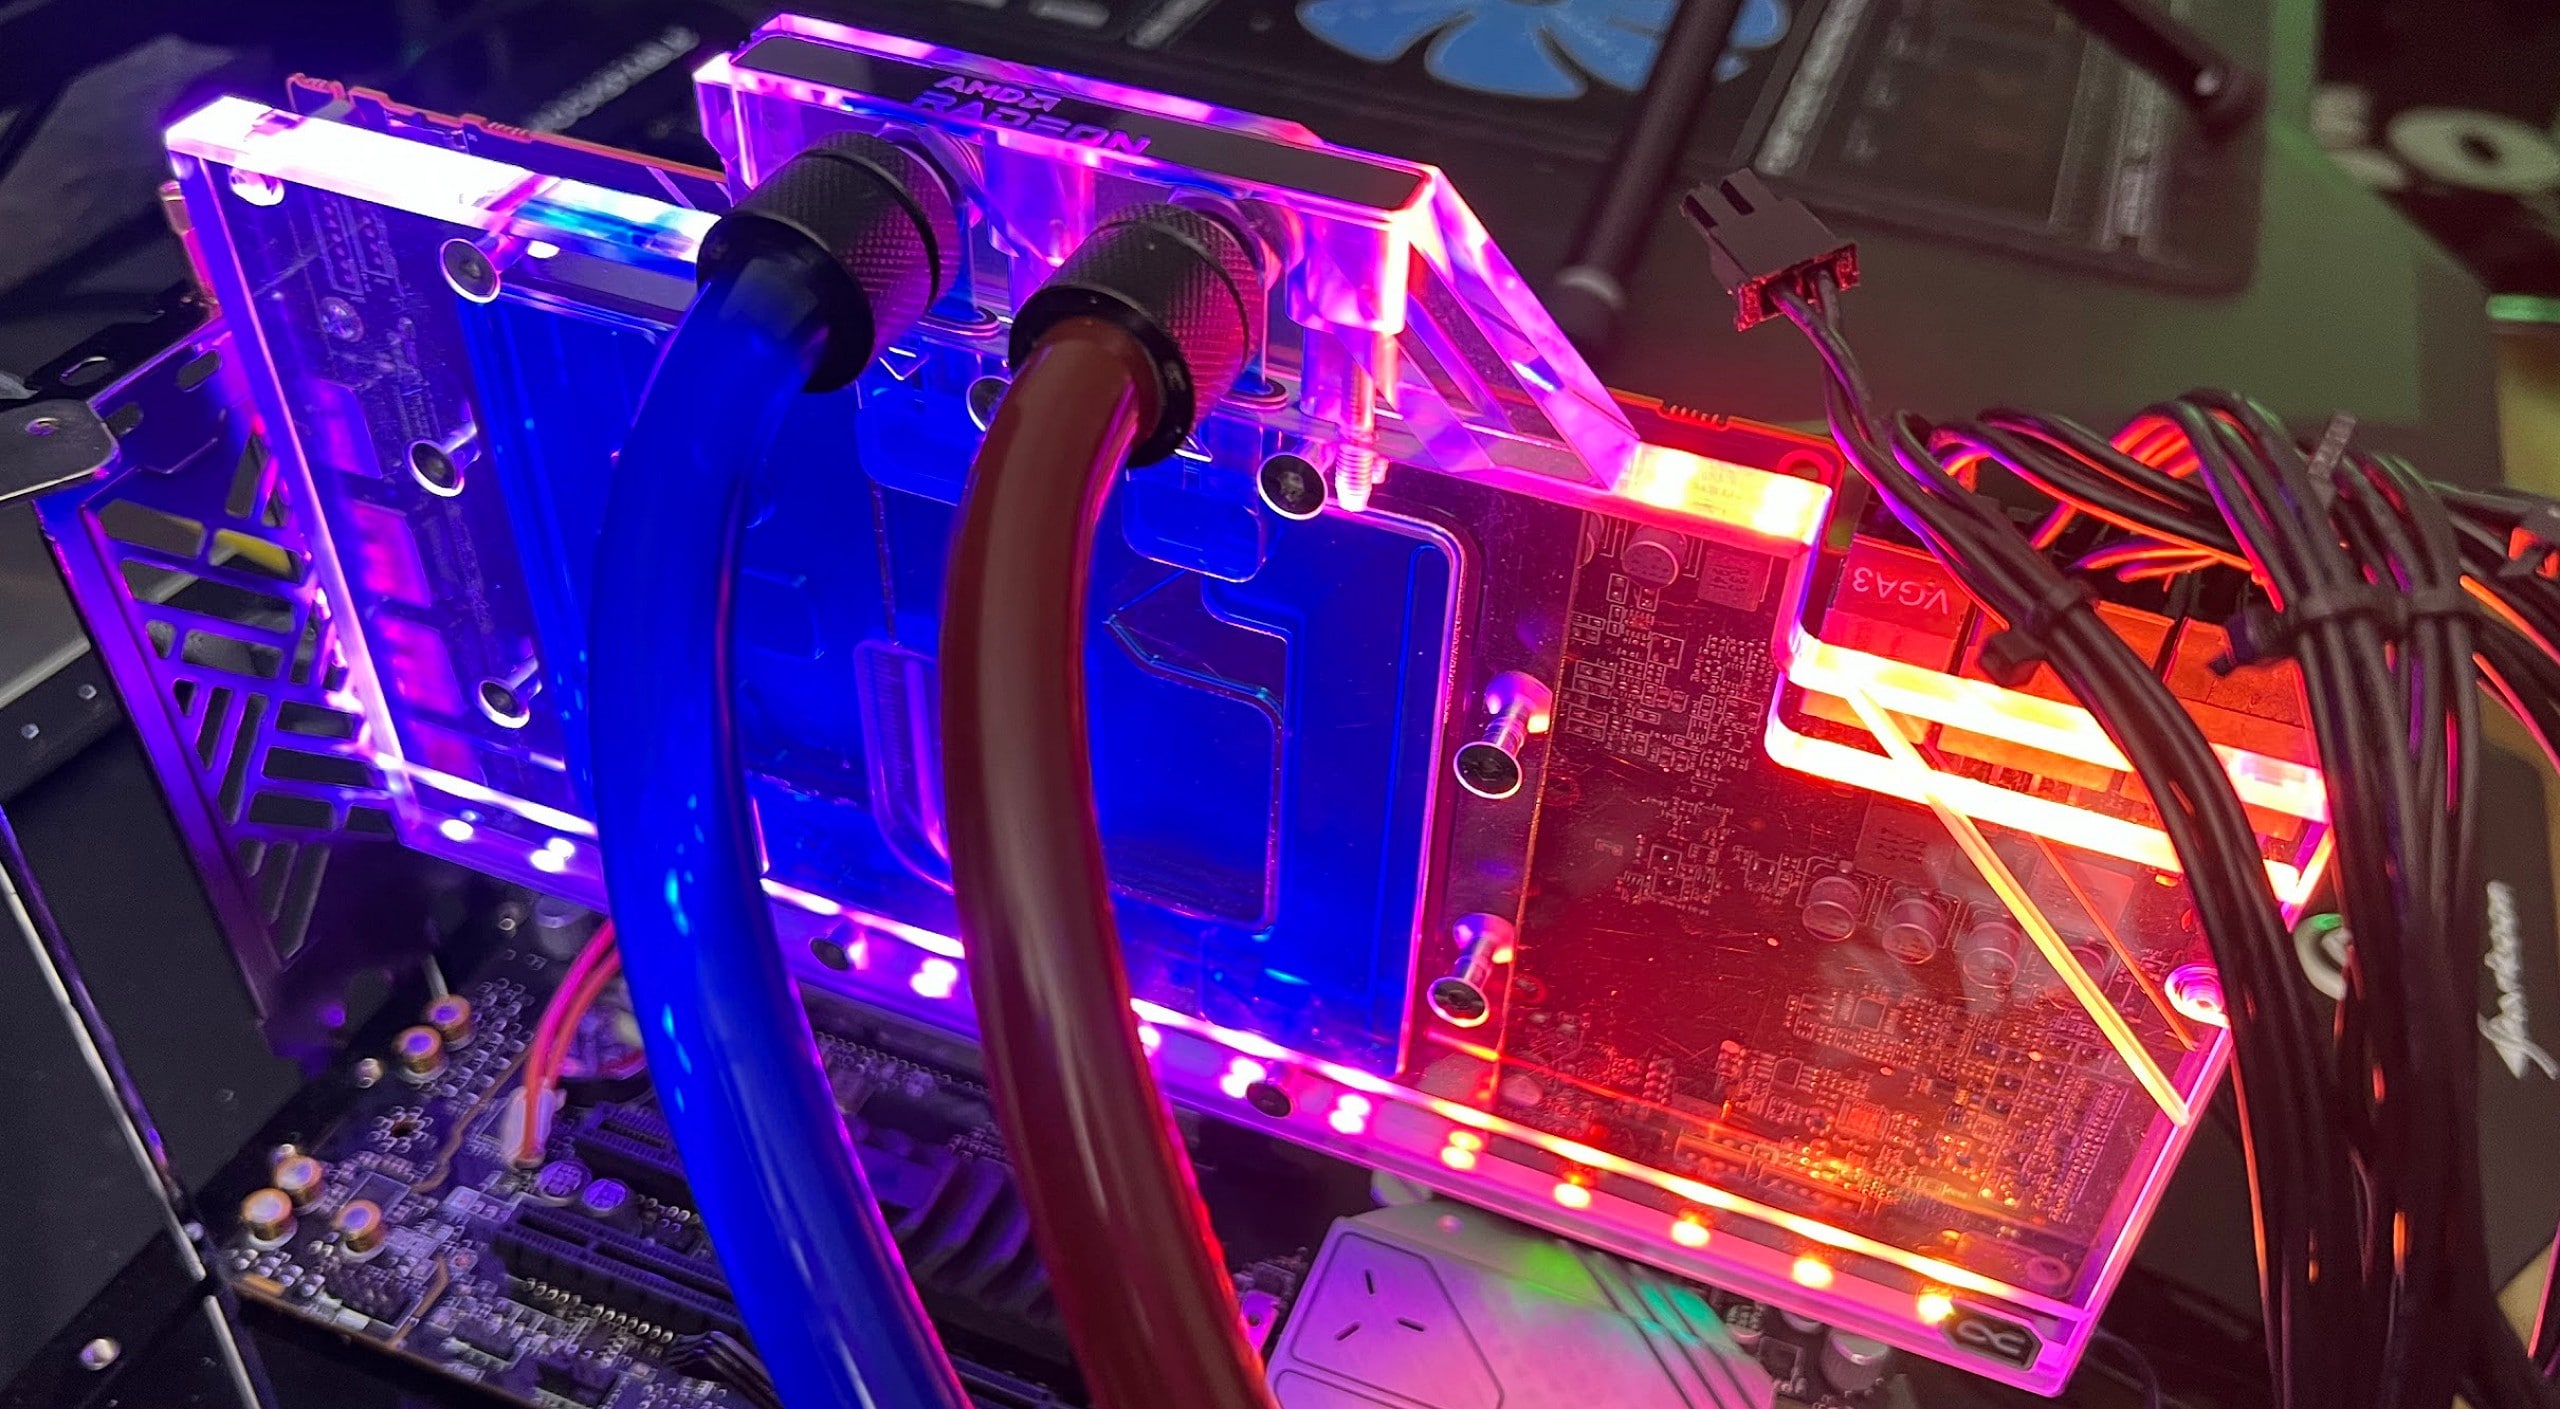
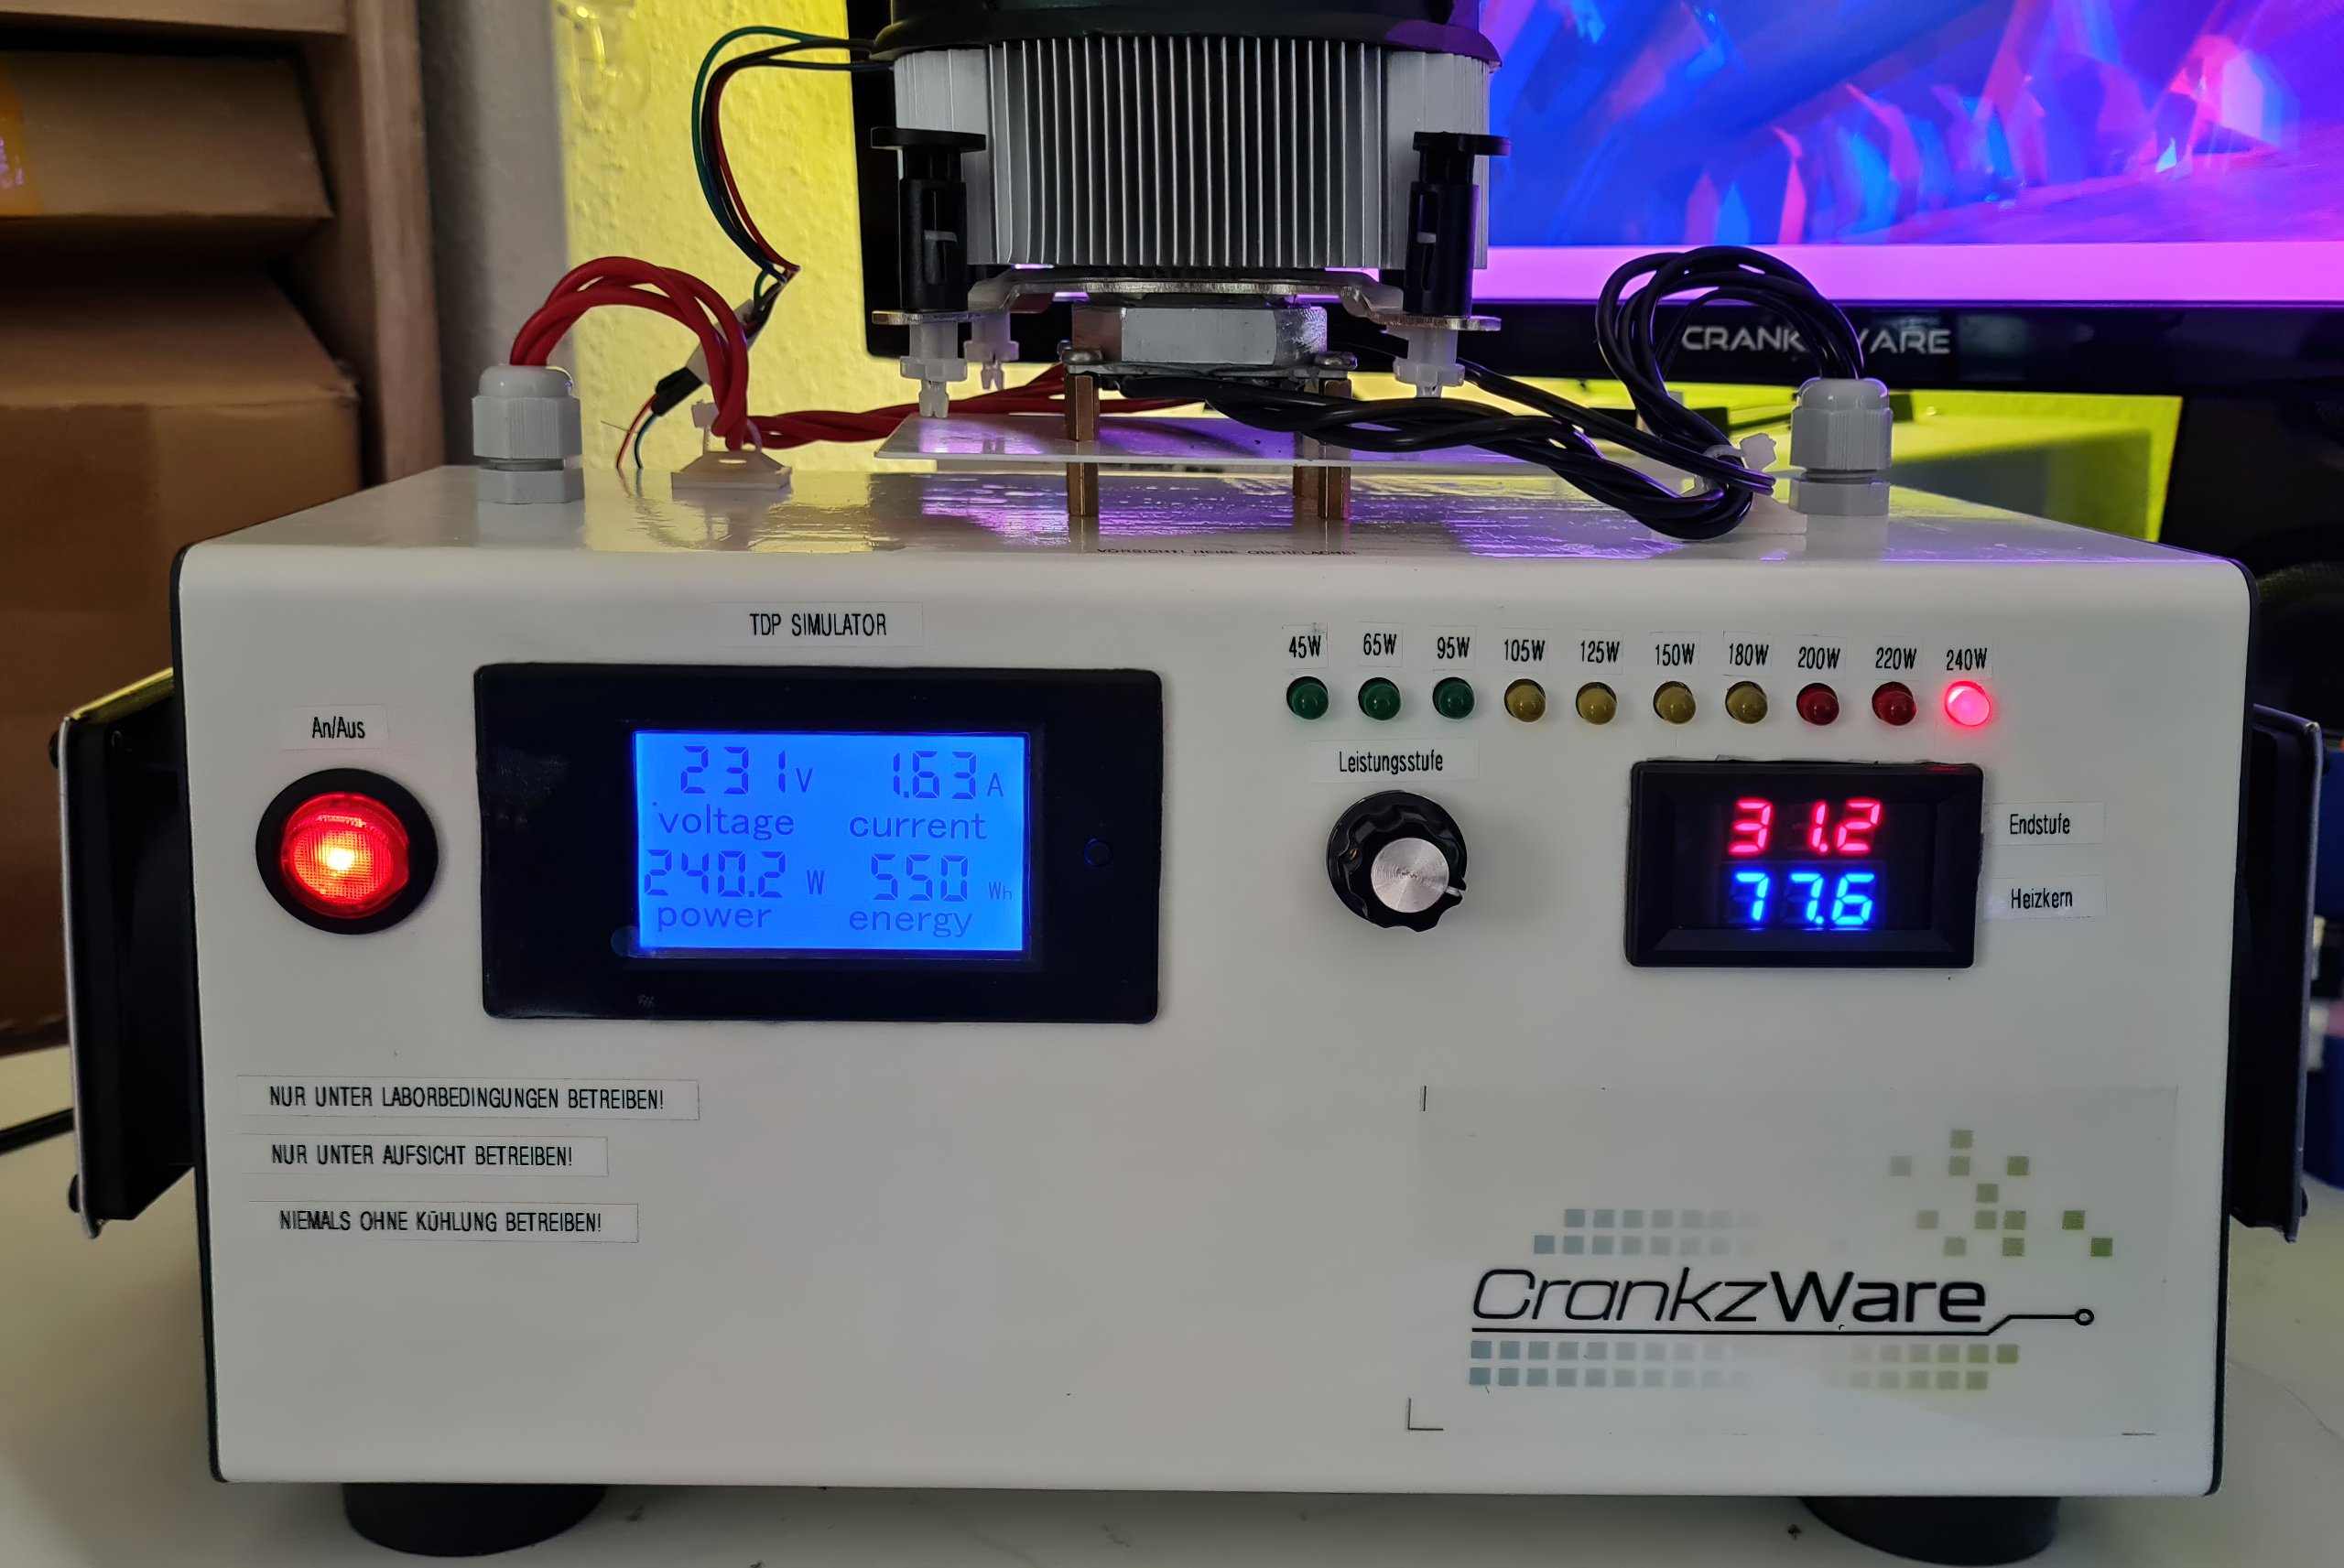
But what exactly is it now? Igor would like to test cooling components and thermal conductors, regardless of whether they are air-bound or water-bound, reliably and reproducibly. The primary focus of this project is the precise regulation of the waste heat in watts, and of course the secondary focus is also on traceability and suitability for use in a laboratory environment. In short, it is about converting electrical energy into thermal energy. What is particularly exciting about this project: I have to intentionally emit exactly what chips actually only emit as an annoying by-product, namely heat.
The following maxim was prescribed to me as a requirement specification:
- Safe operation
- High resilience
- Exact measuring tolerances ( = 1%)
- High reproducibility of all tests
- Scalability and editability of the superstructures
- Prefabricated TDP levels for common waste heat classes with fine tuning
- Universal attachment to enable a variety of measurements across all sectors
Since I am not a metalworker and I am sure I never will, Igor will continue to develop and manufacture the further work such as special contact surfaces for thermal pads with special sensors and pressure adjustment himself. My part is that of a heat-spinner that is as precise as possible as a reliable and durable base. The rest is then a pure accessory development and no longer my thing. But the construction of the heating station has also become a bit trickier than initially thought. But I don’t want to anticipate.
The conception
When electricity is to be converted into heat, one always thinks first of the temperature resistance of possible components and assemblies. Of course, in this context I decided on an aluminum housing, because I can never really achieve 100% thermal decoupling between the heater core and the housing. The next thought was then how to design this prototype safely in operation. The answer is very simple, at least with functioning building technology: An input fuse and a decent grounding of the housing are the usual minimum requirements.
It then continues with the general electronics: We use power supply modules that convert our 230V alternating current to 12V direct current. The heater core will then use this 12V to efficiently convert electricity into heat. There are two basic ideas: Either you use heating cartridges to fire the heater core, or load resistors. Both should work, but ultimately I decided on the latter, you will learn the reason later.
Most of the work is devoured by the controller. This should be quick, precise and comprehensible. Of course, in the first step it is good if we have thought up the energy conversion in general, but performance without control is also worthless. Since we, as “consumers”, only deal with heating cartridges or load resistors, my solution is: output stage, PWM-controlled on low-side.
Since the status and the settings of the device have to work quickly and reliably even in harsher environments (and because my software developer whistles out of the last hole in terms of capacity), we stick to analog technology here. Of course, a programmable display would also be an option here, but that would require a lot more development time, so in this case LEDs and a potentiometer, as well as a couple of illuminated LCDs, do it first.
I had fun planning and assembling, now you have (hopefully) reading. And I can already promise you it will be interesting and anything but too theoretical and boring. We’re still craftsmen and developers, not politicians 🙂
- 1 – Hot part for a standard-compliant Sahara feeling
- 2 – The case and metalwork
- 3 – The primary power supply
- 4 – The heater core
- 5 – The circuit boards: control and heating core
- 6 – Placement and assembly
- 7 – Commissioning and software
Related posts:
 Aqua Computer Kryographics Next for the GeForce RTX 3080 and RTX 3090 in the reference design – Solid GPU water block in the test
  G.Skill ENKI 360 All-in-One compact water cooling in the test – first attempt successful, but with weaknesses
  Office and gaming in one? We are building a work
 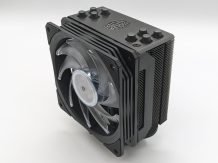 Cooler Master Hyper 212 RGB Black Edition – Tried and tested in a new look
 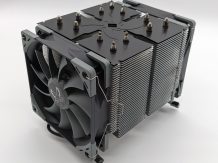 Scythe Ninja 5 in the test – cooling colossus with space problems
 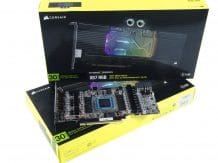 Corsair Hydro Series XG7 RGB water block for the reference design of the NVIDIA GeForce RTX 3080 and RTX 3090 in the test