Review and testing of a set of case fans Deepcool MF120 GT – It often happens that you buy a case, but there is only one fan in the kit, and that one is not controlled by anything. Manufacturers do this for a reason, but try to make the model more affordable, and additional fans need to be sold. Of course, there are fully stocked models, but this is usually expensive and severely limiting.
It turns out that the fans already exist, and even if they are bad, you no longer want to change them, since you will essentially have to pay twice. It is better to take a case without turntables, and then buy what suits or likes best. And the case makers understood what the market wanted. They offer one or two fans for air circulation in the base, and if the user wants something more, then please – a set of three fans with lighting, controls and other accessories.
It should be noted here that not every case is designed for purging. There are situations where there is simply nowhere for air to enter from the front – a corny deaf front panel and only a small slot at the bottom, from where the air goes inward. I myself have a couple of these cases, but I just don’t close the side panel and they work like an open stand. The whole point of this design is to quickly pick up and move. In most cases, manufacturers install one fan at the rear of the exhaust. Therefore, it is necessary to carry out modernization and install the fans on the supply in order to increase the flow of incoming cool air from the outside, even if the front panel is blank. And if there is a grid there, then this is simply a must.
But for many users, half measures are not needed: a real uncompromising solution is needed so that there is light, music plays, and everything is beautiful and cool, allowing you to really pump the system. For such purposes, a set of Deepcool MF120GT fans is suitable. This solution will allow not only to reveal ventilation in the case, but also provide it with bright, beautiful lighting and synchronization function.
I have already reviewed several similar kits from AeroCool, but today it will be interesting to know the fundamental difference between the Deepcool kit and find out how it compares favorably with competitors.
Packaging and equipment
announcements and advertisements
3060 cheapest in Citylink
Many <b> MSI RTX 3060 </b> on sale
First-hand Z590 motherboards at very good prices
RTX 3070 cheapest at Compeo.ru
<b> The best GTA 5 server – real cars, factions, gangs, no bots </b>
3060 Gigabyte Vision in Citylink
RTX 3060 12Gb in XPERT.RU – be in time 🙂
-20% on an almost gaming computer – nowadays it also happens
<b> Galaxy S20 family price crash </b> 25% discount
30% discount on 75 “4K Samsung – cheap drain in Citylink
RTX 3070 at XPERT.RU at the lowest prices
75 “LG IPS for 4,736,000 rubles – see specifications
Lots of RTX 3090 in XPERT.RU
The box is small. In terms of dimensions, it exceeds three fans, it is especially noticeable how it is elongated. The increase in size was necessary in order to fit the package.

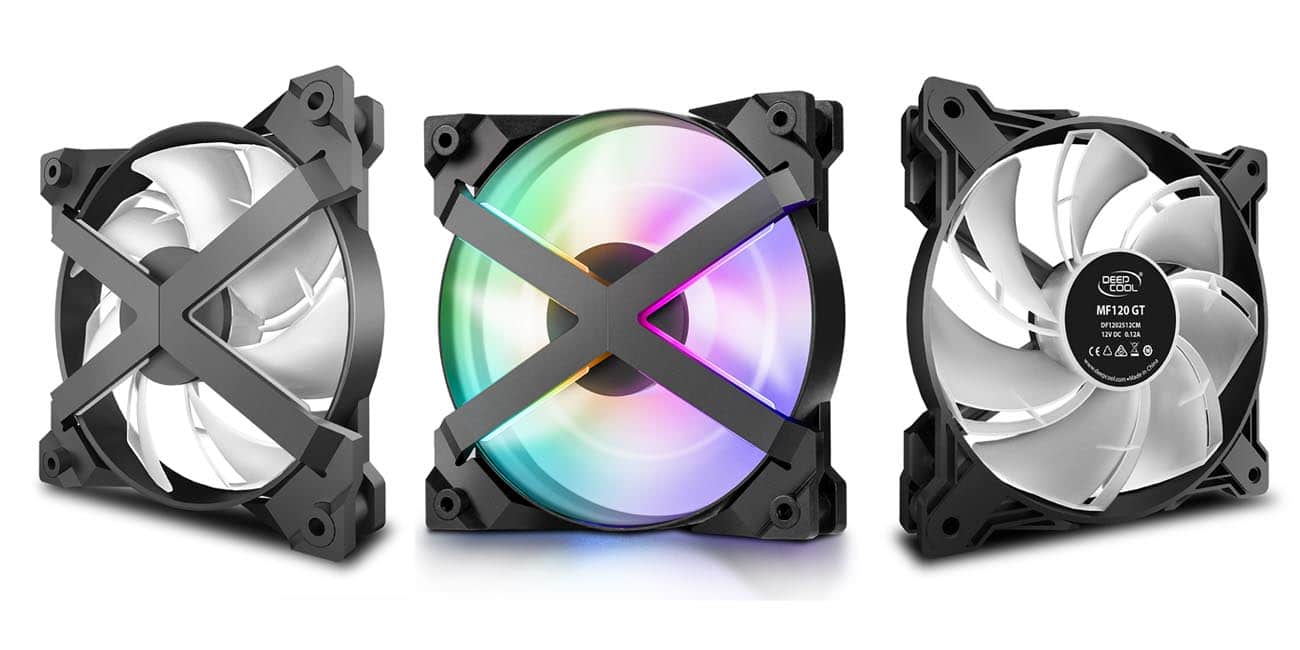
The box is made of thick cardboard. The styling is already familiar from several models of processor coolers. This is especially noticeable in the specific green shade of the background. Directly from the front, we see one fan in operation with backlighting. Its shape is unusual. It is not the frame itself that seems to be non-standard, but the cross-attachment of the engine to it.
On the front side of the package there is a gray background with a green border on the top, right and bottom. In the upper left corner is the manufacturer’s logo. In the center there is an image of one fan, and below it there are five icons that indicate support for ARGB lighting synchronization. The description indicates that it is: Unique X-shape A-RGB Fan with Double-faced design. At the very bottom, large characters indicate the model name MF120GT. Small added: FANx3. This means there are three such devices included.
We have already seen the packaging from all sides and on one of its edges a description of this kit is presented in several languages:
- Two levels of air pressure due to the special shape of the fan blades of the fan;
- The combination of “X-shaped” base and fan blade shape allows perfect display of A-RGB LED backlighting
- Synchronization control with motherboard and wired controller;
- Equipped with cables for fan speed reduction;
This description confused me even more. Meanwhile, two points remained unmarked: a hub for connecting the power to the fans and a hub for connecting the backlight.
In the lower right corner there is a table with the specification of the kit.
| Fan | MF120GT |
| Dimensions (L x W x H), mm | 120 x 120 x 27 |
| Rotation speed, rpm | 500-1800 |
| Airflow CFM | 60,6 |
| Air pressure, mm water column | 1,73 |
| Noise level, dB | 35 |
| Rotation speed with LSP, rpm | 400-1450 |
| Airflow with LSP, CFM | 48,3 |
| Air pressure with LSP, mm wc | 1,1 |
| Noise level with LSP, dB | 29,5 |
| Connector type | 4-pin PWM |
| Bearing type | hydraulic |
| Fan rated voltage, V | 12 |
| Fan rated current, A | 0,12 |
| Power consumption, W | 1,44 |
| LED type | Addressable RGB LED |
| LED connector | 3-pin (+5V, D, G) |
| LED rated voltage, V | 5 |
| Rated current LED, A | 0,74 |
| Power consumption LED, W | 3,7 |
Opening the package, on top we see a small box with accessories.

There are three boxes with fans under it.

The delivery set is solid. There is everything you need to connect and install this kit.


- Instruction;
- Three LSP underspeed adapters;
- Three sets of self-tapping screws (4 pcs per fan)
- 4-pin FAN hub splitter.
- ARGB hub splitter.
- Power cable with ARGB controller;
- ARGB sync cable with motherboard;
- Twelve long screws;

Already at this stage, it becomes clear that the ARGB hub is connected either to the motherboard or to its own separate controller. Thus, the user has a choice of what to use and how to implement the lighting scheme.
The device and features of the kit
The fans look nice and unusual. The hardest thing to get used to is the direction of the air flow. In the classic version, the air blows towards the attachment of the motor to the chassis, but here the opposite is true.

It turns out that the impeller is arranged quite differently here. In addition, the shape of the blades is unusual. I have already seen a similar one when reviewing the DeepCool GAMMAXX 400EX processor cooler, but there was no backlight.

Шасси не очень твердое. Оно изготовлена из пластика и состоит из нескольких элементов. Мне оно показалось разборным, но я не стал его разбирать, чтобы не сломать или повредить. Пластик не очень твердый и не хрупкий, иначе я бы сломал все вентиляторы во время крепления. Возможно из-за мягкости конструкции колебаний практически нет. А еще их хорошо гасят резиновые площадки по углам рамы. От двигателя каждого вентилятора идет два кабеля. На концах у каждого по два коннектора: обычный 4-pin PWM и специфический 3-pin ARGB.

The latter cannot be connected directly to the motherboard. Only to the hub that is included in the kit. It is designed for 5 devices. Also included is a hub for powering 4-pin PWM fans for four devices. It plugs into a header on the motherboard and allows rotational speed control, however, speed monitoring does not work. Also included are three adapters with resistors to reduce the fan speed. In fact, there is no need for them because the speed can be adjusted on the motherboard.
Test stand
The Deepcool MF120GT kit was tested with the following components:
- Processor: AMD Ryzen 7 3800X (3900/4500 MHz base / turbo);
- Cooler: Noctua NH-D15;
- Thermointerface: Noctua NT-H1;
- Motherboard: ASUS PRIME X570-PRO, BIOS version 2602;
- Память: 2 x 8Гб DDR4-4133, A-Data XPG Spectrix D80 (Samsung B-die);
- Video card: ASUS TUF Gaming RX 5700 (1720/1750/14000 MHz (core / boost / memory));
- M.2 SSD: Samsung 970 EVO 250GB
- Power supply: AeroCool VX 700 W.
- Body: Deepcool CL500.
System assembly
I chose the Deepcool CL500 case as a basis, with which I decided to continue experimenting. The assembly does not cause any particular difficulties, especially when everything is already assembled. The front panel is removed, all three fans are installed in the front.

As I said, it’s easy to confuse the orientation because these fans work the other way around and the first time I got it wrong. It’s all about habit. Usually, where the engine mounting cross-hair is, there is a back and in that direction there is a flow. Here, the opposite is true – the fastener must be in front.

Otherwise, there are no difficulties. I tested both backlight wiring diagrams. First to your own controller, and then to the motherboard. In both cases, everything was fine. The stock controller also has nice effects that are not on the board. Therefore, here the user decides for himself what is more convenient and beautiful for him. We collect and launch.
With the help of a standard backlight controller, very interesting effects are obtained. Switching is carried out using the remote control, which has three buttons. Also, with its help, the backlight can be completely turned off.
Test results
We start the system and see how the fans work at maximum power. The fact is that first I connected the hub of the kit to the hub of the case. The latter does not control the speed at all, so it is better to immediately connect it to the motherboard.
At 100% rotation speed, exactly the same 1800 rpm is obtained. I also checked how the backlight synchronization with the motherboard works.
Everything is fine too, so it’s time to move on to testing. For this, I used several modes of operation.
- Open stand (OS);
- Standard fan (Base);
- Standard fan + RF120 (Base + RF120 MAX);
- Standard fan + RF120 (Base + RF120 Silent);
- Standard fan + MF120GT (Base + MF120 MAX);
- Standard fan + RF120 (Base + RF120 LSP);
- Standard fan + RF120 (Base + RF120 Silent).
Noise level10 cm
Simple | Load
Less is better
Turn on JavaScript to see graphs100 cm
Simple | Load
Less is better
Turn on JavaScript to see graphs
TemperatureCPU temperature
Simple | Load
Less is better
Turn on JavaScript to see graphsGPU temperature
Simple | Load
Less is better
Turn on JavaScript to see graphs
Conclusion
Only for the unusual appearance and inverted blades, you can already put a bold plus. An interesting, cute and distinctive model with its own X-style. The crosshairs are highlighted along the edges, there are nice effects that look unusual and original. Synchronization of color transitions works great.
An important advantage is the wide range of fan impeller speed. 1800 rpm is the comfort limit of the noise level, and at maximum it is noisy, but there is a solid margin for air flow. The case with the Deepcool MF120 GT kit really opens up and allows for performance builds. That’s not all: RPM can be dynamically controlled through the motherboard by binding the port to a processor or system sensor. You just need to select one of the profiles to set the intensity.
The kit includes its own controller with a wired remote control for controlling lighting effects. Someone will prefer it, but, in my opinion, it is easier to do this through the software of the motherboard. To do this, the ARGB backlight hub splitter is connected to the corresponding connector on the board, and everything works fine. The situation with the turnover management is more complicated. It is clear that here, too, everything is shifted to the motherboard. However, this is where it is easier to use reobass or three fixed modes so that you can quickly switch them. In fact, the average user, most likely, will select the maximum speed that is comfortable in terms of noise and leave it on a permanent basis. And there is no monitoring yet. The speed is simply not clear here, but it is not so important if the flow is good and the noise level is comfortable. After all, the information about the speed itself does not affect anything.
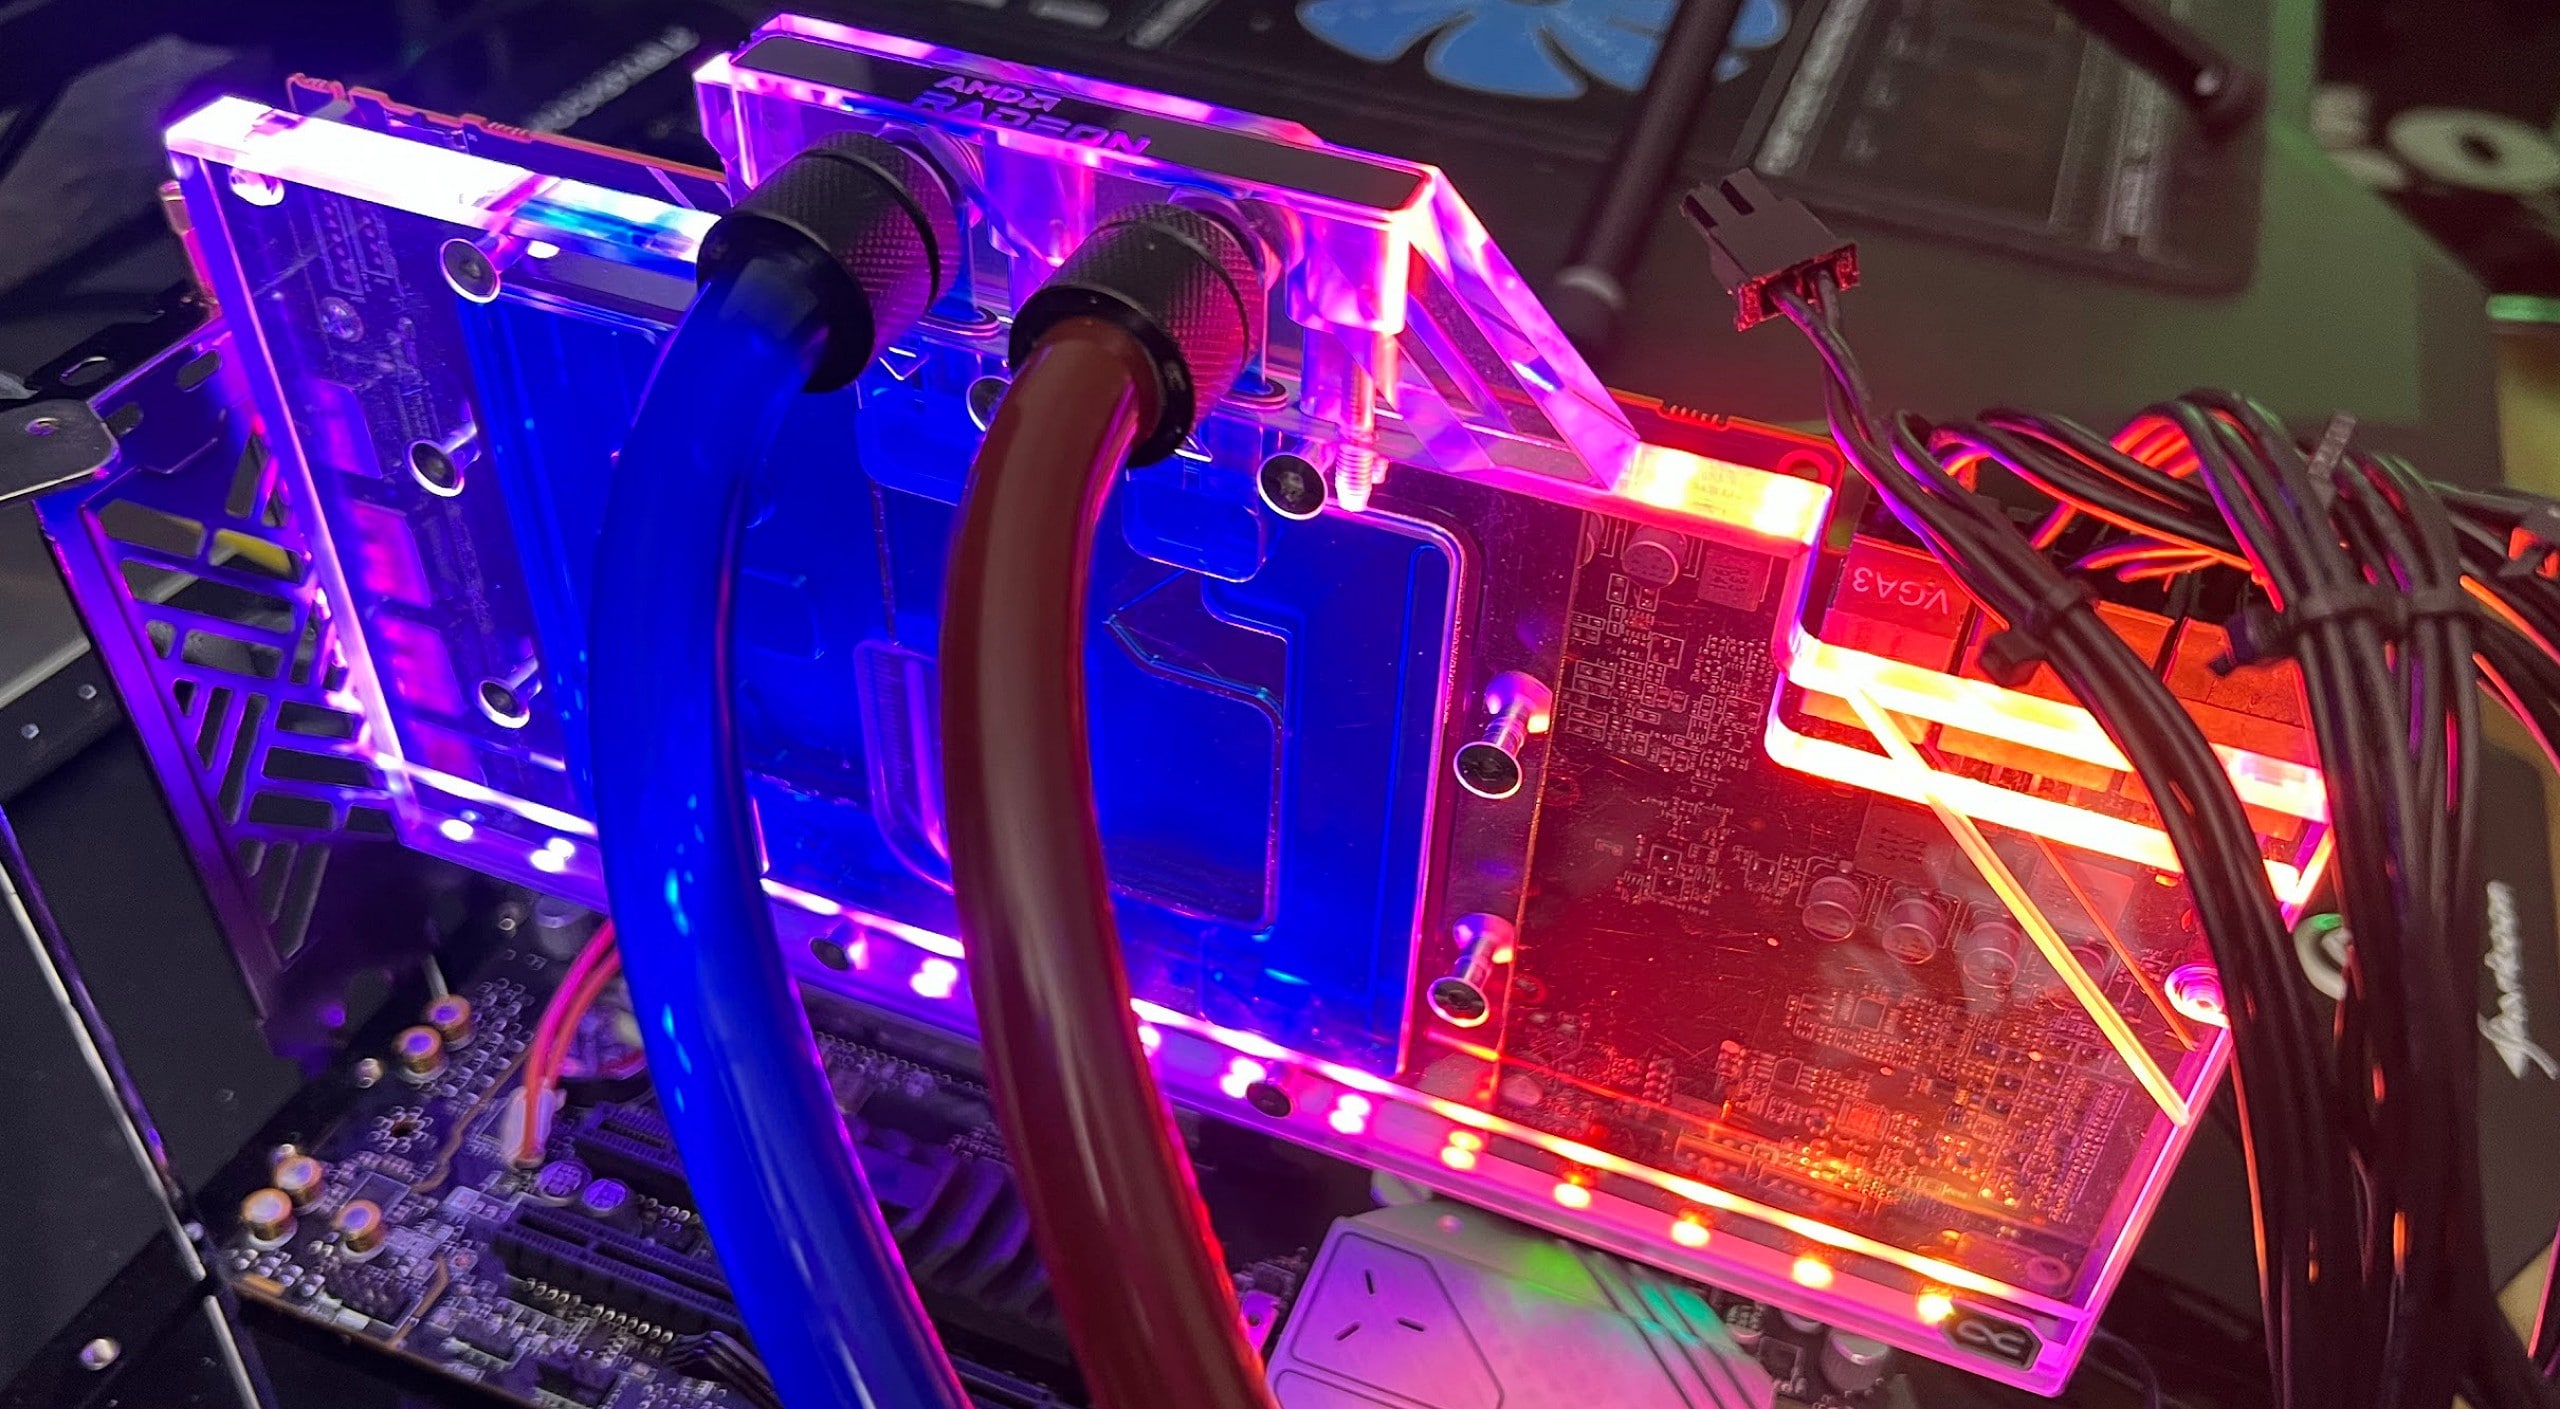
Of course, the Deepcool MF120 GT kit is suitable for various housings, and I considered only a special case using an example. It can be used more flexibly and even more complex schemes can be configured. For example, put one fan on the hood, and two on the intake and connect them to different connectors, setting different parameters. It’s a pity to hide this beauty behind a blank panel, but I want to admire their unusual appearance and good lighting effects.
Related posts:
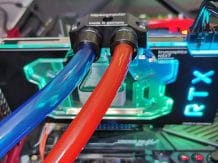 Aqua Computer Kryographics Next for the GeForce RTX 3080 and RTX 3090 in the reference design – Solid GPU water block in the test
 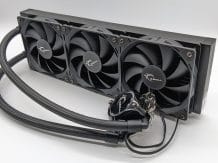 G.Skill ENKI 360 All-in-One compact water cooling in the test – first attempt successful, but with weaknesses
 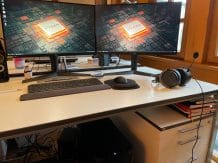 Office and gaming in one? We are building a work
  Cooler Master Hyper 212 RGB Black Edition – Tried and tested in a new look
  Scythe Ninja 5 in the test – cooling colossus with space problems
  Corsair Hydro Series XG7 RGB water block for the reference design of the NVIDIA GeForce RTX 3080 and RTX 3090 in the test