


Solution There is a pending system repair that requires a reboot to complete in Windows 11
System File Checker Tool or SFC Scanner is a tool that can check and repair missing system files on your computer. But, while using this handy tool, you may see this error message in terminal: ‘There is a pending system repair that requires a reboot to complete. Restart Windows and run the SFC scan again. The main reason behind this problem. If you see this error message, you cannot run the SFC without manually correcting it first.
Solution 1: use a registry hack
There is a registry tweak that you can apply to fix the problem.
1. At first, press the Windows key With R wrench.
2. Then write «regeditAnd hit Enter to open the Registry Editor.
Warning – Before modifying the registry on your computer, you should create a backup copy of the registry on your system. Therefore, pay close attention to these instructions.
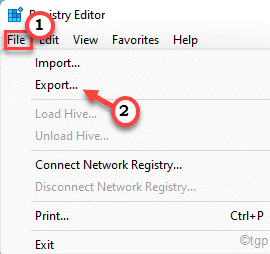
When Registry Editor opens, click «Proceedings“. Then click on «To export”To make a new backup on your computer.
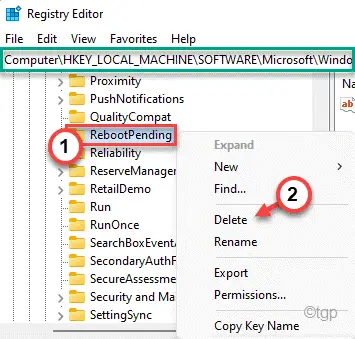
3. Now, expand the left panel to go to this place ~
HKEY_LOCAL_MACHINESOFTWAREMicrosoftWindowsCurrentVersion
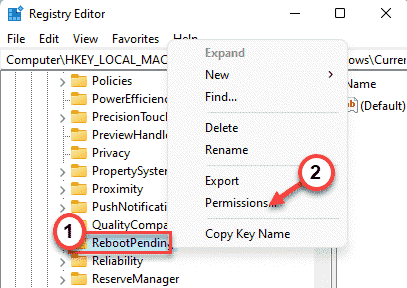
4. Now, on the left side, look for the «RestartPending» sub-clave.
5. Then right-click the key and tap «Permissions.. ”.
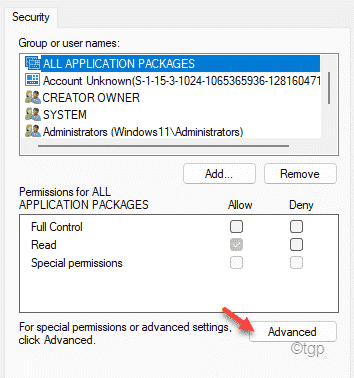
6. After that, click on «Advanced“.
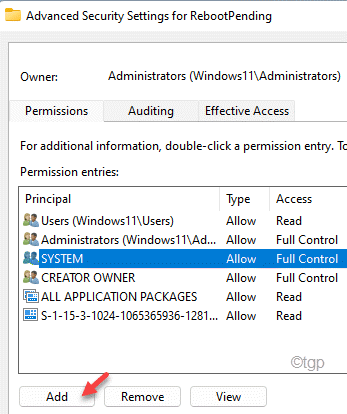
7. Then tap «Add”To add your user account.
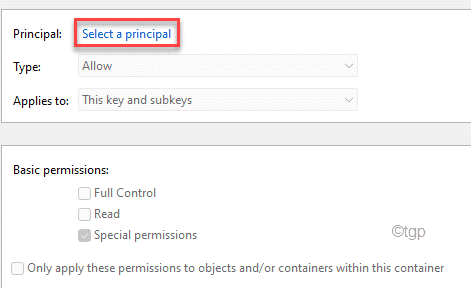
8. Now, touch «Select a director“.
9. Then click on «Advanced“.

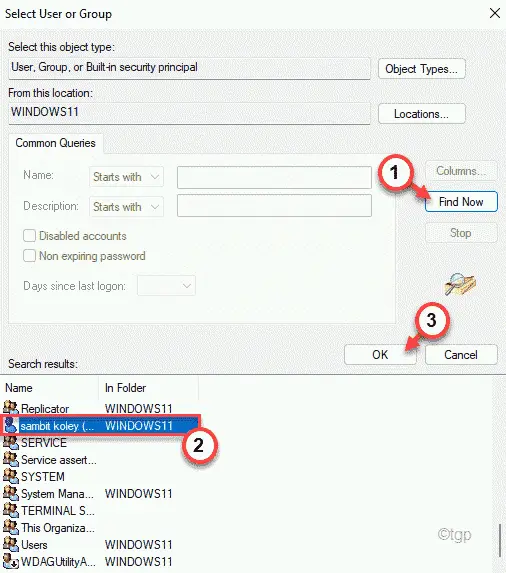
10. Now, touch «Find now“.
11. Next, scroll down the list of users. Select your account name.
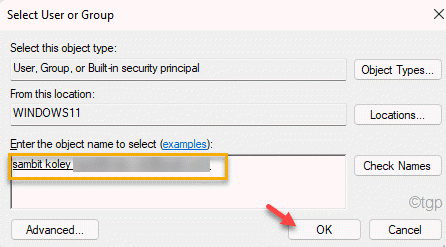
12. Finally, click on «OK“.
13. Again, touch «OK“To save the change.
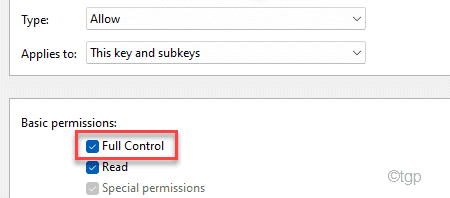
14. Returning to the ‘Pending Restart Permission Entry’ screen, check the box «Total control” box.
15. Then click on «OK”To save the changes.
16. Again, click on «Request” and “OK”To save the changes.

17. Finally, right-click on the «RestartPending“And click”Delete“.
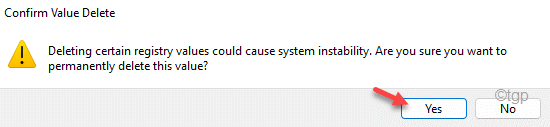
18. You will be asked to confirm your action. Click on “Yes“.
After that, close the Registry Editor window. Restart your computer to allow these changes to take effect. After this, try running an SFC scan again.
Solution 2: use the command prompt
If your computer is stuck with a process, you can delete the folder associated with that process. You can use the command prompt to work around this problem.
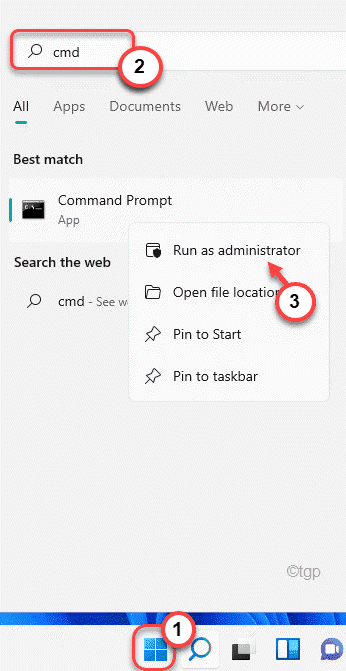
1. At first, press the Windows key and write «cmd“.
2. Also, right-click on «Symbol of the system«And it touches»Execute as an administrator“.
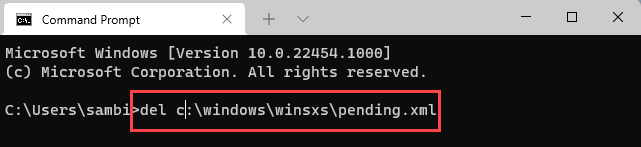
3. When the command prompt window appears, writes this command and hit Pay in.
del X:windowswinsxspending.xml
[
Here, X: represents the drive letter of the drive where the folder is. Usually, it is the “C:” drive or in the “D:” drive. So, the commands will be –
del c:windowswinsxspending.xml
del d:windowswinsxspending.xml
]
After running the commands, you can run a slightly modified SFC scan on your system.
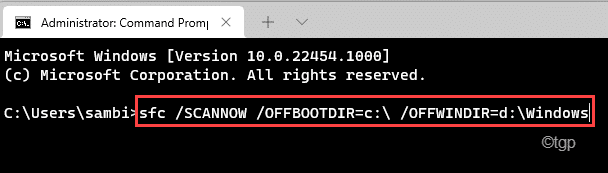
4. Catch this command in terminal and press Pay in.
sfc /SCANNOW /OFFBOOTDIR=c: /OFFWINDIR=d:Windows
Now, wait for the scanning process to complete.
NOTE –
In some unusual cases, when deleting files from your computer, the command prompt may show you an error message.
This happens if you don’t have the proper permission on the ‘WinSxS’ folder. Follow these steps to modify the ownership of the particular folder.
1. At first, press the Windows key + E keys together.
2. Then go to this location:
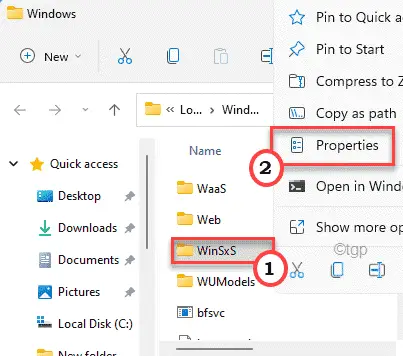
C:Windows
3. Here, locate the «WinSxSFile “. Then right-click on the folder and tap «Properties“.
[
If you can’t find the ‘WinSxS’ folder, it is because it is hidden. You have to make File Explorer show the hidden items.
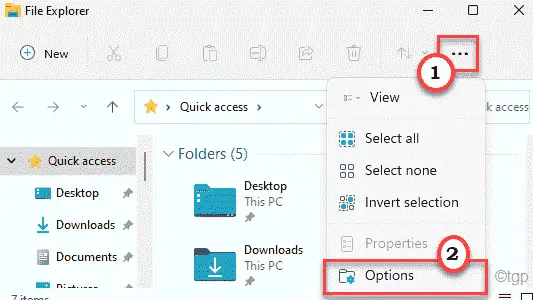
a. In the File Explorer, click on the three-dot in the menu bar.
b. Then click on the “Options“.
c. In the Folder Options window, go to the “View” tab.
d. Then, check the “Show hidden files, folders, and drives” option.
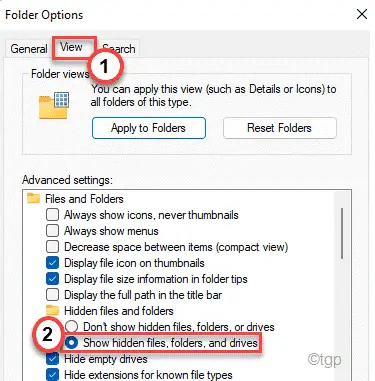
e. To save these changes, tap on “Apply” and “OK“.

Now, you will see the WinSxS folder on your screen.
]
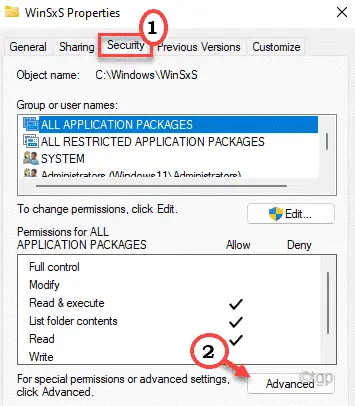
4. Now go to the «Security”On the Properties tab.
5. Here, click on «Advanced“.
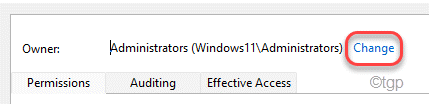
6. You will see the option ‘Owner:’ at the top of the screen. Tap on “Change”To change the ownership of the folder.
7. Now, tap on the «Advanced»Option.
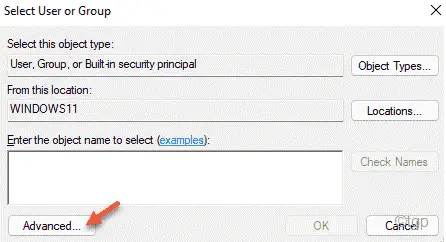
8. To view the list of users or groups, click «Find now“.
9. From this list of user groups, select your account name. (On this computer, it is’Koley said‘.)
10. After that, tap «OK”To select it.

11. You will see that your account name has appeared in the box.
Tap on “OK”To save this change.

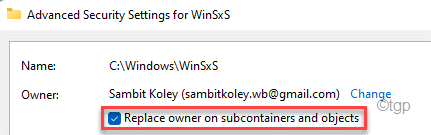
Now, you have successfully acquired the WinSxS folder.
12. So, cheque the “Replace owner on subcontainers and objects”To ensure that all subdirectories are also owned by your account.
13. Finally, tap «Request” and “OK”To save this change.
After doing these steps, now try removing the pending.xml file from the directory once more using the terminal. This time you will not face any problem at all.
Fix 3 – Fix MBR
Some users have claimed to fix the problem simply by fixing the Master Boot Record.
Follow these steps to start your computer in the Windows recovery environment.
a. Turn off your computer.
B. Just press the power button to start your system.
C. Then when your system boots up, as soon as you’ve seen the manufacturer’s logo, press «Hold the power button again to force shutdown your system.
D. Continue this 2-3 more times and you will automatically get to the home repair screen.
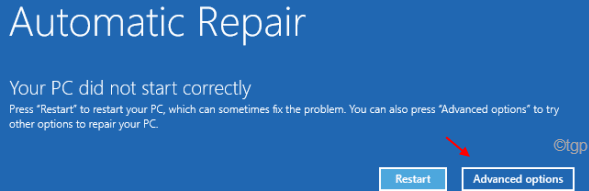
When your computer starts up, you will be in Auto repair way.
1. Now click on «Advanced Options“.
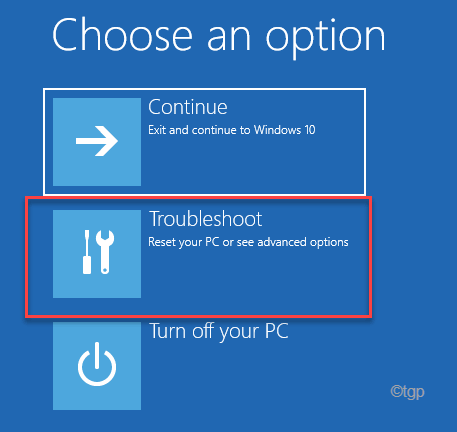
2. Then touch the «Solve problems»Option.
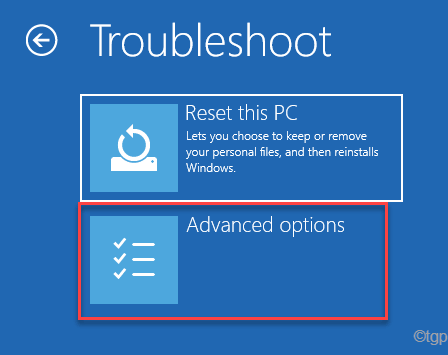
3. Again, click on «Advanced Options“.
4. In the Advanced Options window, select «Symbol of the system“To open it.
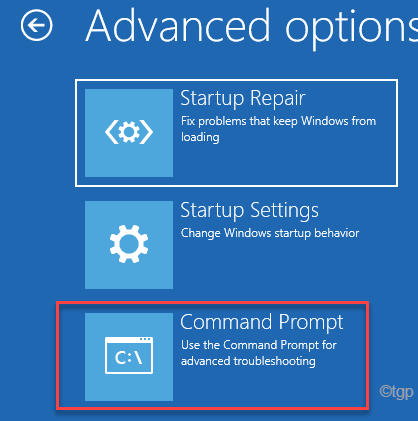
5. Here, tap on your administrative account to log in with it.
6. Then click on «Continue”To open the terminal.

7. At first, you should use the BCDboot tool to reconfigure the boot files.
bcdboot C:Windows
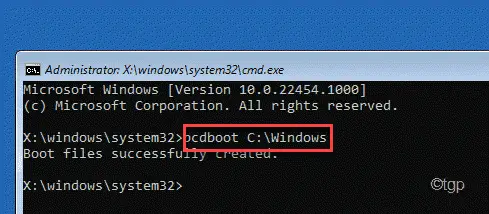
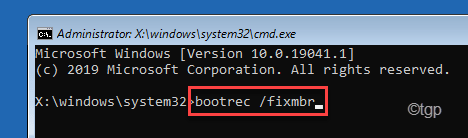
8. Finally, to write these commands one at a time and then press Pay in to fix the Master Boot Record.
bootrec /fixmbr
bootrec /fixboot
After the rebuild operation is complete, close the terminal.
9. It will automatically land on the ‘Choose an option‘ window.
10. Finally, tap «Continue”To boot your computer normally.

Once Windows starts, try running the SFC scan one more time. Check if it still stuck midway or not.
Solution 4: update the display driver
Try updating the display driver on your computer.
1. At first, press the Tecla de Windows + R keys together.
2. Then write «devmgmt.msc«And hit Pay in.

3. Now, expand the «Display adapters” section.
4. After that, right-click on the display adapter and tap «Update driver“.
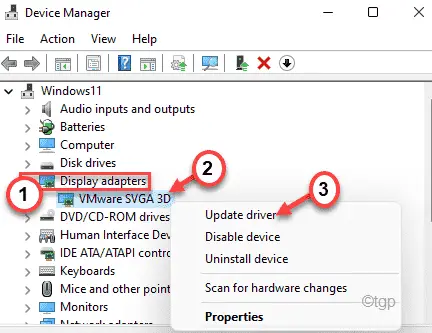
5. Then choose «Search for drivers automatically” in the window.

Let Windows download the graphics driver to your computer. Restart your computer for this change to take effect.
Fix 5 – Adjust BIOS settings
If nothing has worked for you so far, try altering how SATA works in BIOS setup.
1. At first, completely turn off your system.
2. Next, turn on the machine. You will see that the manufacturer’s logo has appeared on your screen.
3. Now, repeatedly press the button «Delete«* on your keyboard to open the BIOS setup on your computer.
*NOTE– This key to access your BIOS settings differs from one manufacturer to another. Pay close attention to the bottom of the screen to find the correct key for your device.
Generally, these are the keys that manufacturers use:
Esc, F1, F2, F10, F11, F12 or Delete

The SATA settings can be anywhere in the BIOS settings. It is usually found in the main section or in the advanced section.
3. Once BIOS the configuration opens, go to «AdvancedTab menu ”.
4. Select the «SATA configuration«And hit Pay in.
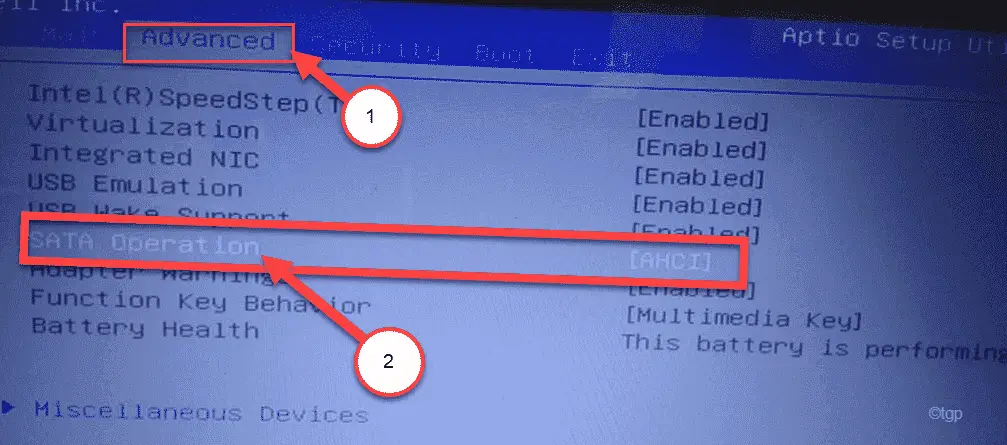
5. Now choose «HERE«Settings and press Pay in to save it.
7. Finally, press the designated key to save money the configuration.
[It is the “F10” key para this computer.]

8. Finally, click on «Yes”To save the settings.
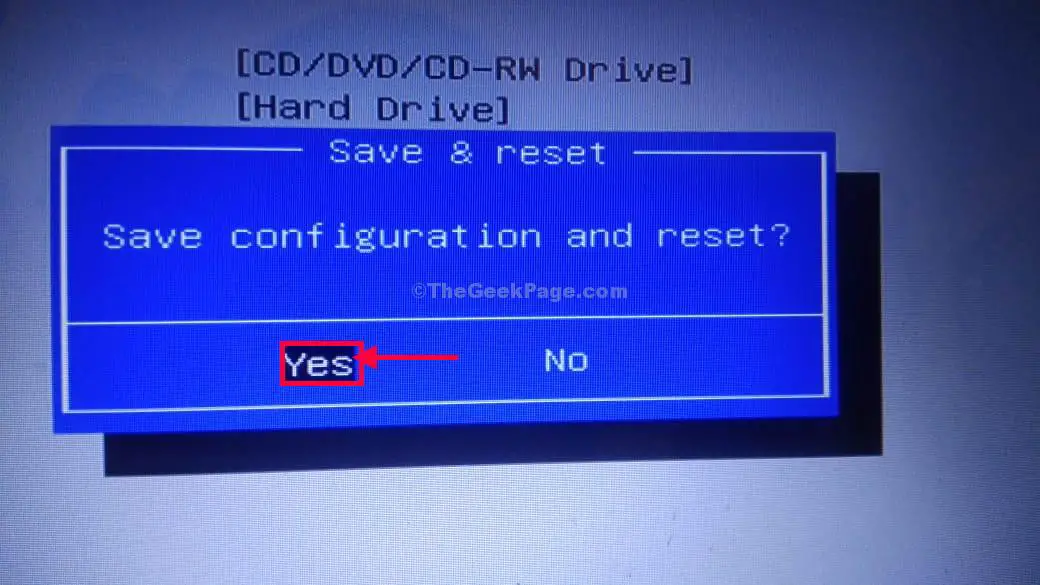
Let your computer start normally. When it starts up, try running an SFC scan one more time.
Your problem will be solved.
Related posts:
 How to access Steam games without an internet connection
  How to view FPS with Xbox Game Bar in Windows 10: Steps Made Easy
  Hacked account? How to check and remedy
  How to make video calls from WhatsApp Web
  How to increase the RAM memory of a desktop or laptop + Tips and Tricks
  How to organize your YouTube subscriptions into categories
+ Tips and Tricks
How to organize your YouTube subscriptions into categories
+ Tips and Tricks


