


Top 5 Solutions to Overcome Slow Internet Problem on Windows 10/11
Most of the time, we notice that even when there is internet connectivity, the speed is really slow. If you are seeing slow internet or slow connection problems on your system, consider trying the following solutions.
Solution 1: disable peer-to-peer update
When you have multiple Windows computers within the same network, the peer-to-peer update feature allows you to share the Windows update with these computers. While this is good in certain cases, you may see slow internet connectivity issues. To disable this feature, follow the steps below:
Step 1: Open the Run With dialog box Windows + R.
Step 2: Write control update and click the OK button.
Step 3: Click the Advanced Options.
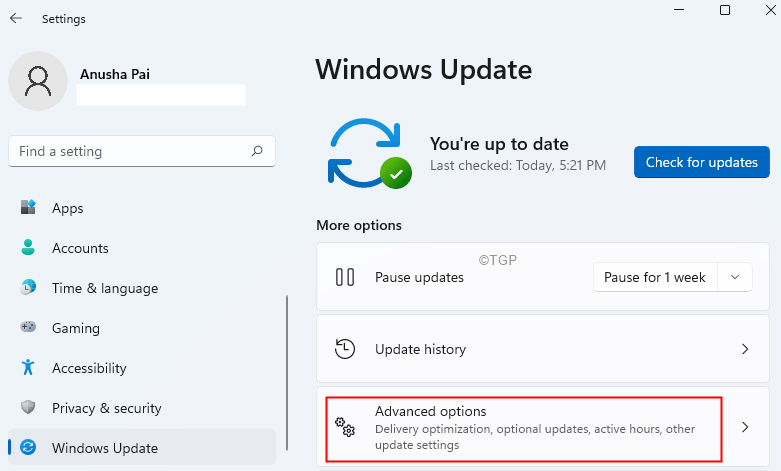
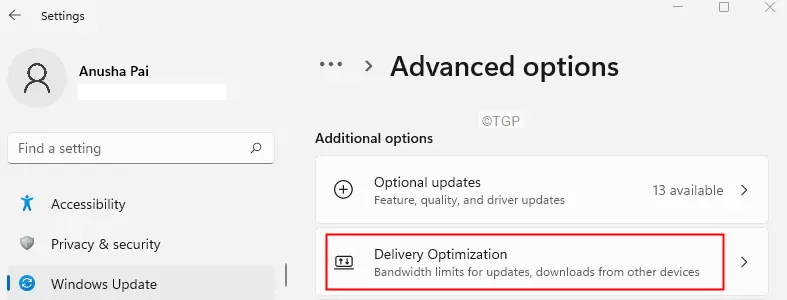
Step 4: Scroll down to the Additional Options section and then click Delivery optimization.
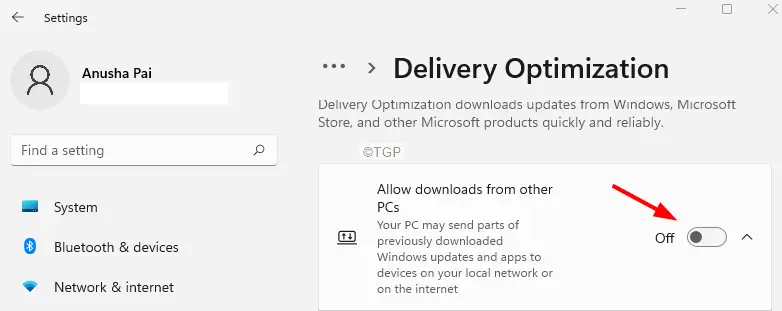
Step 5: in the opening window, under the Allow downloads from other PCs section, move the button to turn it off as shown below
In case this doesn’t help, try the next solution.
Solution 2: modify Internet bandwidth settings
Note: This fix only works on Windows Pro versions.
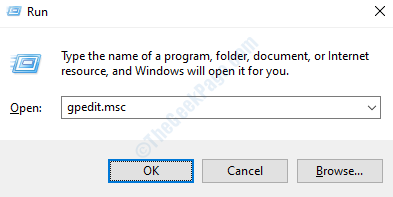
Step 1: Open the Run With dialog box Windows + R.
Step 2: Write gpedit.msc and click the OK button.
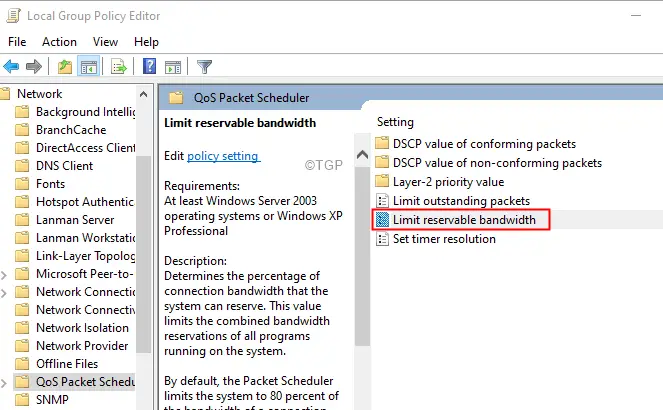
Step 3: In the Local Group Policy Editor, navigate to the following location.
Administrative Templates > Network > QoS Packet Scheduler
Double-click the selection to expand it.
Step 4: On the right side, double click Limit the reservable bandwidth.
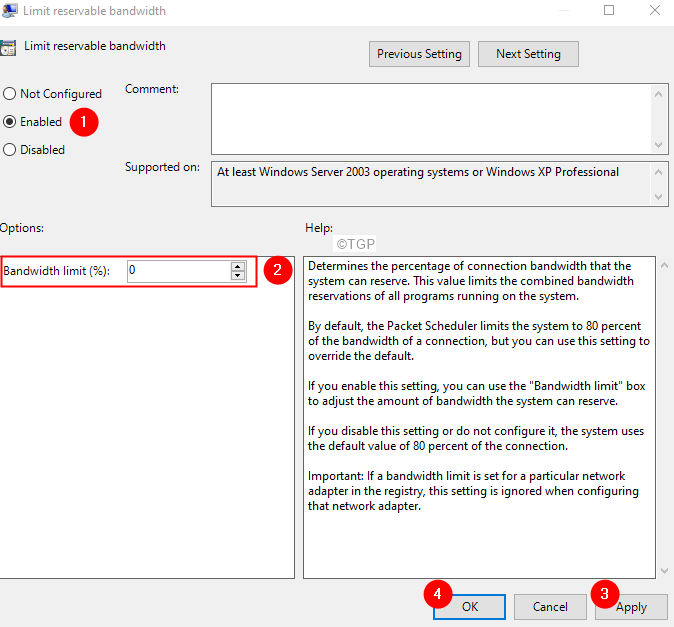
Step 5: In the window that appears, check the Activated option.
Step 6: configure the Bandwidth limit for 0.
Step 7: click Request and then click it’s okay.
Solution 3: keep your WiFi drivers up to date
Step 1: Hold down the keys Windows and R to open the Run terminal window
Step 2: Write devmgmt.msc and hit Pay in

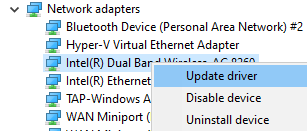
Step 3: In the Device Manager window that opens, scroll down and double-click Network adapters
Step 4: Right click on Intel (R) Dual Band Wireless AC 7260 and click Update driver
Step 5: In the Update Drivers window, click Search for drivers automatically

Step 6: The system searches and you will be notified if updated drivers are found.
Step 7: Follow the instructions on the screen and update the drivers.
Check if this helps, if not then do the following:
Step 8: In the Update Drivers window, click Find drivers on my computer

Step 9: click Let me choose from a list of drivers available on my computer

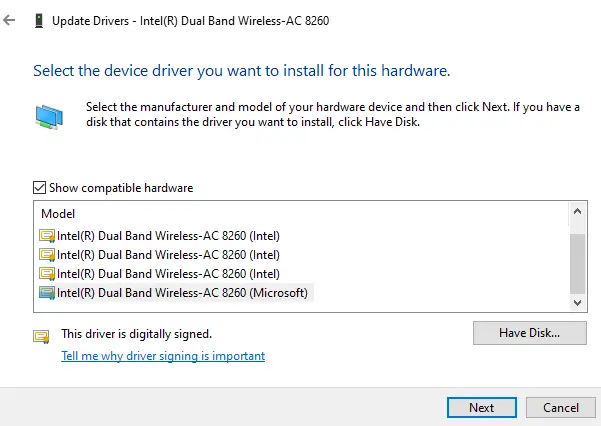
Step 10: From the list of supported drivers, select the one that is not being used currently and click next
Many users have reported that using the Microsoft driver has helped them solve the problem.
Step 11: Wait for the driver to update and follow the instructions on the screen to complete the process.
If you still see the problem, choose another driver from the list, try the drivers one after the other until the problem is resolved.
Solution 4: Turn off the automatic adjustment feature
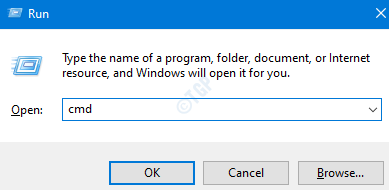
Step 1: open Run Terminal. Use the shortcut Windows + R.
Step 2: Write cmd and keep the keys Ctrl + Shift + Enter to open the command prompt in administrator mode.
Step 3: If you see a User Access window looking for permission, click And.
Step 4: In the command prompt window that opens, type the following command
netsh interface tcp show global

Step 5: Check the value corresponding to the automatic adjustment level of the receive window. If the value is Normal or enabled, turn it off using the following command.
netsh int tcp set global autotuninglevel=disabled
Step 6: Check if you can solve the slow internet problem. If you are not inside the command prompt, run the following commands to clean up DNS entries
IPCONFIG/FLUSHDNS
Now, check if the problem has been fixed. If not, try the next solution.
Solution 5: disable large shipment download
Step 1: Hold down the keys Windows and R to open the Run terminal window
Step 2: Write devmgmt.msc and hit Pay in
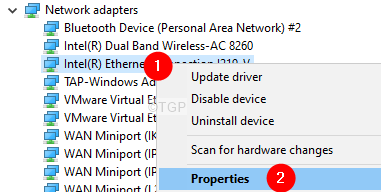
Step 3: In the Device Manager window that opens, scroll down and double-click Network adapters.
Paso 4: The right button of the mouse on the Ethernet Adapter and choose Properties.
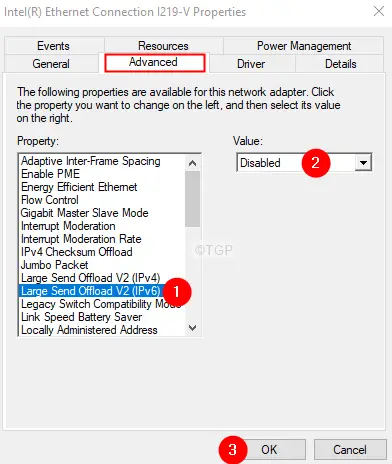
Step 5: Go to Advanced tab.
Step 6: Under the Property section, choose Large Send Download v2 (IPv6)
Step 7: Under the Value section, choose Disabled.
Step 8: Click the OK button.
Step 9: Under the Property section, choose Large Send Download v2 (IPv4)
Step 10: Under the Value section, choose Disabled.
Step 11: Click the OK button.

Step 12: Now, check if the slow internet problem is resolved.
That is all
We hope this article has been informative. Thank you for reading.
Please comment and let us know if you find these fixes helpful.
Related posts:
 How to access Steam games without an internet connection
  How to view FPS with Xbox Game Bar in Windows 10: Steps Made Easy
  Hacked account? How to check and remedy
  How to make video calls from WhatsApp Web
  How to increase the RAM memory of a desktop or laptop + Tips and Tricks
  How to organize your YouTube subscriptions into categories
+ Tips and Tricks
How to organize your YouTube subscriptions into categories
+ Tips and Tricks


