


Windows host process RunDLL32 has stopped working in Windows 11/10
DLLs (Dynamic Link Libraries) are files that have code, data, and resources. DLLs can be used by multiple applications at the same time. Rundll32 is a Windows utility responsible for loading and executing 32-bit DLLs in memory. These files can then be used efficiently by applications.
For the system to run smoothly, the Rundll32 program must be stable and must not be closed. Many users reported that when they start their system, they see an error message that says:
Windows host process(Rundll32) has stopped working.
A problem caused the program to stop working correctly.
Windows will close the program and notify you if a solution is
available.
Possible causes of this error are:
- Technical problems in the Rundll32 utility
- Corrupt DLL files
- There is a problem with the application using the DLL file.
If you see this error on your system and wonder how to fix it, don’t worry. In this article, we have selected fixes to help you get rid of this error.
Solution 1 – Modify the settings in Folder Options
1. Open the To run Dialog using the keys Windows + R.
2. Type the following command and press Get into.
control.exe folders
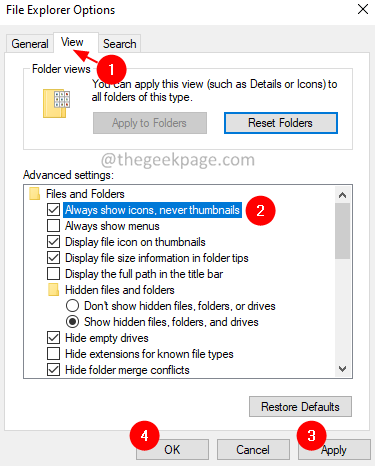
3. Go to Vista tab.
4. Under the Advanced settings section, cheque the option Always show icons, never thumbnails.
5. Click Request and then click OK.
Solution 2 – Update the graphics driver
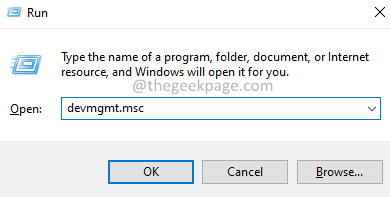
1. Wait Windows + R keys together to open the To run dialogue.
2. Type “devmgmt.msc” and press Get into.
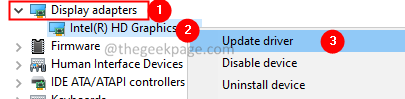
3. The Device Manager window opens. Scroll down and locate Display adapters.
4. Expand the Display adapters option for double clicking in that.
5. The right button of the mouse on your adapter and select update driver.
6. In the Update Drivers window, click Automatically search for drivers.

7. Follow the instructions on the screen and complete the update process.
8. Reboot the system.
Solution 3 – Uninstall intermediate apps
If you notice this problem after installing certain softwares, these softwares might be causing the error. Softwares like Sound Blaster, Realtek Audio Driver, Quickset are known to cause this error. If that is the case, consider uninstalling these softwares to get rid of the problem.
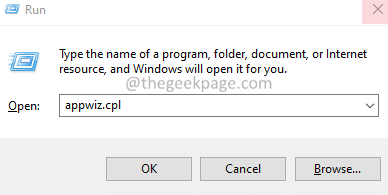
1. Open the To run Dialogue with the keys Windows + R.
2. Type appwiz.cpl and press Get into.
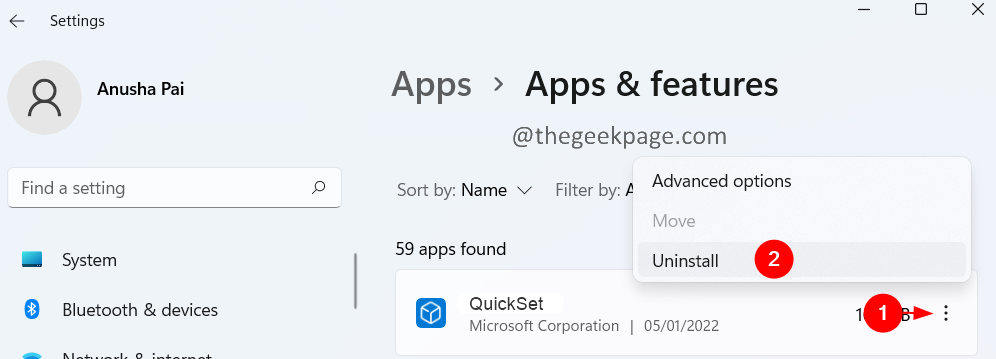
3. In the window that opens, scroll down and find the required request. Click on the three dots next to it.
4. Choose uninstall.
5. Follow the instructions on the screen to complete the uninstall process.
Solution 4 – Roll back the drivers
If you notice this issue after updating some drivers on your system. Then roll back the update.
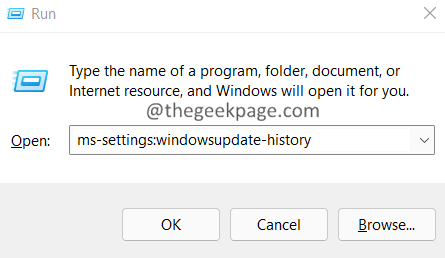
1. Open the To run dialog using Windows + R.
2. Type the following command and press Get into.
ms-settings:windowsupdate-history
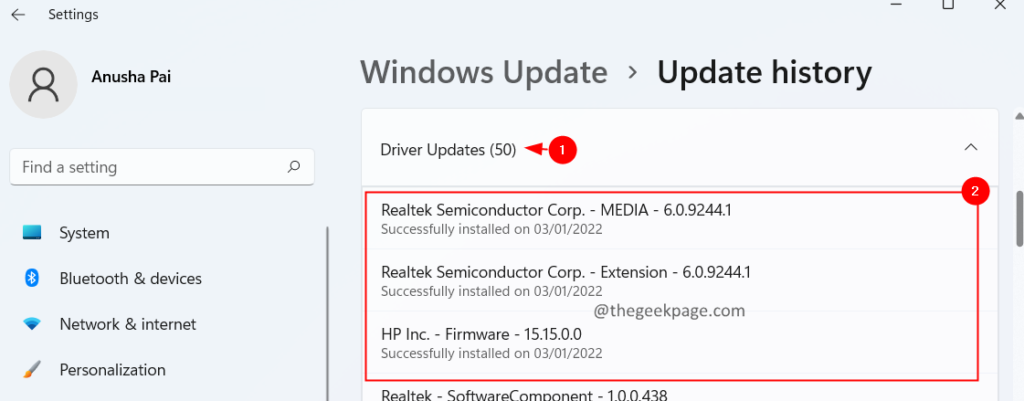
3. In the window that opens, click Driver updates.
4. Check for recently updated drivers.
If you notice the problem after these updates, do the following.
5. Type “devmgmt.msc” and press Get into.
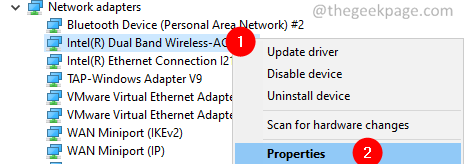
6. The Device Manager window opens. Scroll down and locate the driver causing the problem.
7. The right button of the mouse on the adapter and select Properties.
NOTE: The following screenshot shows how to roll back the driver. Identify the driver that was recently updated, and then roll back that driver.
8. Go to drivers tab.
9. Click on the driver back up button.
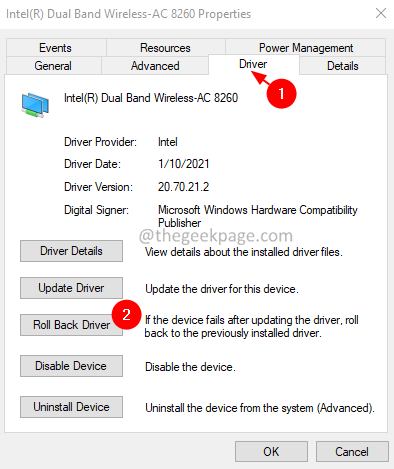
10. Follow the instructions on the screen and complete the rollback process. Once done, check if the issue is resolved.
Fix 5: Check for viruses and malware
1. Open the Run Dialog using the keys Windows + R.
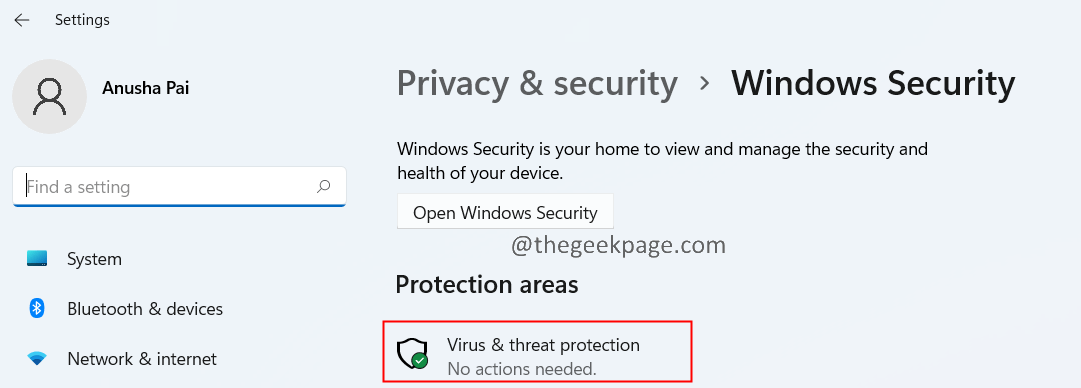
2. Type ms-settings:windowsdefender and press it’s fine.

3. In the settings window, select Protection against viruses and threats.
4. In the window that opens, click Scan Options.

5. Choose Complete analisis and press the button scan now button.
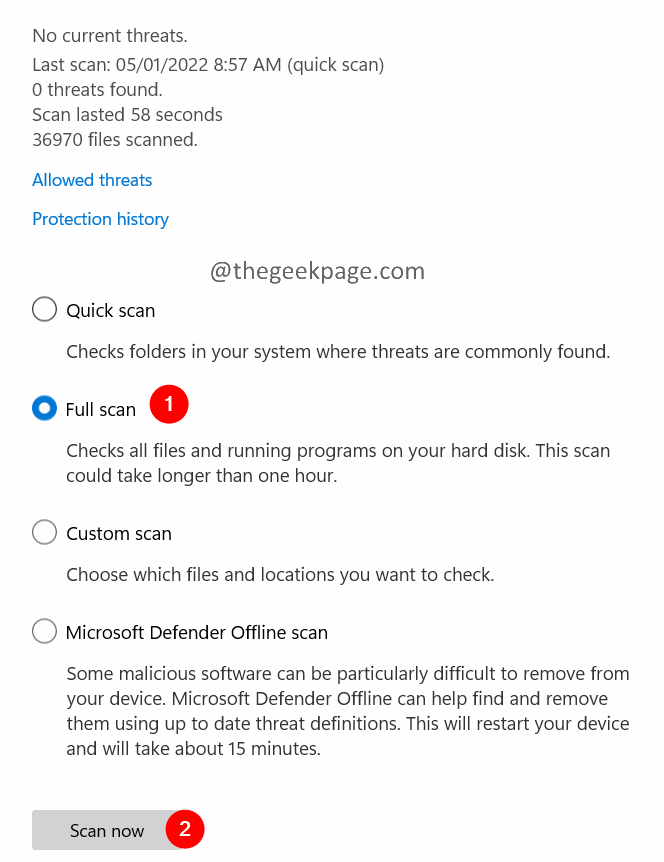
Once the scan is finished, it notifies you about any viruses and malware on the system. Take the necessary measures to mitigate them.
That’s it.
We hope this article has been informative. Please kindly comment and let us know the solution that helped you to resolve the error.
Thank you for reading.
Related posts:
 How to access Steam games without an internet connection
  How to view FPS with Xbox Game Bar in Windows 10: Steps Made Easy
  Hacked account? How to check and remedy
  How to make video calls from WhatsApp Web
  How to increase the RAM memory of a desktop or laptop + Tips and Tricks
  How to organize your YouTube subscriptions into categories
+ Tips and Tricks
How to organize your YouTube subscriptions into categories
+ Tips and Tricks


