


Windows Shift + S not opening Snip and Sketch: How to take screenshots Win 10: From keyboard shortcuts to built-in apps, there are many ways to take screenshots on Windows 10 PC.
There are several reasons why you may need to take a screenshot on a Windows 10 PC. You may need to submit a bug report to IT, capture graphics and images for a presentation, or create a tutorial on how to take screenshots of screen in Windows 10.
No matter why you’re trying to take screenshots in Windows 10, there are options. Microsoft didn’t make them all super simple, and you’ll need to bring in additional apps like Paint to save the screenshots you take.
WATCH: Cheat Sheet: Windows 10 PowerToys (.) (TechRepublic)
There are also a couple of Windows apps that you can use to take screenshots if you don’t like keyboard shortcuts or if you have to paste captured content from the Windows clipboard into a separate app for manual editing. Whichever way you prefer, there are options.
WATCH: How to take screenshots in macOS (TechRepublic)
How to take a full screen shot in Windows 10 with keyboard shortcuts
The simplest and most obvious way to take a screenshot in Windows 10 is probably the button everyone has on their keyboard: Print Screen, which can also be labeled as PrtScrn, PrSc, or some similar abbreviated name.
Hitting Print Screen doesn’t do anything obvious, so understandably you might get confused if you expect a small thumbnail to appear at the bottom right of the screen, like macOS, indicating that an image has been captured. Instead of taking a photo, Print Screen copies the content of the entire screen to the clipboard, much like you highlighted text and pressed Ctrl + C.
WATCH: Microsoft 365: a cheat sheet (.) (TechRepublic)
To create the image you captured with Print Screen, you will need to open Word, Paint, or some other program where you can paste an image file, and then save it with a name and extension of your choice.
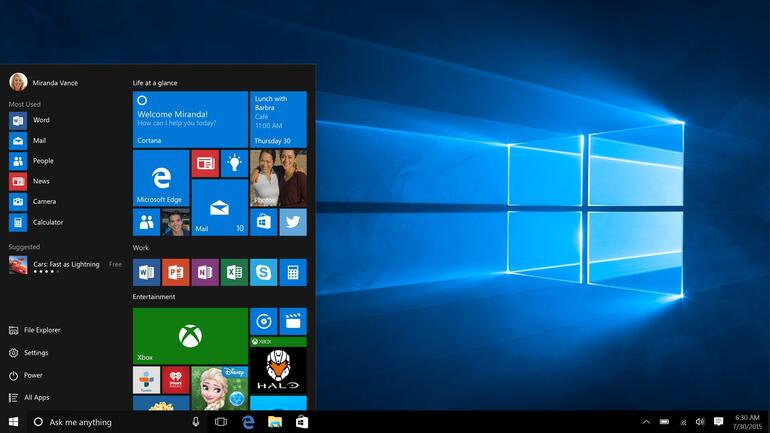
If you want to skip the copy and paste feature, you’re in luck: pressing Windows key + Print screen it will capture the entire screen and automatically save it as an image. You will also get some visual feedback indicating that it has been captured, as the screen will briefly dim.
To find images captured using Windows key + Print Screen, navigate to the Images folder and find the Screenshots subfolder.
Note– If you have a Microsoft OneDrive account, be sure to check the OneDrive Pictures folder for screenshots as it may default to there instead of your local pictures folder (Figure a).
Figure a
How to capture active window in Windows 10 with keyboard shortcuts
If you want to capture only the active window, you need to press Alt + Print Screen. Again, you won’t get any visual feedback that it was copied successfully, but you will be able to paste the image into the app you used to take a full screen shot.
How to capture a screen selection in Windows 10 with keyboard shortcuts
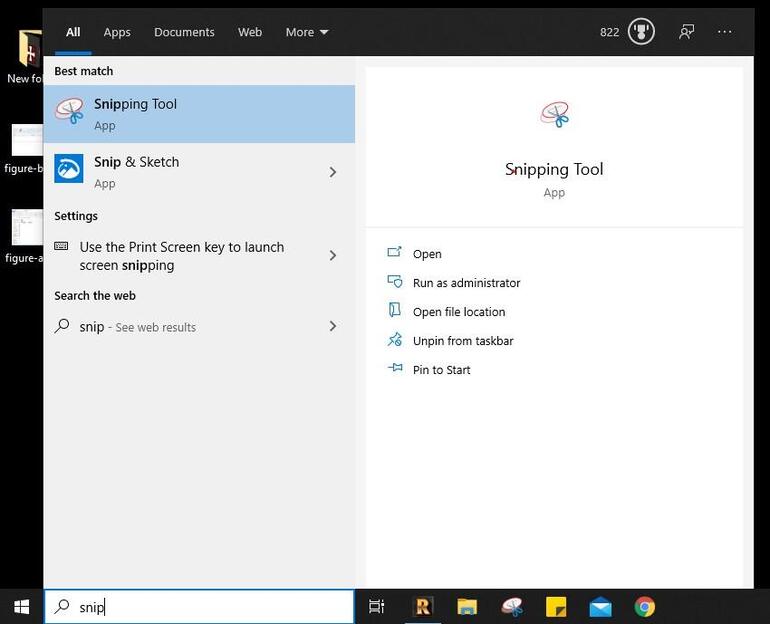
If you only want to capture a small part of the screen, you can do so by pressing Windows key + Shift + S. When you do this, you will see a small toolbar at the top of the screen with various cropping options (Figure B): The first cuts out a square shape by clicking and dragging, the second allows you to draw a free shape, the third takes a photo of the active window, and the fourth cuts out a copy of the full screen.
Figure B

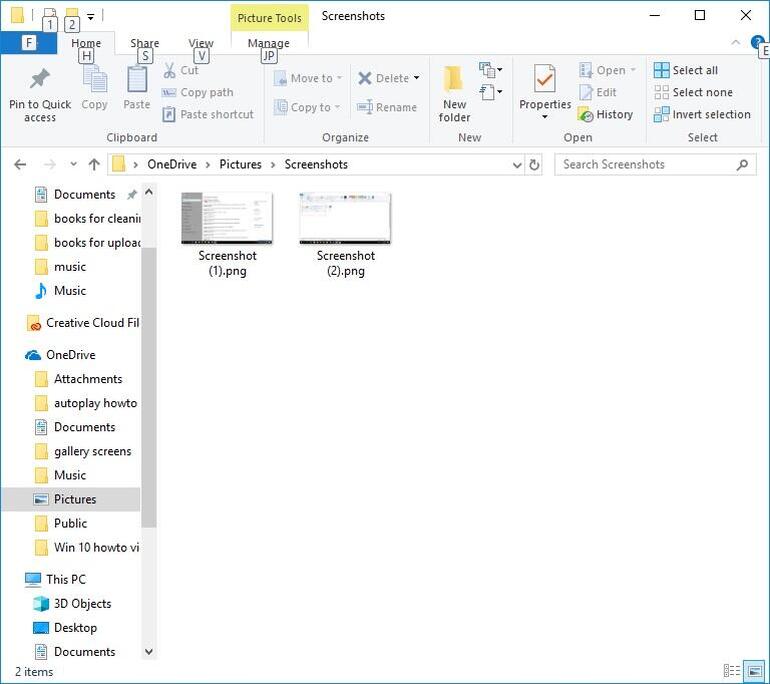
This is arguably the best keyboard shortcut option for taking screenshots, as it is the only one that presents you with a thumbnail at the bottom right of the screen that says an image has been captured (Figure C). Clicking on the thumbnail will open the image in Snip & Sketch, which will be discussed further below.
Figure C
Take Windows 10 Screenshots Using Windows Apps
There are two options when it comes to taking screenshots with built-in Windows apps: Snip & Sketch, which was released for Windows 10 with the October 2018 Update, and the tried-and-true Windows Snipping Tool, which has been a part of it. Windows from Vista.
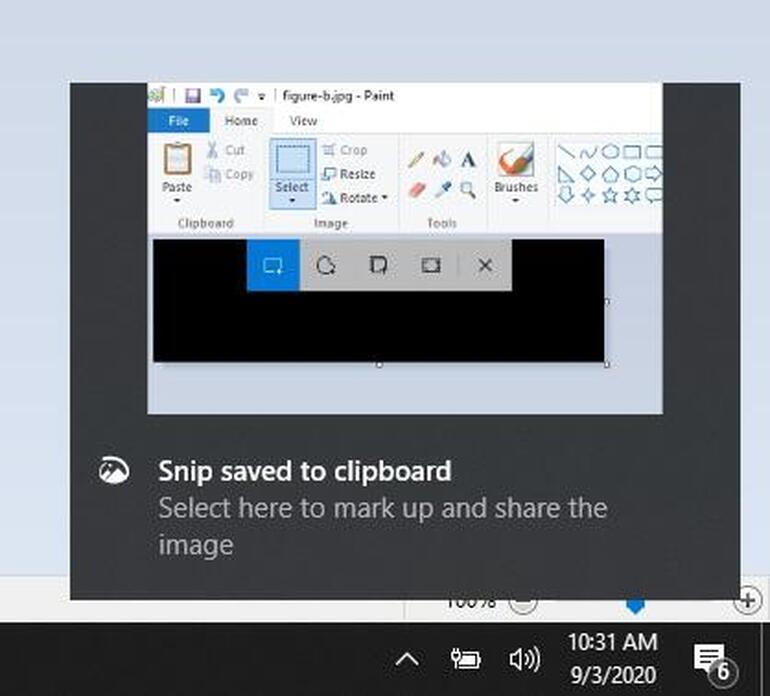
You can find both tools by typing in the Windows search bar (Figure D), or by searching for it in the list of applications on the Start menu.
Figure D
Cut out and sketch (Figure E) is an image editing / marking tool and image capture application. Clicking New in Snip & Sketch will bring up the same menu as Windows Key + Shift + S, so consider opening it directly as an alternative to remember that hotkey combination; it even reminds you of it when you open it.
Figure E
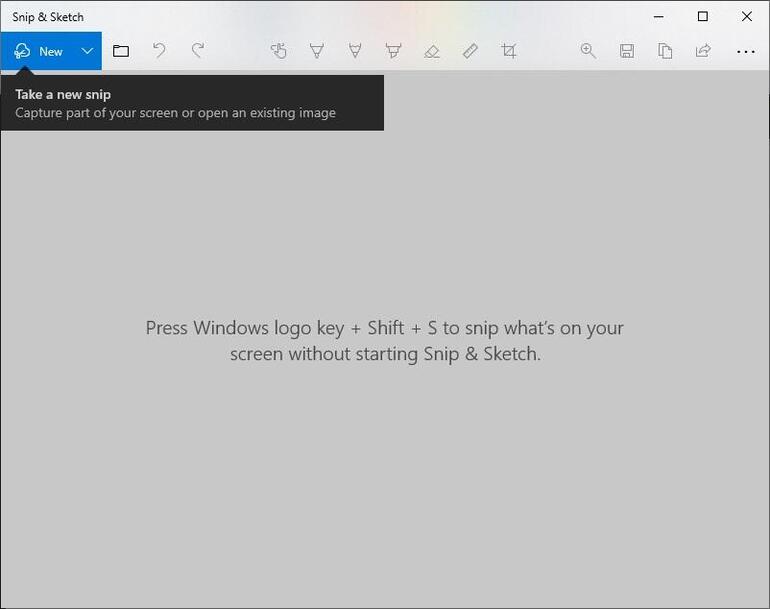
Next to the New button is an arrow that will allow you to trim with a delay of three or 10 seconds. Along with the delay options are basic markup features, a clipping tool, and a sharing option.
As for the Windows Snipping Tool, it’s essentially the same as Snip & Sketch with a slightly older UI (Figure F).
Figure F
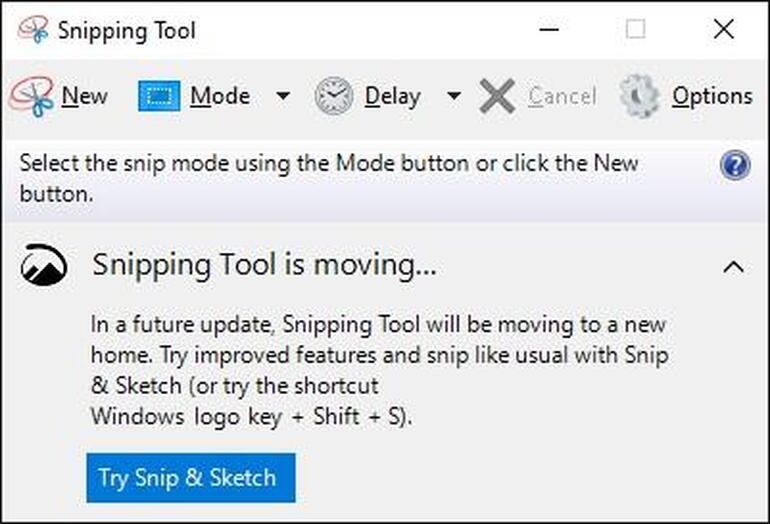
Snipping Tool even reminds you that it will eventually be phased out, but it has coexisted with Snip & Sketch for a couple of years with no indication that it will be gone anytime soon.
Aside from their appearance, the only major differences between the Snip & Sketch and the Snipping Tool are the delay option, which ranges from one to five seconds in one-second increments, and the lack of image editing options contained in the Snipping Tool. Everything what you can really do with an image captured in the Snipping Tool is mark it with a pen, highlight it, and erase any marks you have made.
With Snip & Sketch’s tight integration with Windows keyboard shortcuts, and its corresponding Windows keyboard shortcut Key + Shift + S, it is the easiest-to-use method of taking screenshots in Windows 10.
Error ‘Snipping Tool Not Working on Your Computer Right Now’
Snipping Tool is a practical tool that comes bundled with the Windows operating system. It allows users to capture their screen content or focus only on a specific area quickly. The tool also includes features such as drawing on the captured image and sharing it with the intended recipient. To access the Snipping Tool, you can use the combination of Windows key + Shift + S on your keyboard. In the future, Microsoft could add the functionality of the tool to a new application called Snip & Sketch.
However, sSometimes Snipping Tool can malfunction and users may encounter an error stating that ‘Snipping Tool is not working on their computer at the moment. Restart your computer and try again. If the problem persists, contact your system administrator. ‘If a simple reboot of the system does not solve the problem, try the following solutions.
Exit and relaunch Snipping Tool
If you want to avoid having to pause all of your current activities on the system while it restarts, you can try closing and restarting the Snipping Tool only.
- Open Task Manager.
- If necessary, expand the window by clicking the ‘More details’ arrow.
- Find the Snipping Tool entry under the ‘Processes’ tab.
- Select it and then click ‘End Task’.
- Try restarting the tool.
Do an SFC scan
SFC stands for System File Checker, and this service is tasked with detecting and then fixing various system problems such as missing or corrupted files.
- Type cmd in the search field on the taskbar and then press Ctrl + Shift + Enter on your keyboard to open an elevated command prompt.
- Type the command sfc / scannow and press Enter to run it.
- Wait for the SFC process to finish.
- Restart your computer and check if Snipping Tool now works as expected.
Remove conflicting software
Another reason that could cause the error “Snipping tool is not working on your computer at this time” is possible software conflicts between the tool and other products on your system, especially those that you have recently installed. To check if this is the case, follow the steps:
- Type msconfig in the search field on the taskbar and press Enter.
- In the System Settings window, select the ‘Services’ tab.
- Look for the ‘Hide all Microsoft services’ options and check the corresponding checkbox.
- Now, locate the services most likely to interfere with the Snipping Tool. Be sure to include recently installed programs.
- Click on ‘Disable all’.
- Click ‘Apply’ and then ‘OK’ to save the changes.
- Restart the computer system and see if the error has been resolved.
- If the Snipping Tool now works as intended, you may need to repeat the process to manually identify the exact culprit that caused the error.
Related posts:
 How to access Steam games without an internet connection
  How to view FPS with Xbox Game Bar in Windows 10: Steps Made Easy
  Hacked account? How to check and remedy
  How to make video calls from WhatsApp Web
  How to increase the RAM memory of a desktop or laptop + Tips and Tricks
  How to organize your YouTube subscriptions into categories
+ Tips and Tricks
How to organize your YouTube subscriptions into categories
+ Tips and Tricks


