High-end gaming PC 2021/2022 with custom water cooling | Part 2 assembly
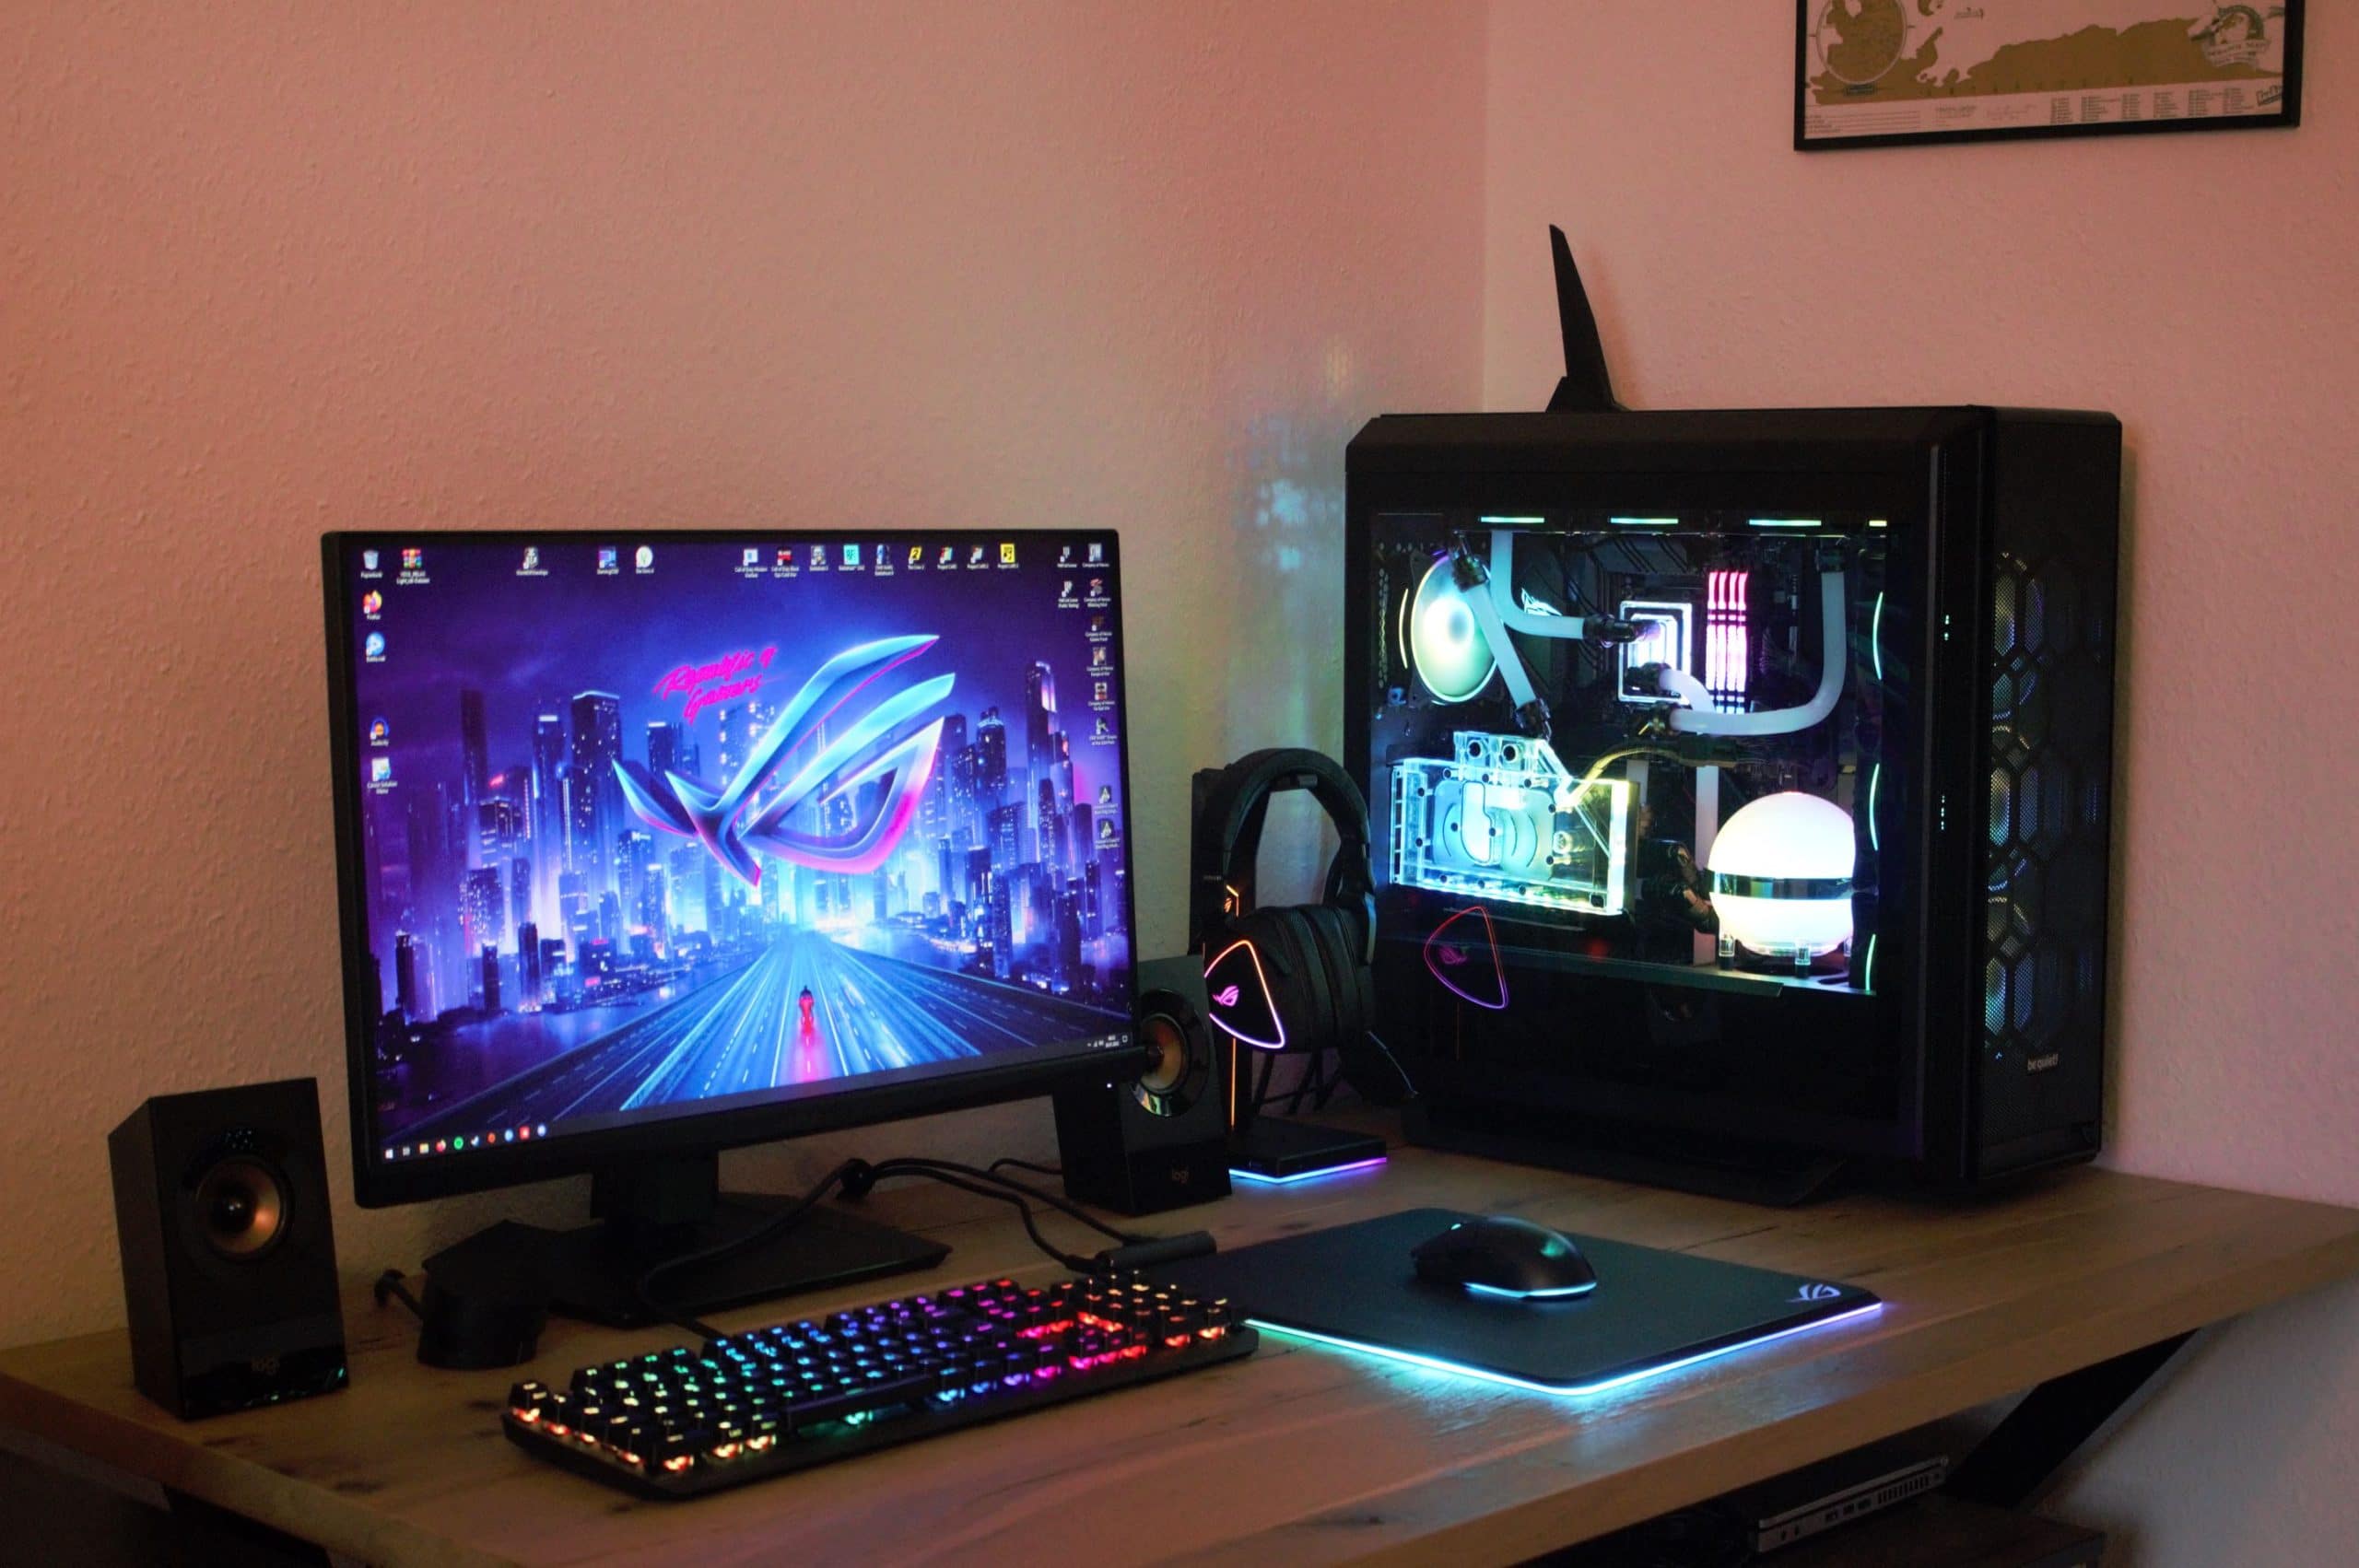
Time is running out and many are already eagerly awaiting the second part and today is the day (if you missed the first part: click here). We look at the finished high-end gaming PC including the peripherals. The focus should be on the topic of custom water cooling. So if you expect that there will be a lot about PC assembly in general today, I have to disappoint you. I’m sure I’ll let loose a few pictures and words on you, don’t worry! But I don’t have to show or explain how to assemble a PC for most readers here.
There are probably some readers among you who have already had experience with custom waku. On the one hand, they will probably see how the PC has turned out and, on the other hand, they will also be able to confirm one or the other experience we have had. My goal for this article for today’s Easter Sunday is to take away some of the fears of a custom Waku project from some readers. At first it sounds like mysterious voodoo, I can assure you, it’s not at all!
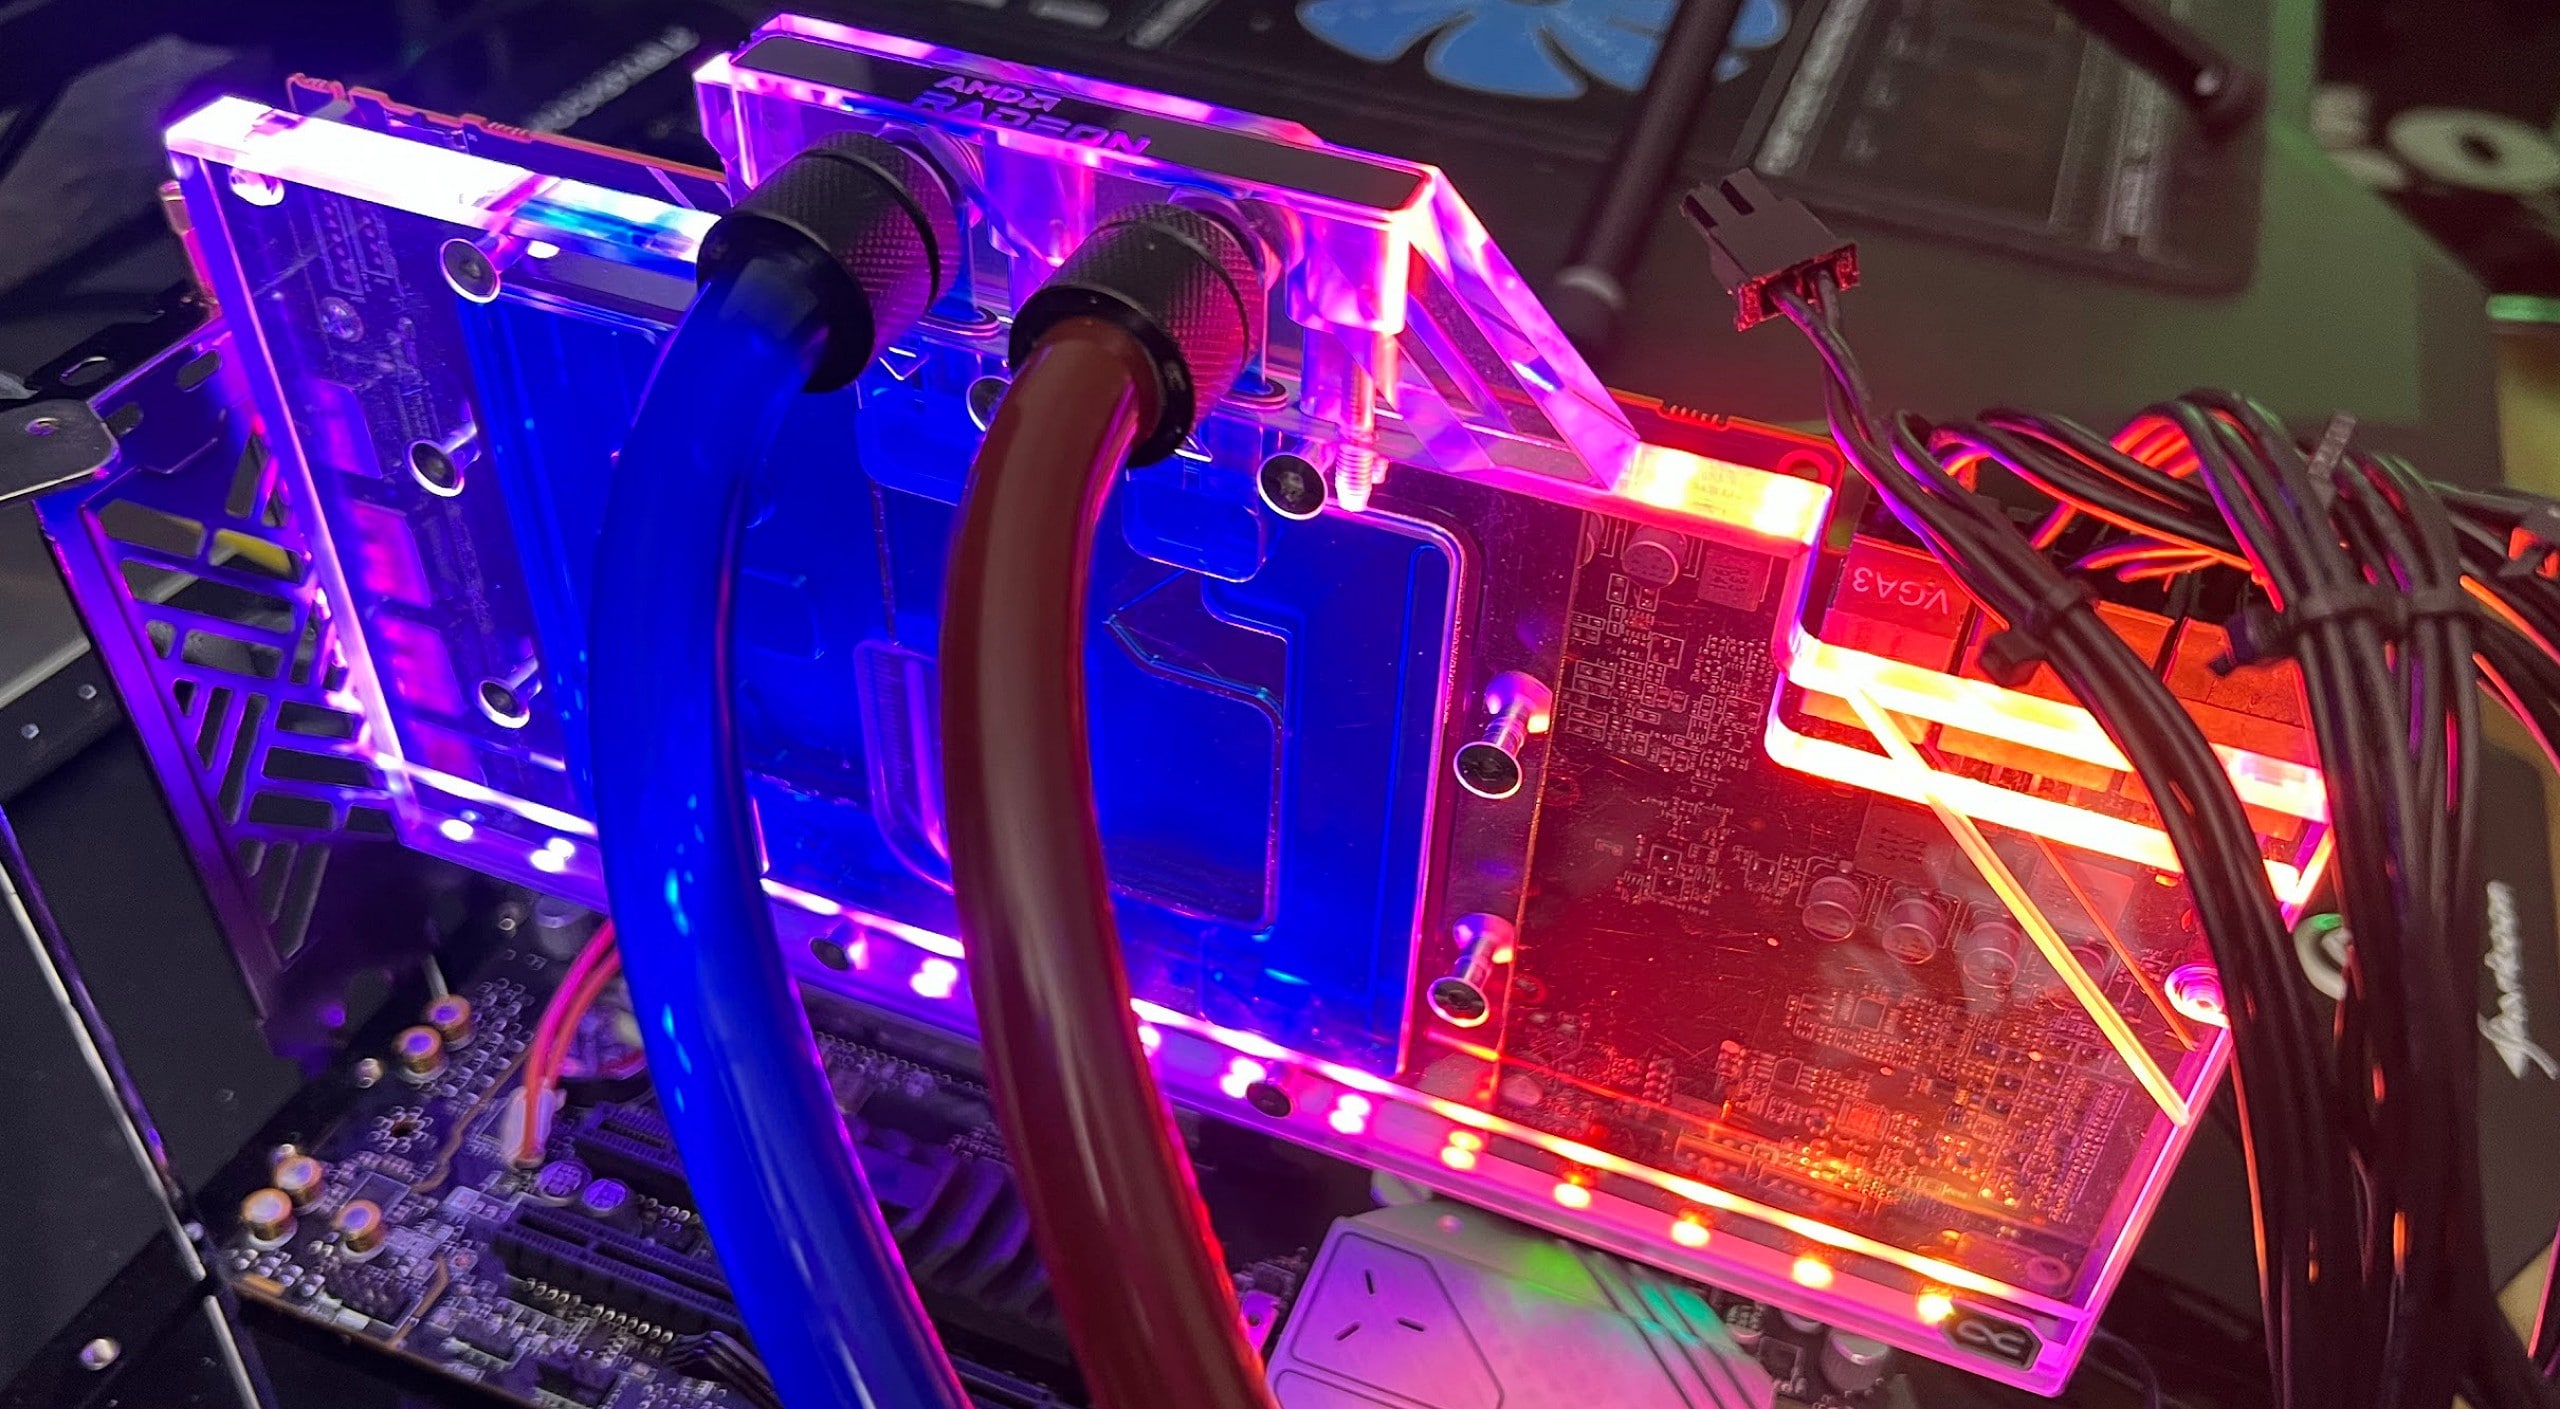
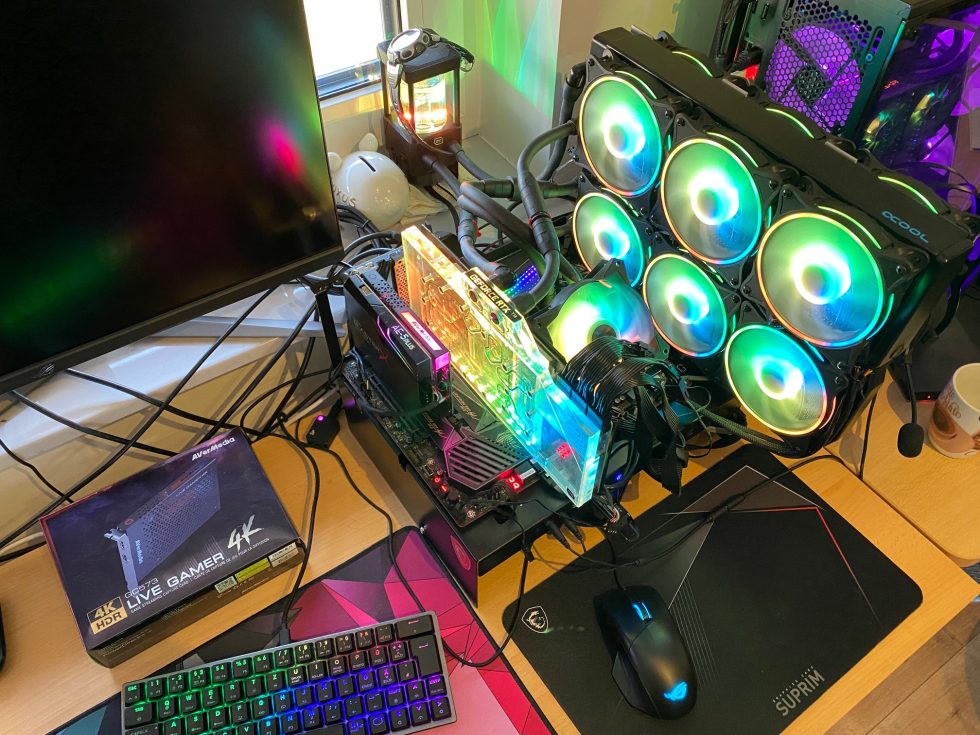
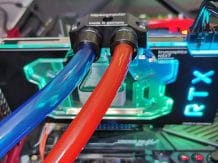
In the last six months you have read a few unpleasant articles on the subject of all-in-one water cooling here on Igor’s website. I became a victim of such a botched AiO myself and then completely rebuilt my test bench to custom Waku. Article is here: Click! Since I have to rebuild a lot during testing and hard tubing only gets in the way in this case, you can see pure soft tubing with me. That’s enough for me!
If you are seriously considering custom water cooling, you should definitely think carefully beforehand: What do I actually want? How much space do I need? Do I prefer soft hoses or do I prefer to bend hard pipes? And very important: really think about how the whole thing should look like in the end. Above all, think about possible alternatives right from the start. If you seriously want to use hard tubes, you should definitely think about angle pieces (corner connectors) as an emergency plan and buy them at the same time if necessary! Why? I’ll come back to that later.
Since my brother-in-law has a CAD program, we didn’t have to use paper and pencil to sketch the project. This also makes it possible to create alternative plans in advance for the “What if” drawer, since you only have to reconstruct and click on plan A/B/C to save. Since not everyone has something like that, you should make manual sketches. With soft tubing you can simply do everything in the PC build, the fittings on the components to be cooled and then lay the hoses freehand. Nobody has to be afraid of that! When it comes to bending pipes, the wheat is quickly separated from the chaff and sometimes even man from monkey. You can laugh!
Here’s my brother-in-law’s master plan to get you started!
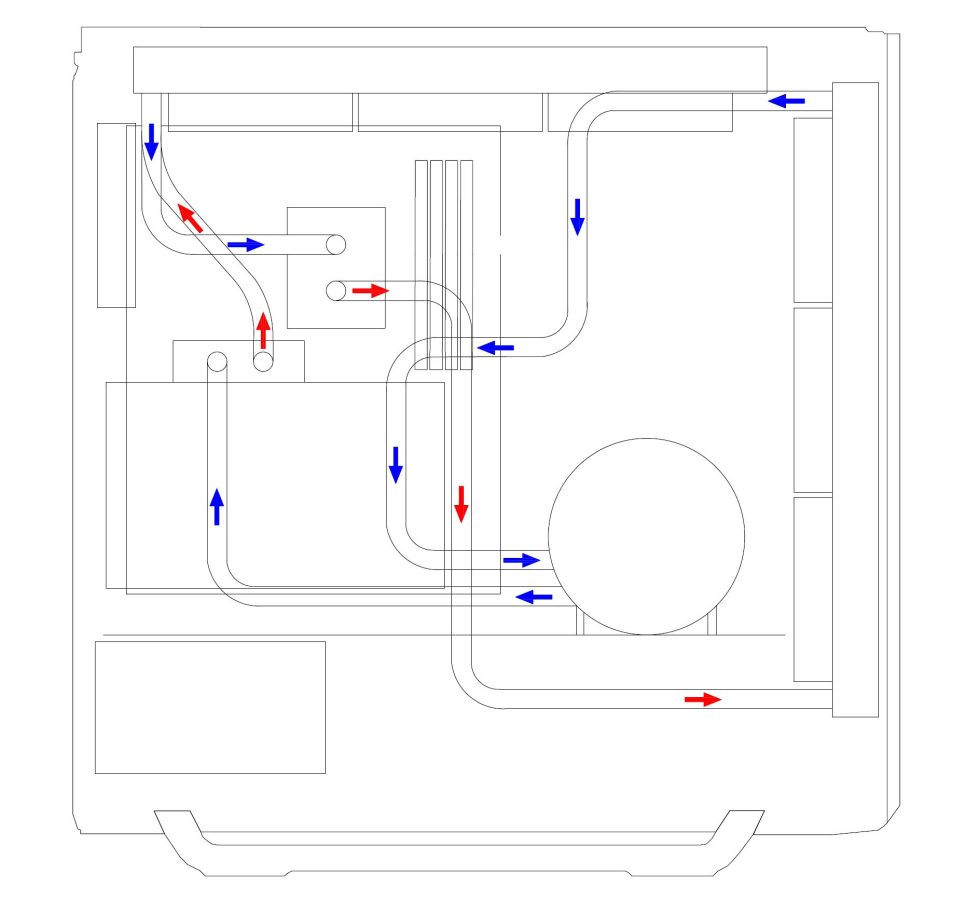
Yes, that looks pretty neat. Even the Be Quiet! Silent Base 802 is recognizable! If you now have spatial imagination, you will find that this is not just about bending 90° once. Here are several bends to be made in 3D space. I had to pause for a moment and called a few colleagues to see what they thought. Next page please.

- 1. Introduction
- 2 – First hard tubing experiences
- 3 – Preparations for the Waku Einabu
- 4 – claim and reality
- 5 – Summaries and conclusion
Related posts:
 Aqua Computer Kryographics Next for the GeForce RTX 3080 and RTX 3090 in the reference design – Solid GPU water block in the test
  G.Skill ENKI 360 All-in-One compact water cooling in the test – first attempt successful, but with weaknesses
  Office and gaming in one? We are building a work
  Cooler Master Hyper 212 RGB Black Edition – Tried and tested in a new look
 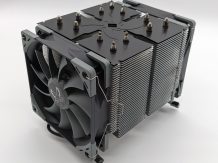 Scythe Ninja 5 in the test – cooling colossus with space problems
 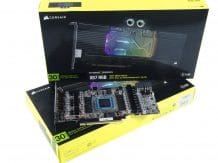 Corsair Hydro Series XG7 RGB water block for the reference design of the NVIDIA GeForce RTX 3080 and RTX 3090 in the test