Although moving from Legacy to UEFI BIOS in Windows 10 is very simple, there are some factors that you should consider beforehand:
- Theoretically there will be no data loss during the process, unless something goes wrong and goes wrong. In any case it is advisable to make a backup of the data just in case.
- You need the version 1703 of Windows 10 As minimum.
- The disk you are trying to convert must not have more than three partitions.
- If you are using Bitlocker to encrypt the hard drive, you must decrypt it and disable bitlocker for the conversion to work.
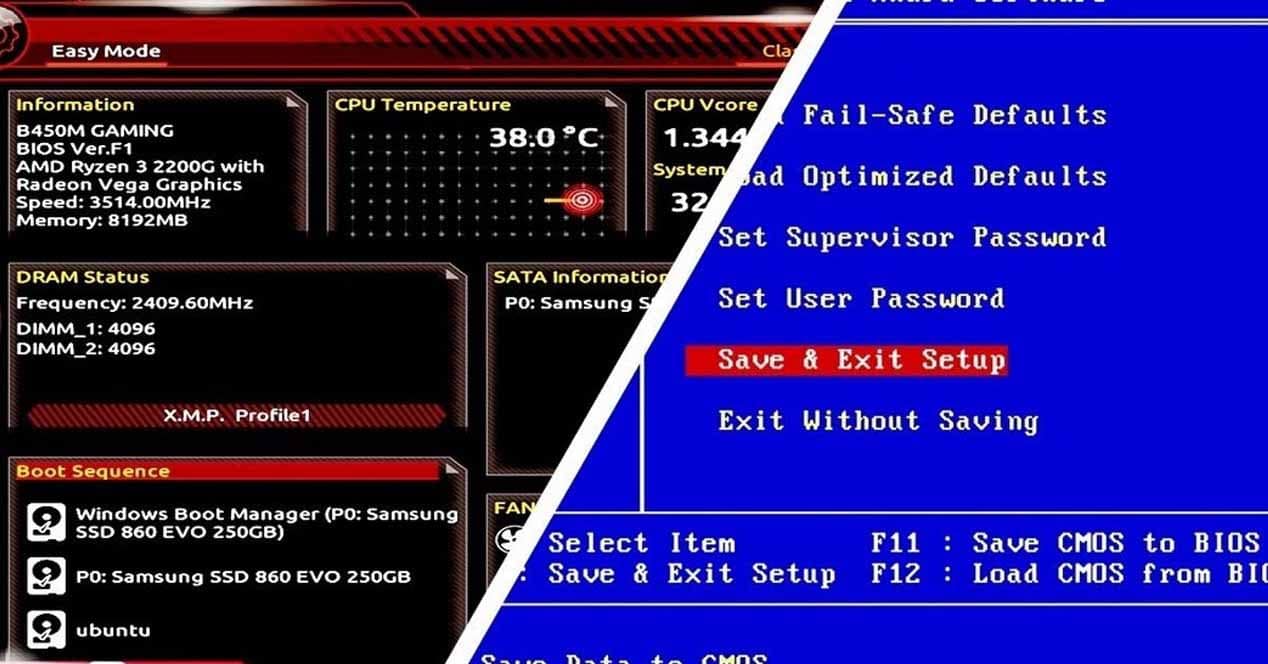
- Once the conversion is done, you may have to Enter the BIOS to change from Legacy BIOS to UEFI.
Check that you are using Legacy BIOS and not UEFI
A previous step before moving from one to another is, of course, making sure that you are not already using the UEFI mode. To check it, access the Windows 10 disk manager (right click on the Start button and select «Disk Management«. Find the main system disk in the lower area, right click on it and select «Properties».

In the window that opens, go to the Volumes tab, and in "Partition style" we must check if it is Master Boot Record (MBR), in which case we have Legacy BIOS and if we can make the change, or if on the contrary says it is "GUID partition table (GPT)", in which case we will already be using UEFI BIOS (as in the example).

Convert a Legacy BIOS into UEFI
Once we have confirmed that we are using Legacy BIOS and have already done all the previous steps, we need to access the advanced Windows boot options. To do this, we must right click on the Start icon, select «Shut down or sign out» and click on "Restart" but while holding down the SHIFT key (Shift) of the keyboard. This will restart the system and take us to the Windows 10 boot loader.
Once it starts, we must go to the "Troubleshoot" menu and "Advanced Options". Once there, we select Command Prompt (or command prompt).

A black window of the command prompt will open. The first thing we have to do is validate the disk we want to use for the conversion, and for this we must write the following command and press ENTER:
mbr2gpt / validate
If we see the message "Validation completed successfully" or "Validation completed successfully", then we can proceed to the next step. If an error message appears here, then we have not met any of the requirements that we set out at the beginning.
After validating the disk, to proceed with the conversion we must execute the following command:
mbr2gpt / convert
As soon as we run it, the conversion process will begin, which can take from a few seconds to several minutes depending on our hardware and configuration.
Once finished, we can restart the system and the ideal is directly access the BIOS to switch from Legacy to UEFI. How to do this depends on each motherboard so we recommend that you have the manual handy.
Once done we can start Windows 10 normally, and if we repeat the previous step to check if we have Legacy or UEFI, we can already see that we are in GPT mode, which is UEFI.
Related posts:
 7-nanometer Nvidia GPU, TSMC will handle most of the production
  ASRock X299, a new BIOS allows you to install 2 TB of memory
  MSI Prestige X570 Creation Review: Test | Specs | Hashrate
  Radeon RX 5500 XT, PCI Express 3.0 castrates performance?
  An overclocker ran 1TB of RAM on an X299 motherboard limited to 256GB
  Best Review 2021: MSI MPG X570 Gaming Edge WiFi Under $250 ($200)