I often come across questions – how to mount AiO liquid cooling, place the cooler on the top or front of the case, fans in push or pull configuration, do other fans matter. You will find the answers to all these questions in this guide. We have conducted tests that should answer all your doubts. If you are interested in this topic, please read the guide.
Montage AiO
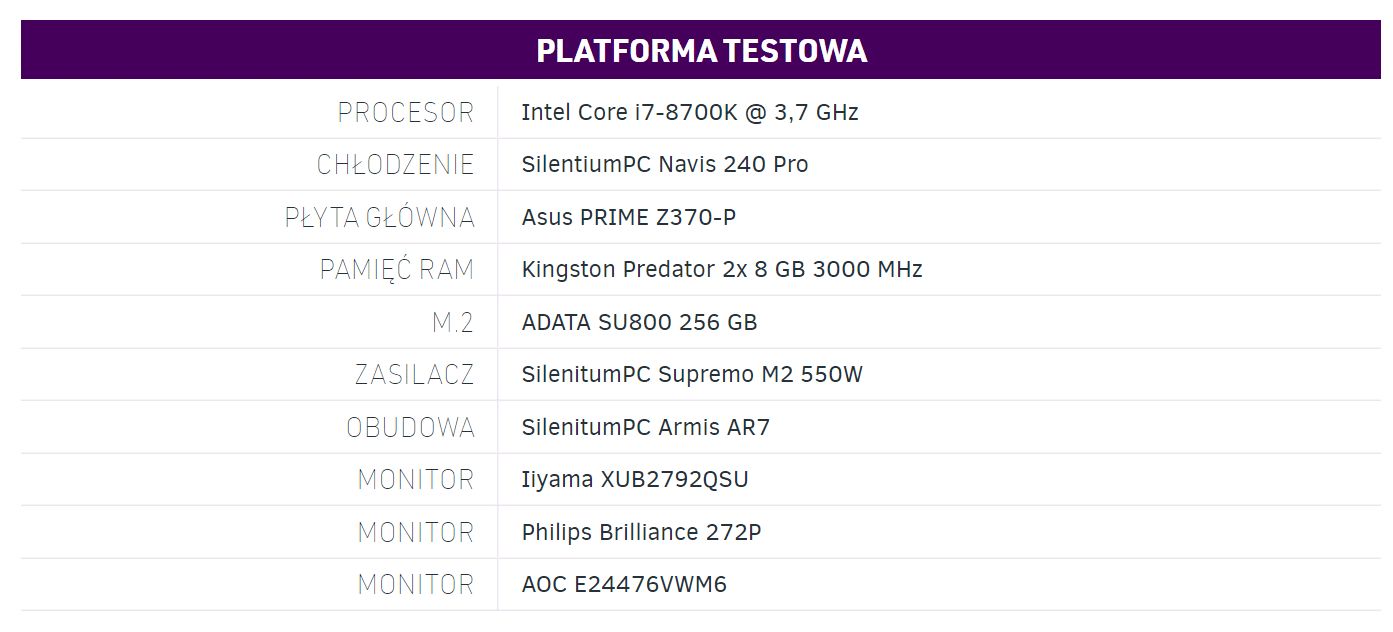
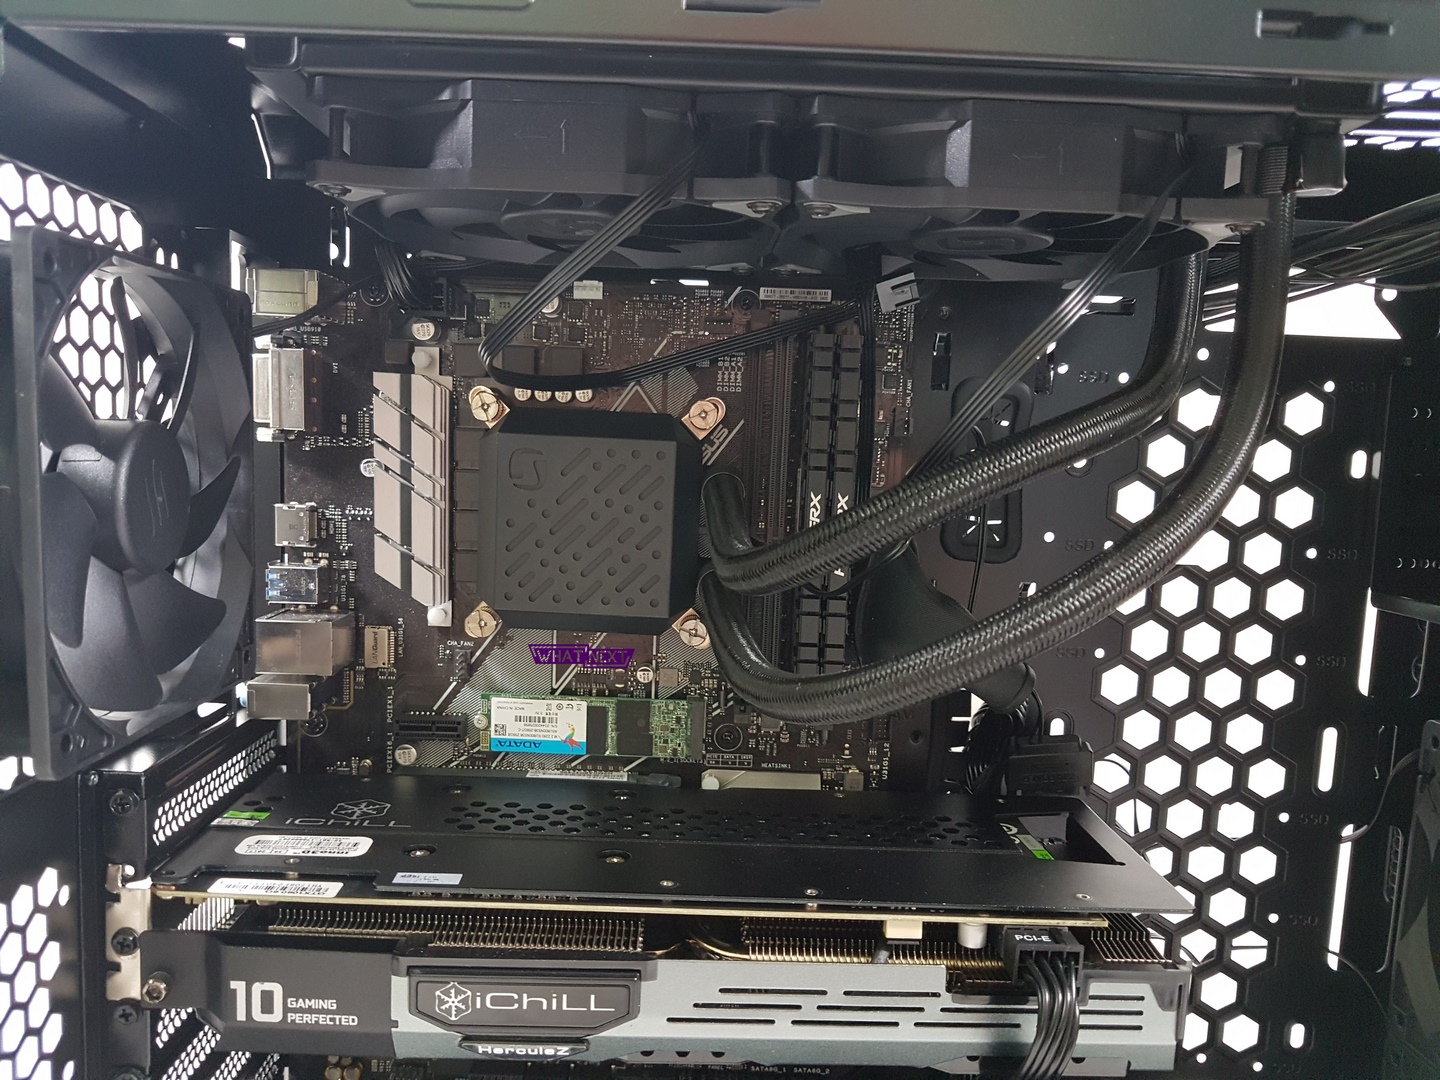
Let’s start with the assembly. In this case, the cooler was mounted at the top and the fans were in push mode. During assembly, I assumed that all other components had already been installed – as in the photo above.
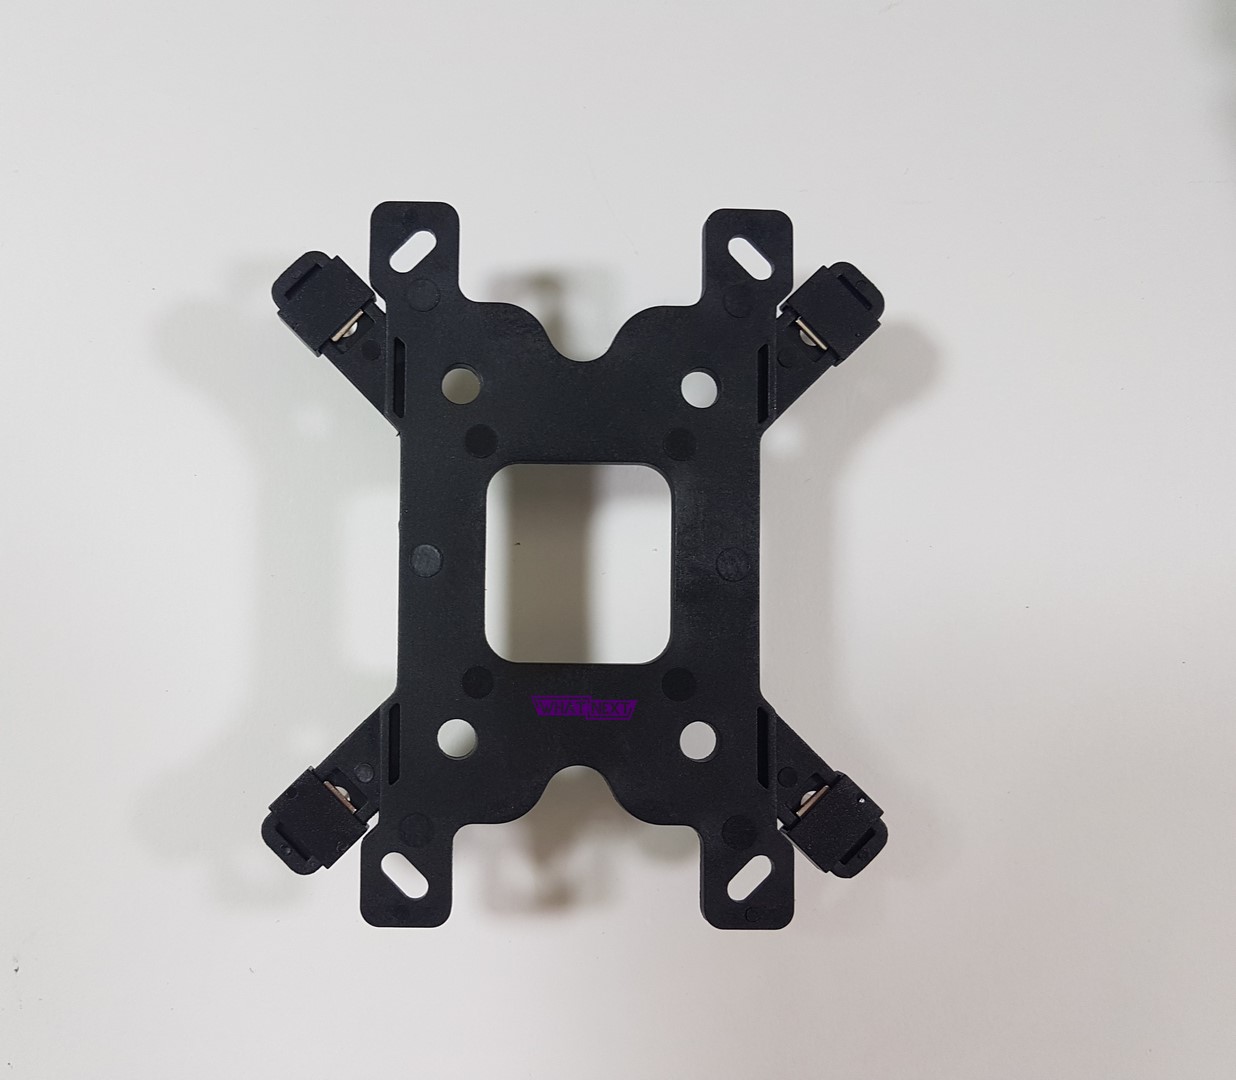
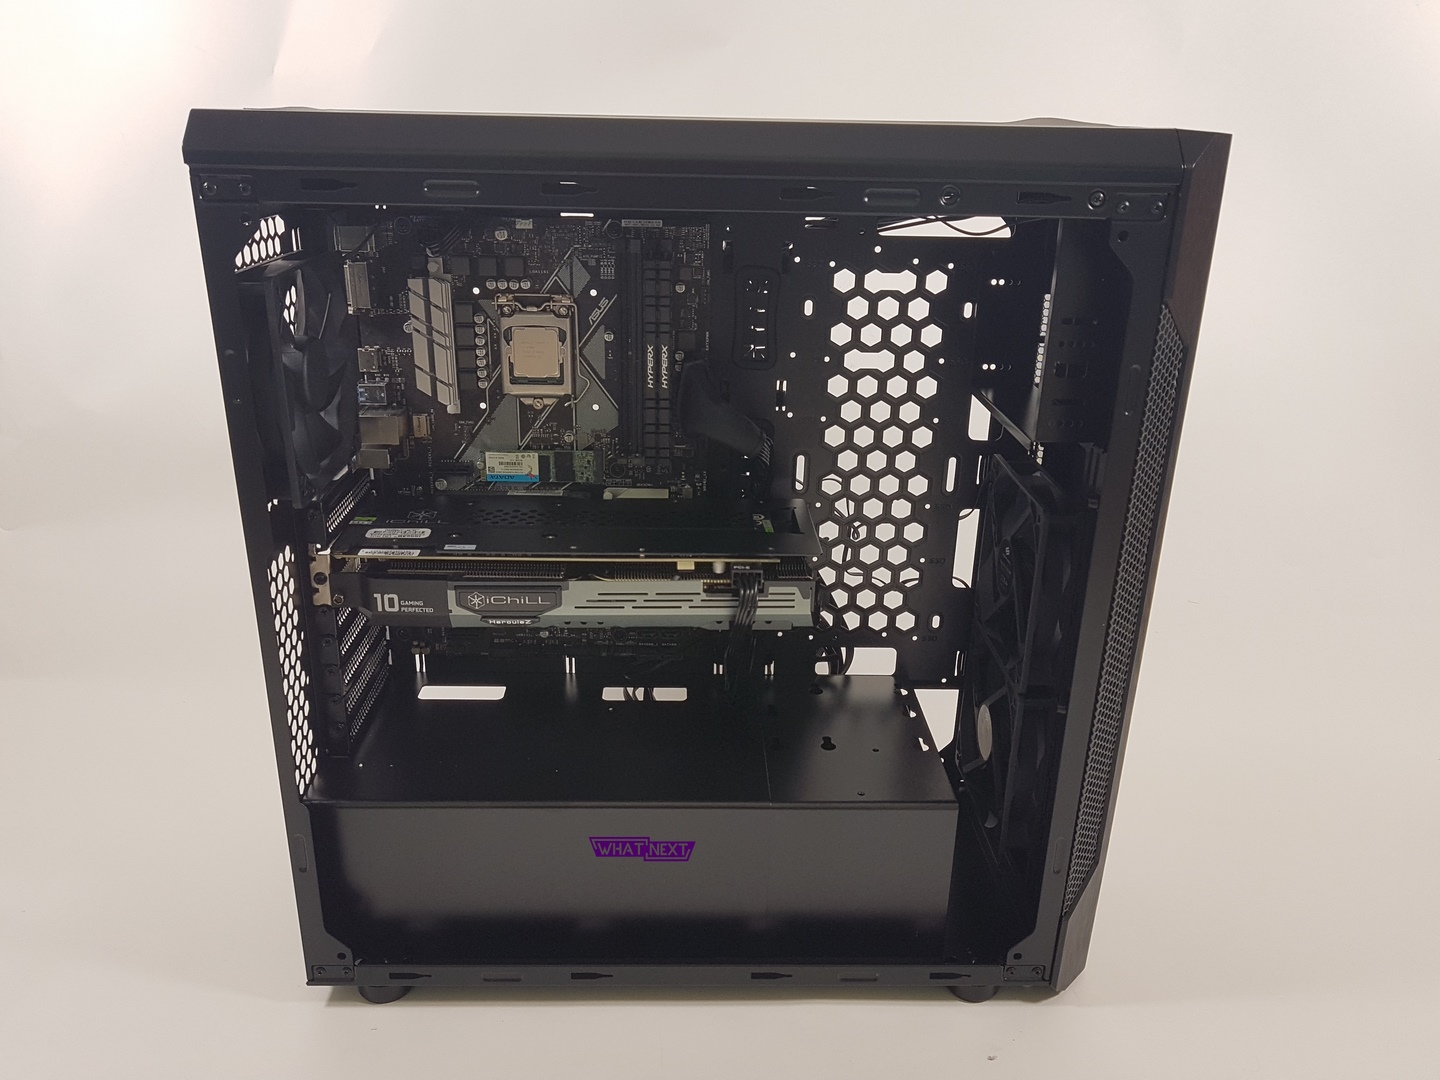
The first thing you can do is prepare the backplate. In the manual, it is written which buttonhole belongs to which platform. Find it and put silver long screws in it and secure it with plastic caps.
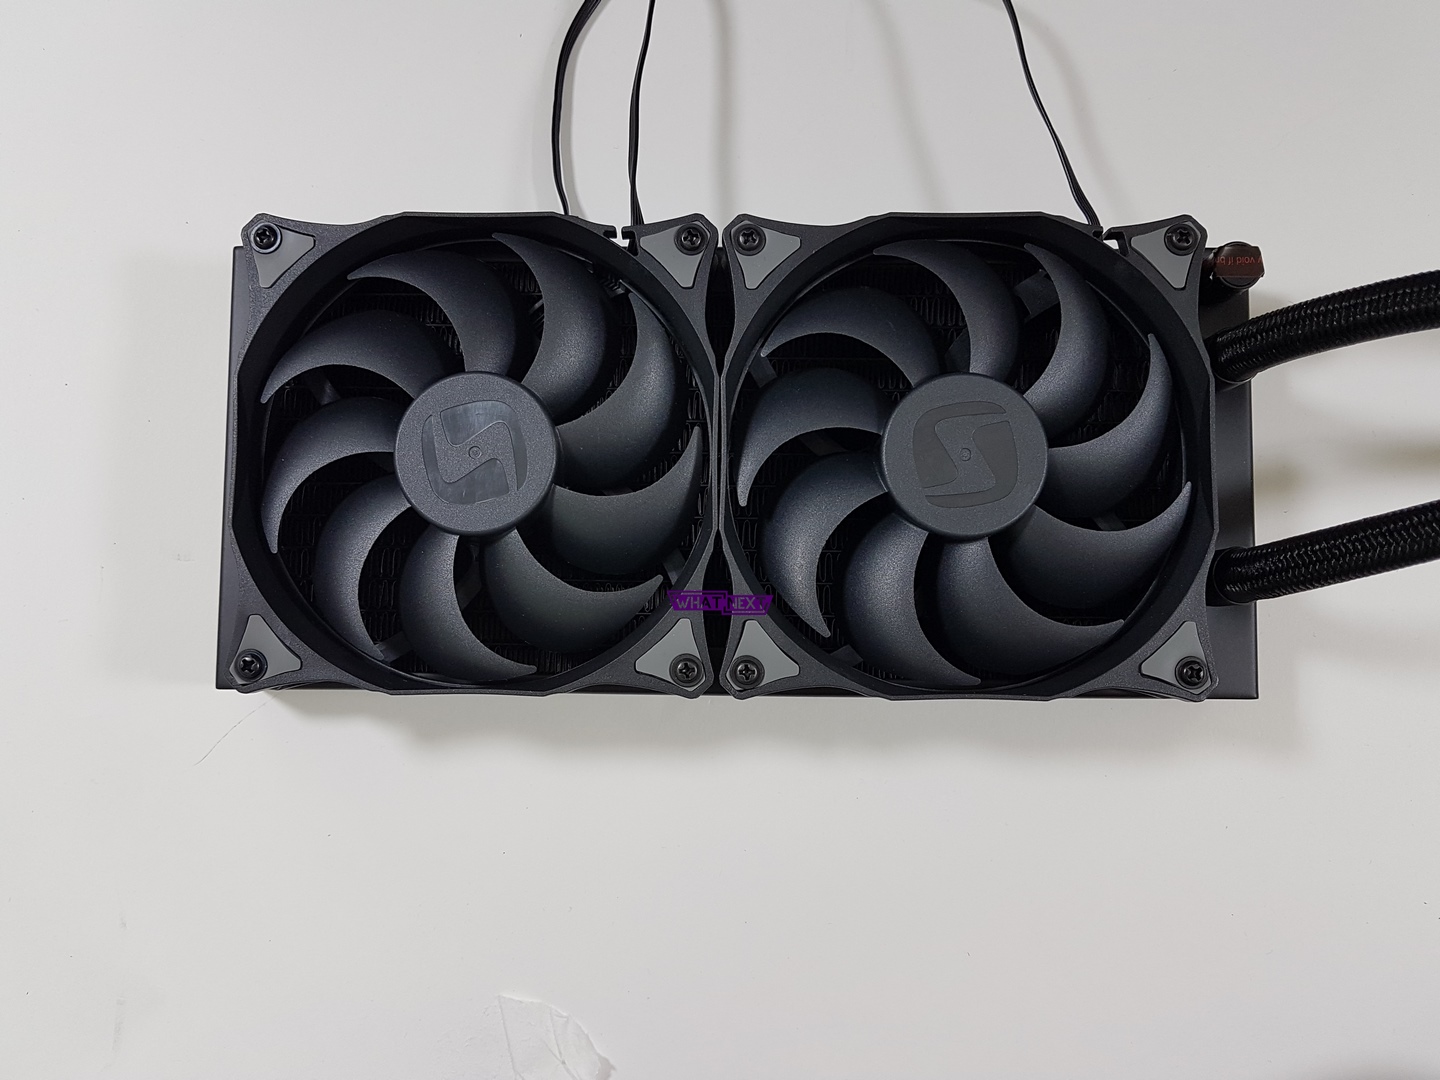
Then install the fans. They rotate to the left, so with the push configuration it will look like in the picture above.
The next step is to attach the overlays to the water block. There are two pairs in the set, find the right one for your platform and attach them according to the photo above.
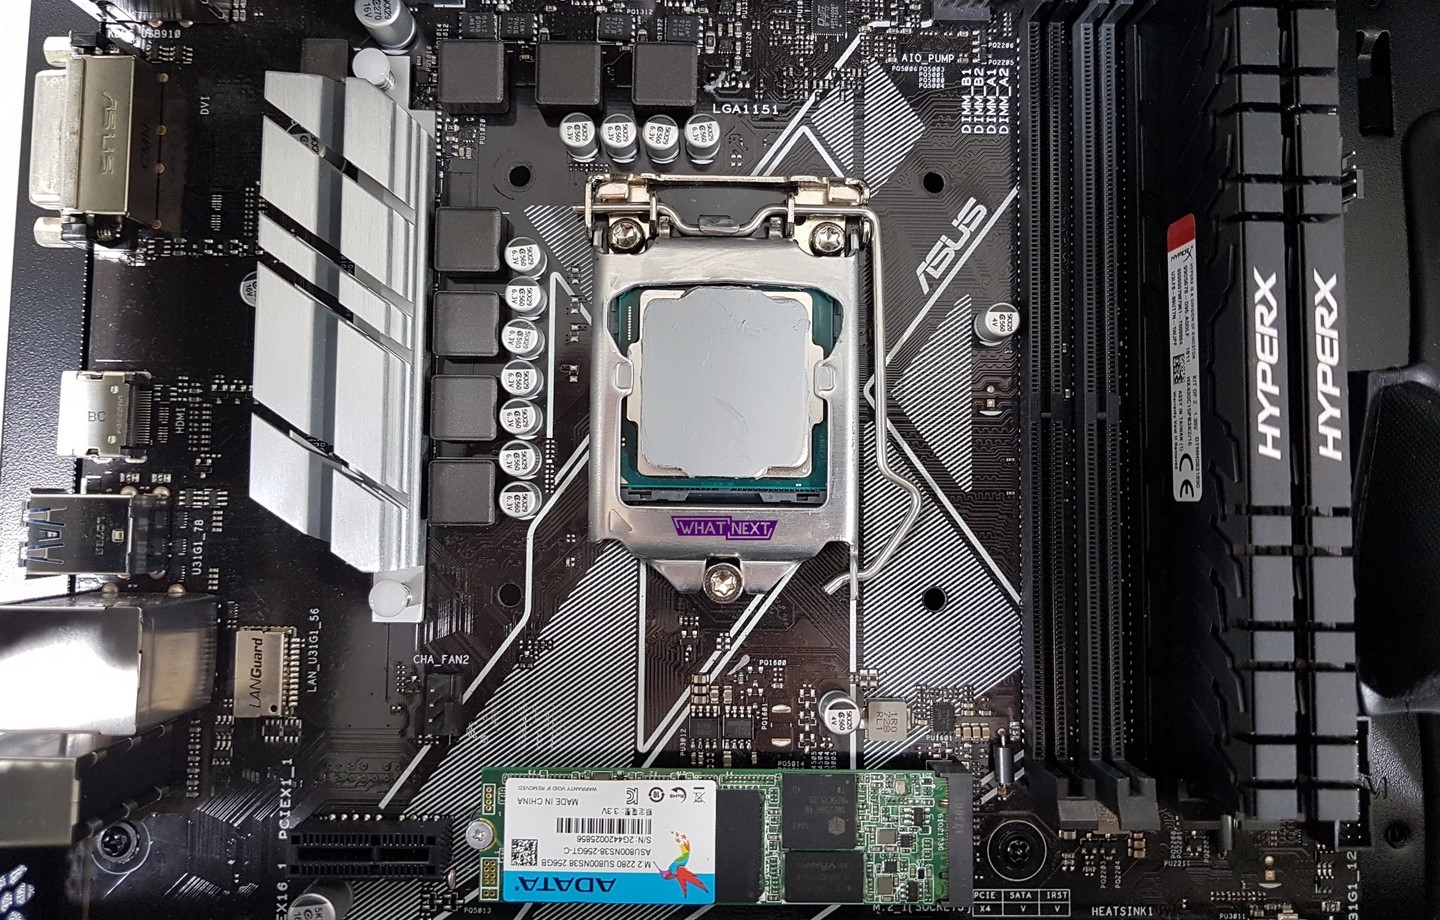
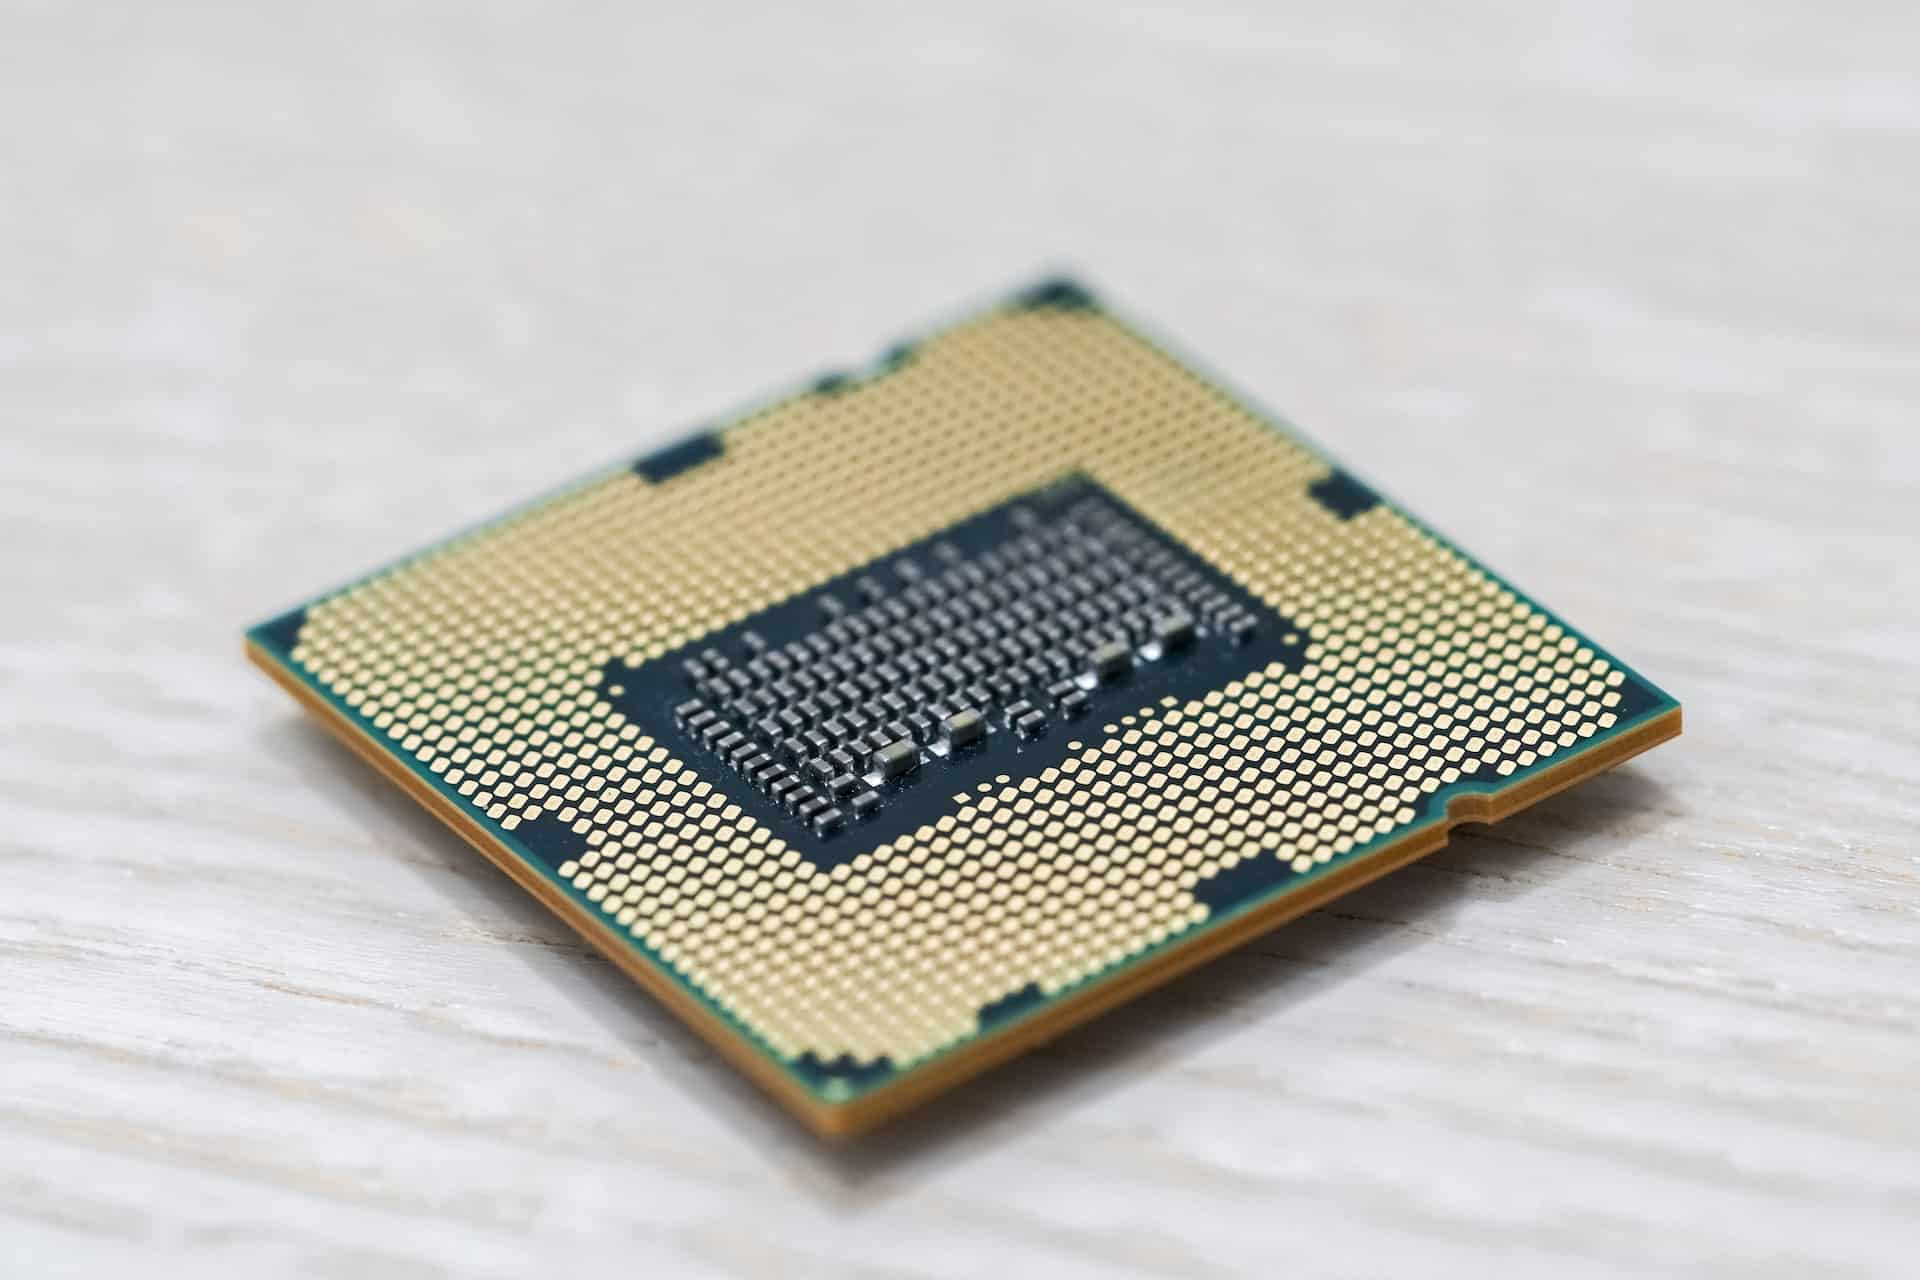
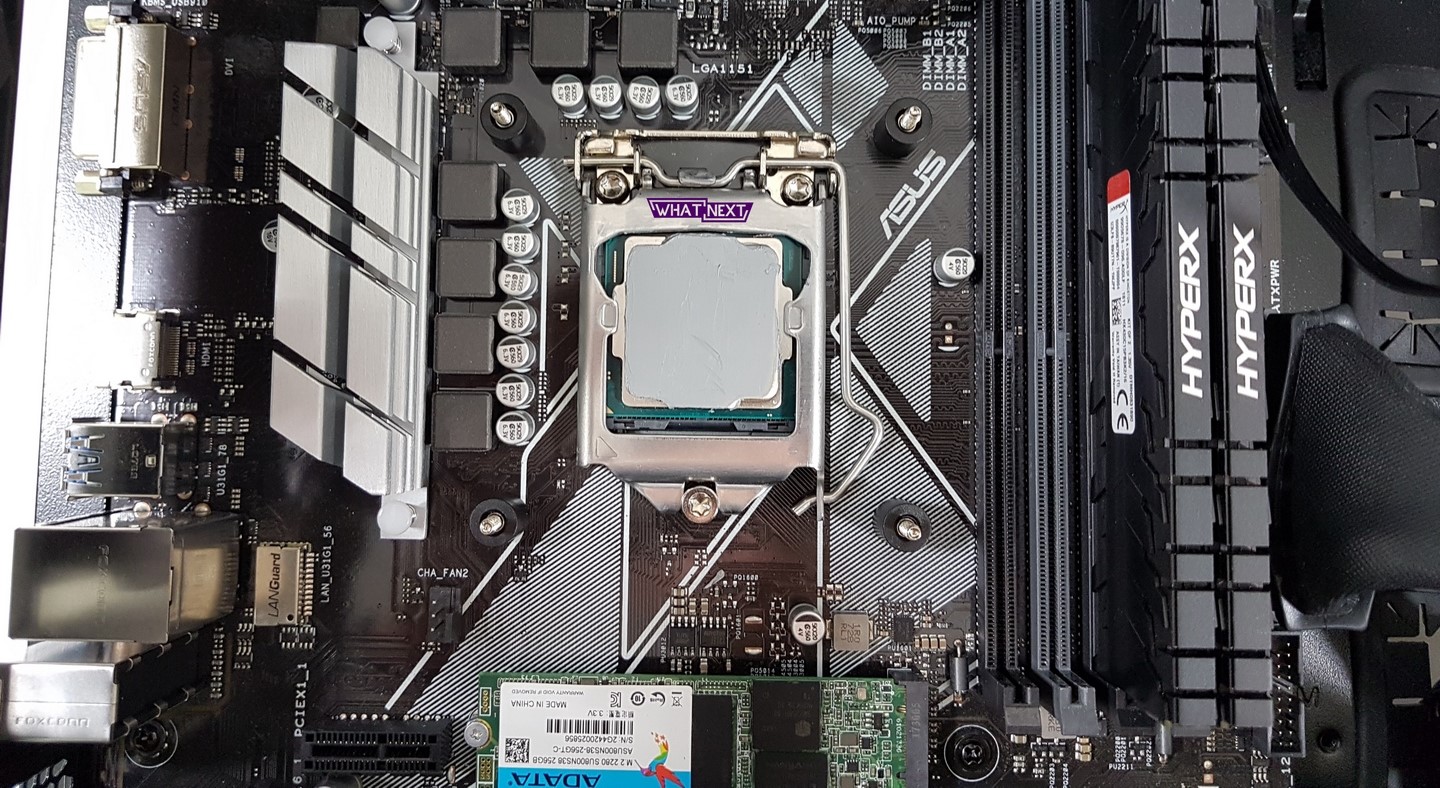
The next step is to apply the paste to the processor. There are several methods for this, however the best is to spread the paste over the entire processor using a spatula or a credit card. Before that, you can clean the processor and paddle / card with isopropyl alcohol.
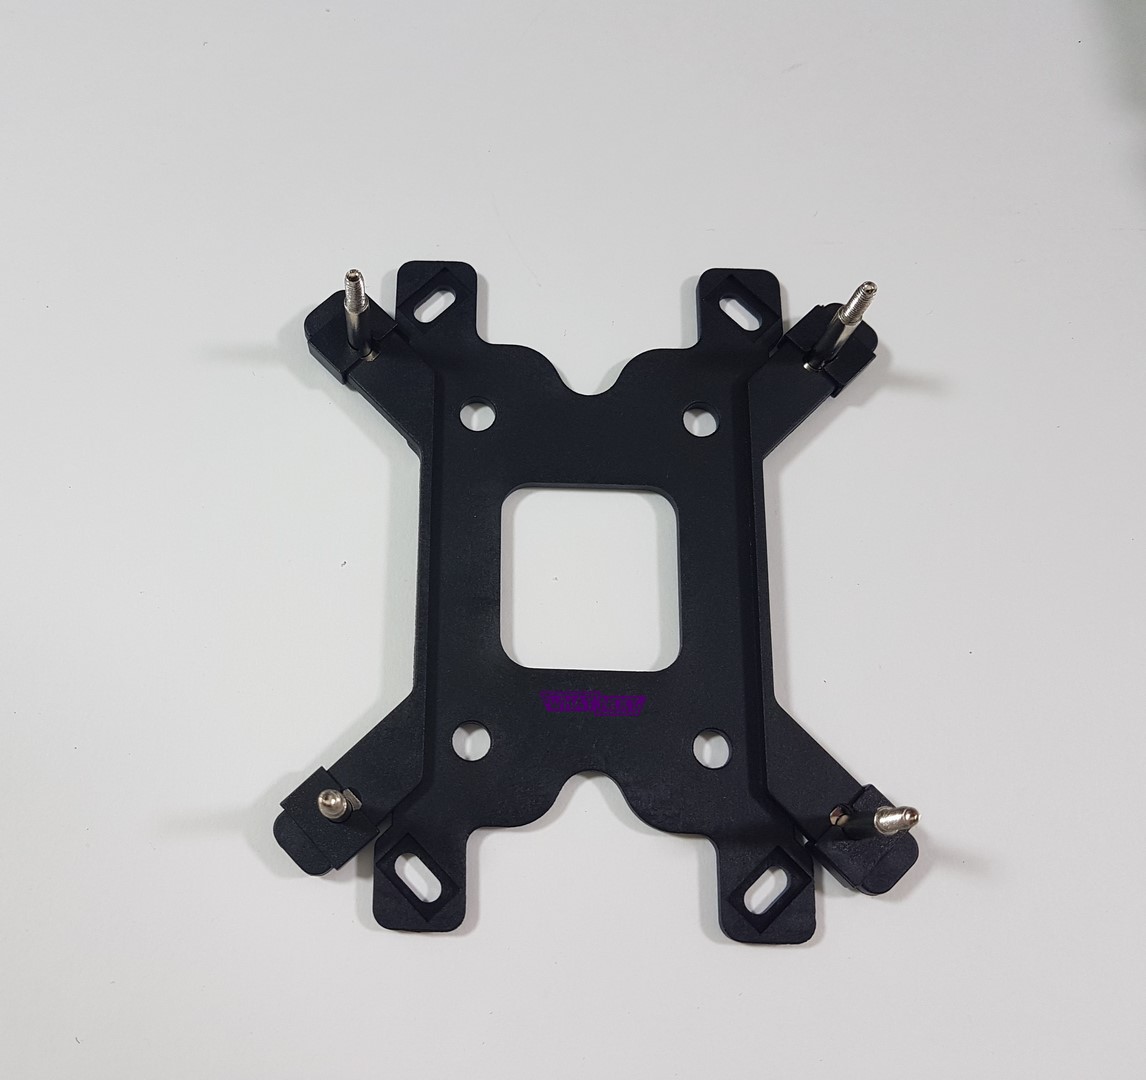
In the next cork, you attach the backplate. Put it on the back of the plate, through the holes shown in the photos above, and put on the protruding screws black (cylindrical) covers.
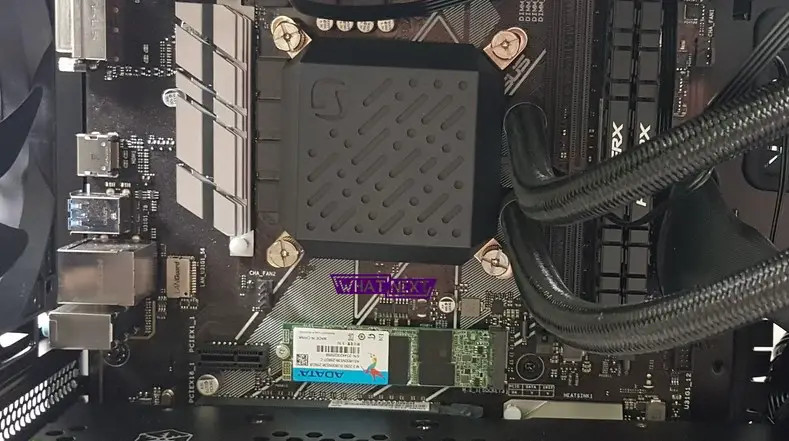
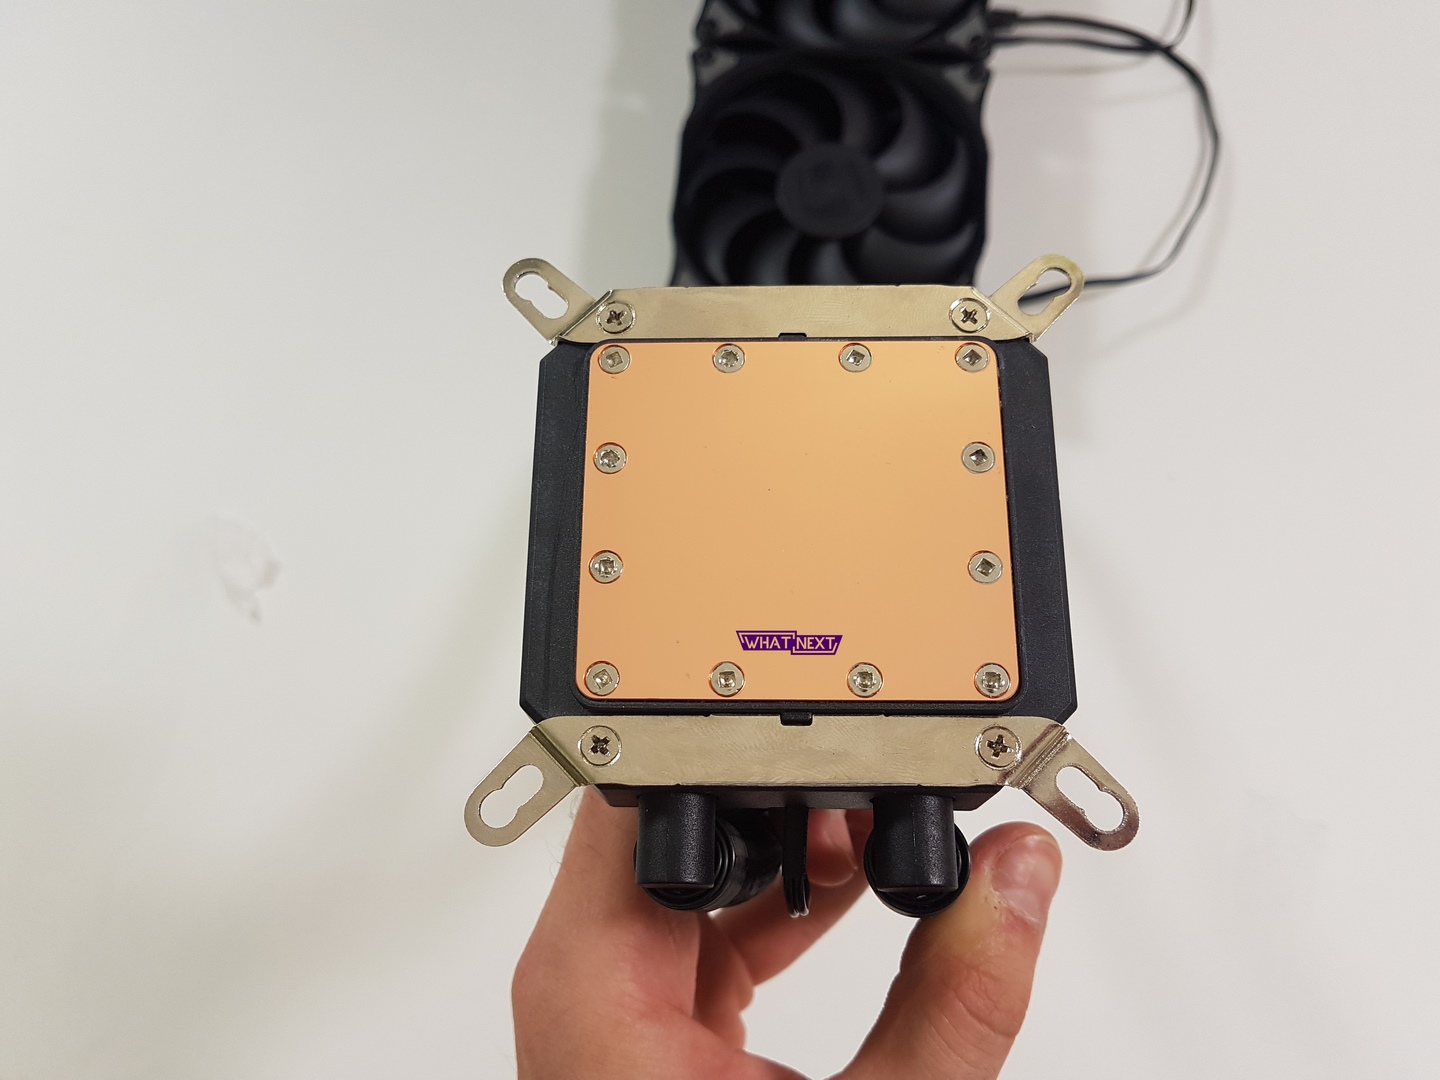
Then put a water block on it and screw it with the included quick-release screws.
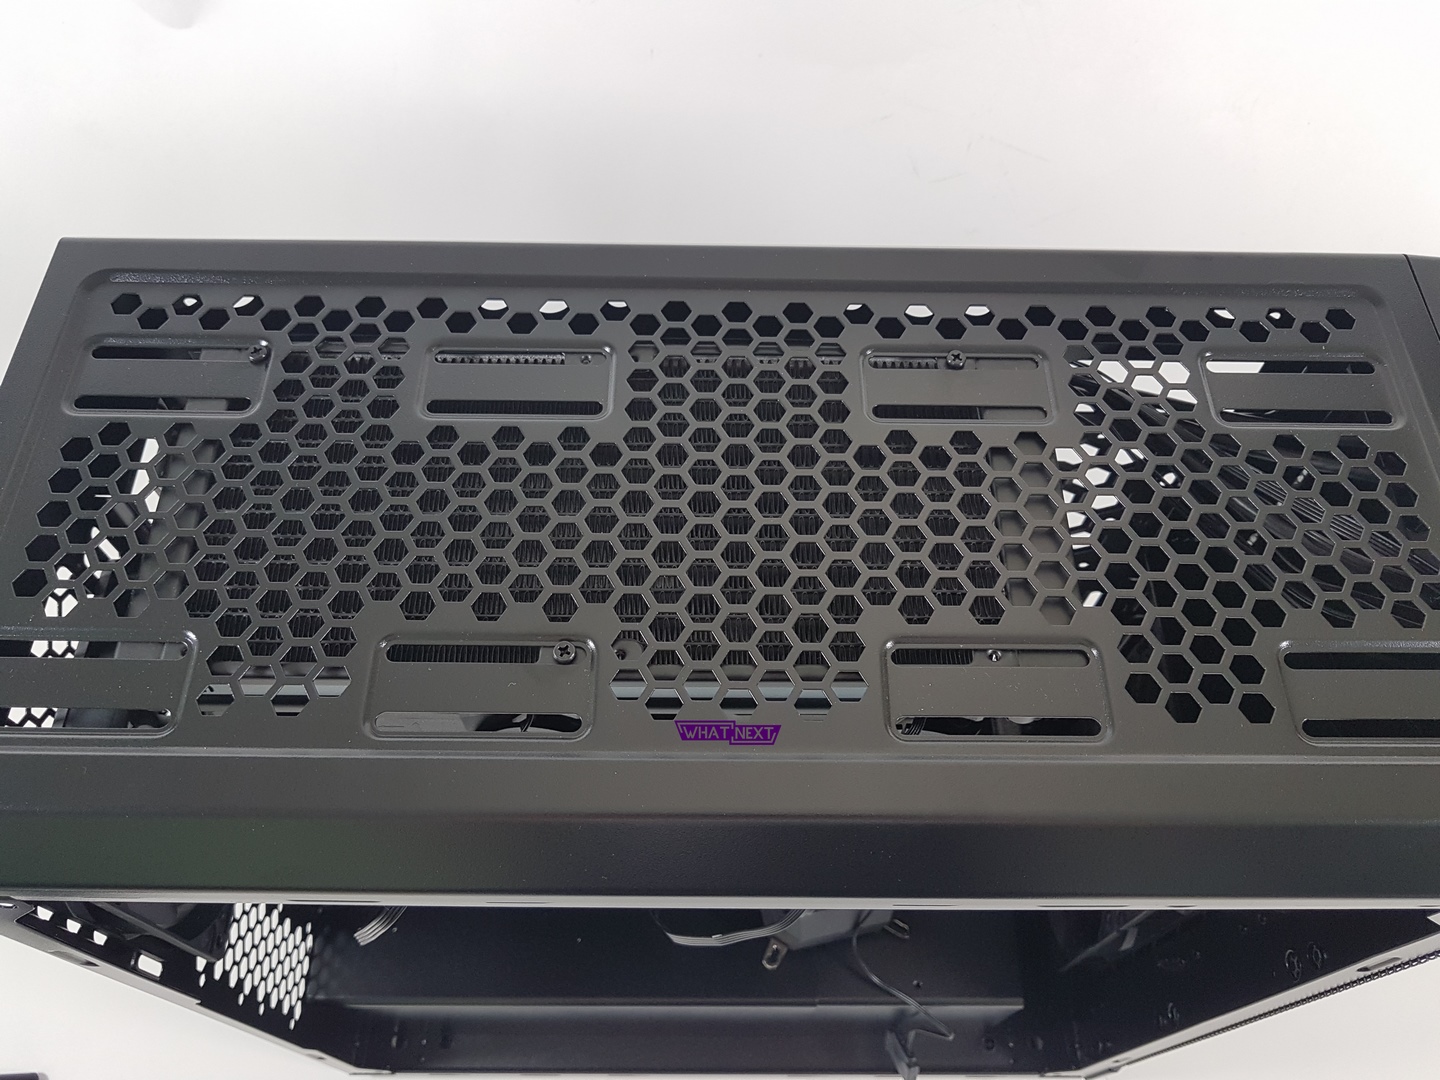
Now it’s time to install the radiator. In this case, it is attached to the top of the housing. Screw it in the place of your choice using all the included screws.
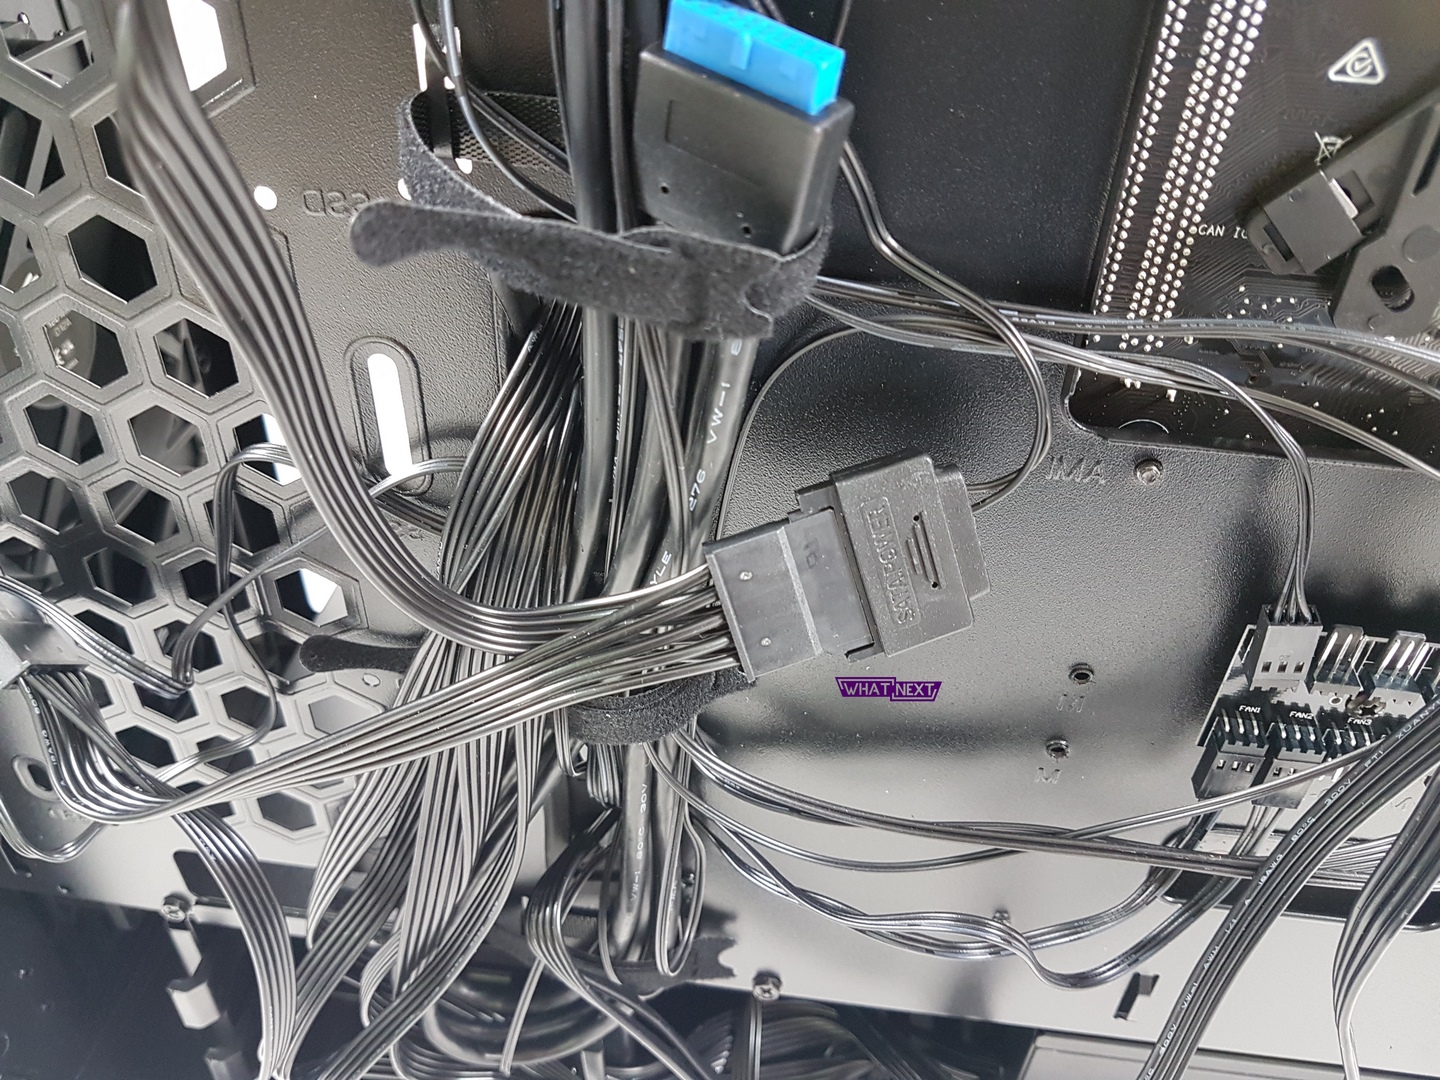
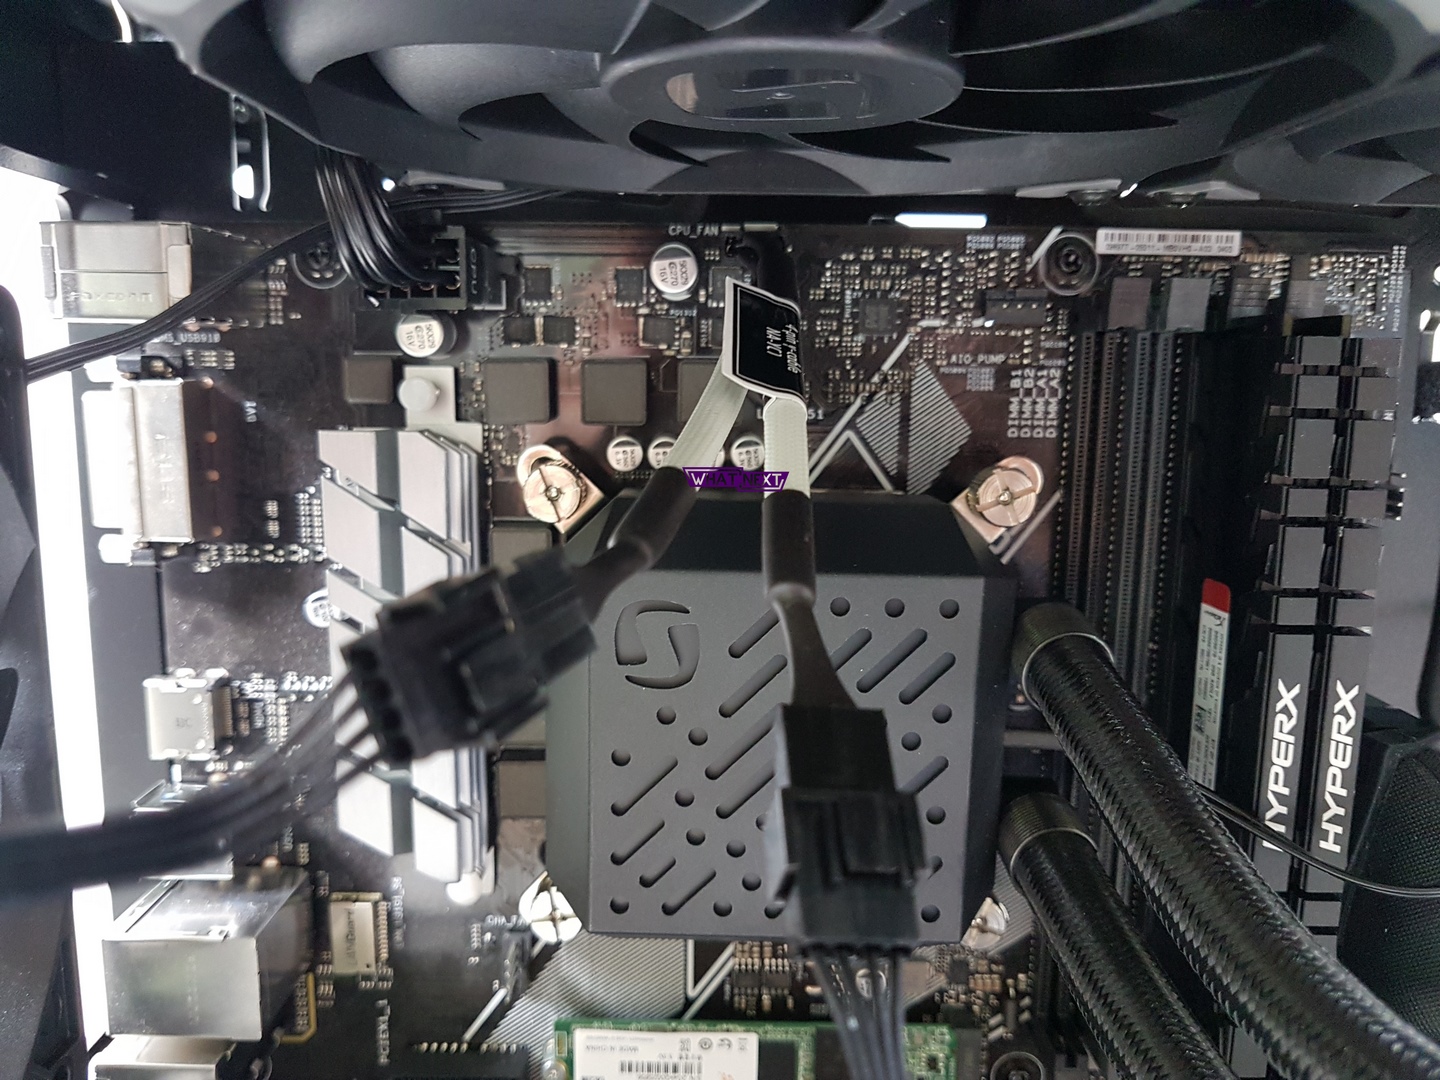
Then connect the pump to the Sata connector and the fans. In the latter case, you can connect them to two 4-pin connectors on the board or use an adapter (like me in this case), which you need to buy, and connect both propellers to one 4-pin CPU connector on the board.
And that’s it – your cooling system has just been fully installed.
Front or top radiator / fans in push or pull configuration?
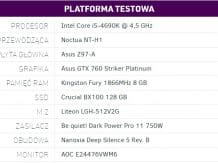
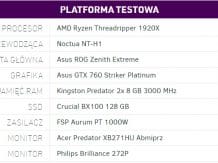
Methodology:
- The tests were performed with both OCCT and FurMark running
- They lasted 20 minutes
- The temperatures given are the highest recorded for graphics and the average of all highest temperatures for the CPU
- During the tests, two fans were connected in the front and one in the back (mounted on the top of the case) or two on the top and one on the back (mounted on the front of the case)
- The fans on the radiator were mounted so as to blow the air outside (mounting on the top of the housing) or blow it inside (mounting on the front of the housing)
- All fans were running at full speed
- The ambient temperature was constant at 24 ° C
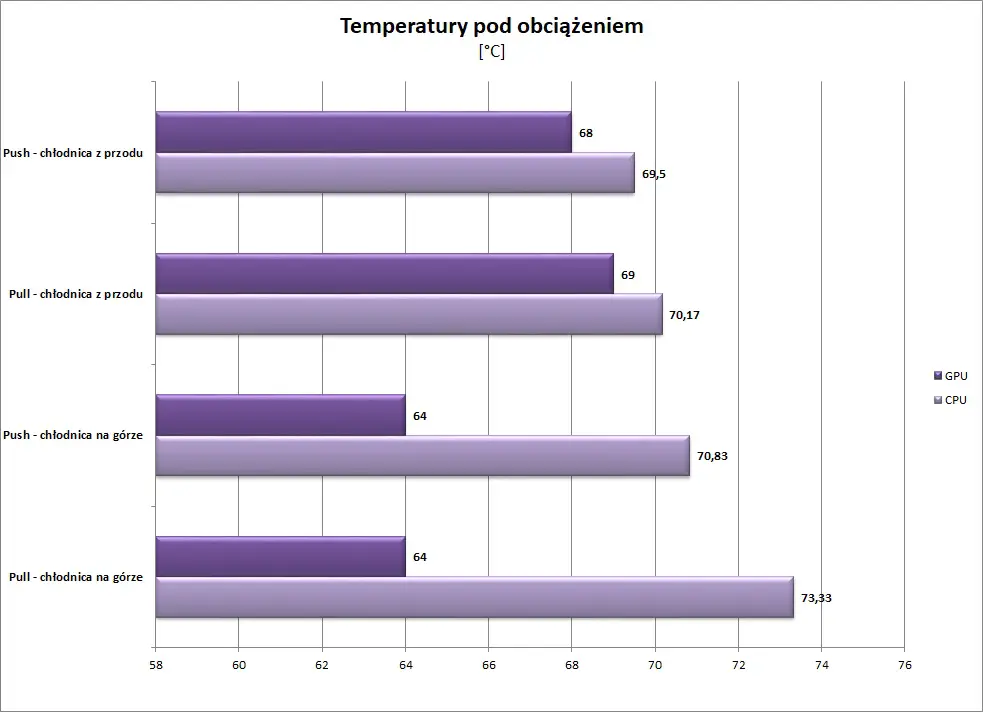
The push configuration is when the fans blow out the radiator and the pull configuration is when the fans are drawing air out of the radiator. As you can see, the push setup is more efficient in both cases, so if you’ve been wondering about it, here’s a simple answer. However, it is interesting when installing the radiator at the top and at the front. In the former case, the CPU temperatures are higher, but the graphics are lower, in the case of the front cooler, the opposite is true. This is fully understandable, because when installing the radiator at the front, the cold air from the outside of the housing first goes to the radiator, heats up and then cools it with other components, including graphics. Hence there are lower temperatures on the processor and higher on the graphics card. So you have to decide whether you want to lower the CPU or GPU temperature more and choose the location of the cooler.
What about the fans in the case?
Methodology:
- The tests were performed with both OCCT and FurMark running
- They lasted 20 minutes
- The temperatures given are the highest recorded for graphics and the average of all highest temperatures for the CPU
- The fans on the radiator were mounted in a push configuration.
- All fans were running at full speed
- The ambient temperature was constant at 24 ° C

In the case of a cooler mounted on the top of the case, additional fans do not affect the temperatures much. The difference is about 1 °, so it’s worth having one propeller in the front, but don’t expect a big effect. However, with a front-mounted radiator, each additional fan has a benefit. This is due to the fact that the air pumped inside, heated by the radiator, is not extracted by any fan, so all temperatures automatically increase significantly. In that case, it makes sense to add a few propellers on the back or top of the housing.
Summary
From the guide, you have learned practically everything about AiO liquid cooling. You know how to mount them (on the example of Navis 240 Pro), so there should be no problems with that. You also know how the cooler installed in the front or on the top of the case affects the graphics and processor temperatures. You also saw what additional fans offer and in which case it is worth investing in more of them. I hope that after reading you will not have problems with AiO, and if you have any additional questions, feel free to ask them in the comments.
We would like to thank SilentiumPC for providing the equipment for the guide.