


Encrypt content to protect data option greyed out in Windows 11/10
Starting with Windows 10, Microsoft introduced Encrypting File System (EFS) which allows you to encrypt a file or folder. This was one you can keep private data in the windows account they are using. To encrypt the files and folders, you can access the Advanced Attributes.
However, many users reported that the option Encryption content to protect data grayed out has dimmed. This happens if registry keys, group policies, etc. are not configured correctly in the system.
If you are seeing this on your system, read on. In this article, we have selected a list of working fixes to bring the “Encrypt content to protect data” option back to working state.
Note: This option is only available in Windows Pro versions. This feature is not available for other versions of Windows.
Fix 1: Enable EFS using the Windows Registry
1. Open the Run Dialog using the keys Windows + R.
2. Type regeditar and press Enter.
3. If you see a UAC appear, click Yes.
4. The Registry Editor window opens.
Note: Record editing can be risky. Even the slightest error may have affected the operation of the system. Therefore, we recommend that you back up your registry keys before proceeding. To back up, click File > Export > Give a suitable name > Save the file.
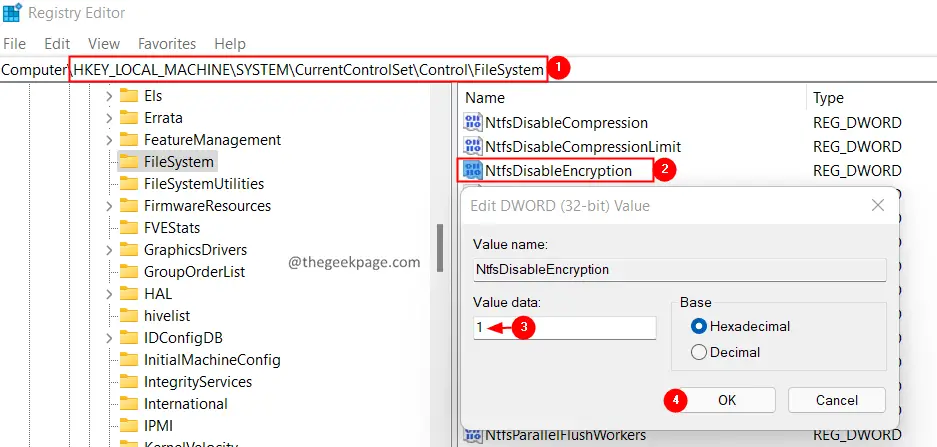
5. In the Registry Editor window, copy and paste the location below to the address at the top and press Get into.
HKEY_LOCAL_MACHINESYSTEMCurrentControlSetControlFileSystem
6. In the section on the right side, locate and double-click the key named NtfsDisableEncryption
7. Set the value to 1 and press Get into.
8. Close the registry editor and reboot your system.
Check if the problem has been resolved.
Solution 2 – Enable EFS using the command line
Alternatively, you can also enable EFS using the command line. Here are the steps to achieve the same:
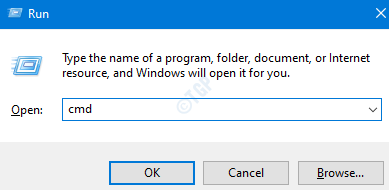
1. Open the To run dialog using Windows + R
2. Log in cmd and press Enter.
3. In the Command Prompt window that opens, enter the following command and press Enter.
fsutil behavior set disableencryption 0
4. After executing the command successfully, reboot your system.
Now, check if the “Encrypt content to secure data” option starts working normally.
Solution 3 – Make sure the Encrypting File System (EFS) service is running
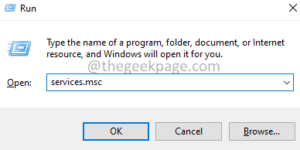
1. Open the Run dialog box using Windows + R.
2. Type services.msc and press Get into.
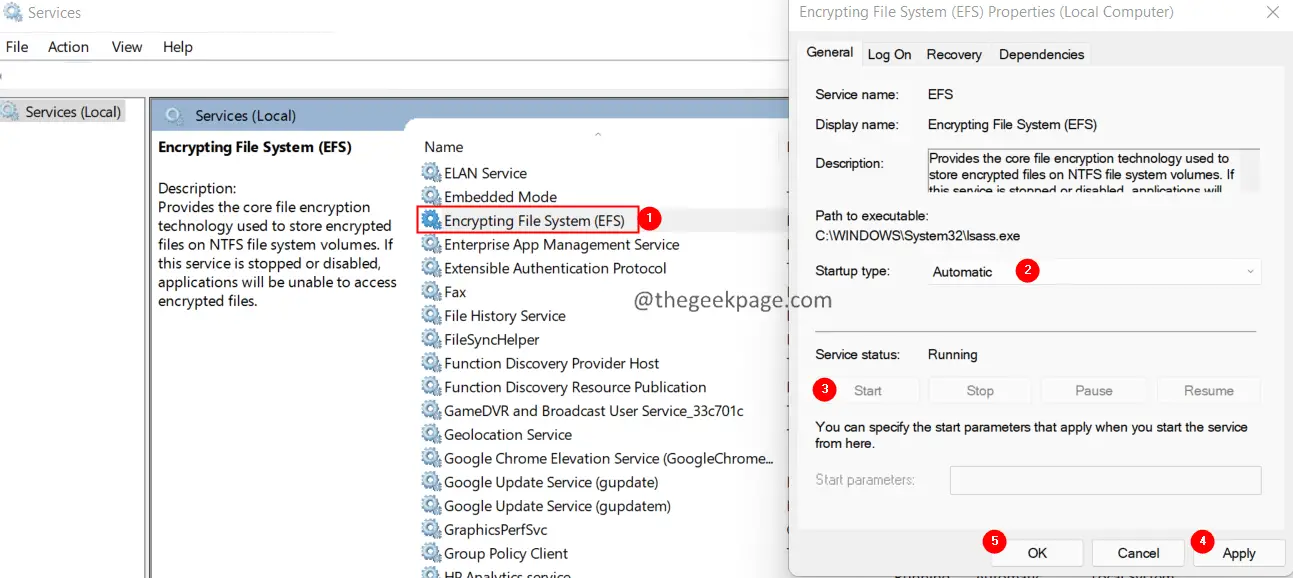
3. In the services window that appears, scroll down and locate the service called File encryption system.
4. Once found, double click on the Encrypting file system opening service for your properties.
5. From the Startup Type drop-down menu, select Automatic.
6. If the status of the service is not running, click the Start button. Make sure the service status is In a hurry.
7. Click Request and then click OK.
Check if this helps, if not then try the next solution given below.
Solution 4 – Make sure you are using an NTFS drive
Please note that encryption can only be performed on NTFS drives. So if you are using the FAT32 file system, convert the drives to NTFS by following the steps below:
1. Open the To run Terminal using the keys Windows + R.
2. Type cmd and hold the keys Ctrl+Mayús+Intro to open Command Prompt in Administrator mode.
3. In the user access control prompt that opens, click And.
4. Type the following command and press Enter.
convert <Driver_letter>:/ fs:ntfs
If you want to convert drive D, modify the command as follows:
convert D:/ fs:ntfs
Check if this helps.
Solution 5 – Perform an SFC and DISM scan
1. Open the To run Terminal using the keys Windows + R.
2. Type cmd and hold the keys Ctrl+Mayús+Intro to open Command Prompt in Administrator mode.
3. In the user access control prompt that opens, click And.
4. Type the following command and press Enter.
sfc /scannow
5. Reboot the system and check if the problem is fixed. If not, please refer to the following steps.
6. Open command prompt with admin rights again (follow steps 1-3)
7. Paste the following command and press Enter.
DISM.exe /Online /Cleanup-image /scanhealth
8. Once done, reboot the system.
If the files are damaged, they will be repaired.
Now, check if the option appears.
That’s it.
We hope this article has been informative. Please kindly comment and let us know the solution that helped you get the option to a working state.
Thank you for reading.
Related posts:
 How to access Steam games without an internet connection
  How to view FPS with Xbox Game Bar in Windows 10: Steps Made Easy
  Hacked account? How to check and remedy
  How to make video calls from WhatsApp Web
  How to increase the RAM memory of a desktop or laptop + Tips and Tricks
  How to organize your YouTube subscriptions into categories
+ Tips and Tricks
How to organize your YouTube subscriptions into categories
+ Tips and Tricks


