Hive OS overclocking profiles Hive OS
In the previous article, we covered the basics of creating Flight Sheets, and in this article, we will share the details on fine-tuning your workers with overclocking profiles.
Disclaimer: Any settings that differ from the factory values may lead to unstable system operation. Use at your own risk.
What is overclocking profile
In general terms, overclocking is about pushing your hardware out of the factory settings, possibly improving its performance.
The overclocking profile can also be used for other purposes, such as downvolting (reducing the power consumption of your equipment). There are many ways to use overclocking, and we will try to describe some of them in this article.
Overclocking is a trial and error process that requires patience to achieve the desired results. You should always let your hardware run with each set of new overclocking profiles for some time to see if these particular parameters remain stable. Equipment can sometimes behave differently, giving unpredictable results. Rejected balls are one way to check if the overclocking changes were successful.
Rejected balls
Rejected balls are balls that your miner produced, but they were either not submitted in time for inclusion in the block, or contained an error. The most common reason for a large number of rejected balls is due to overclocking the graphics processing unit (GPU) to the point that it produces erroneous balls.
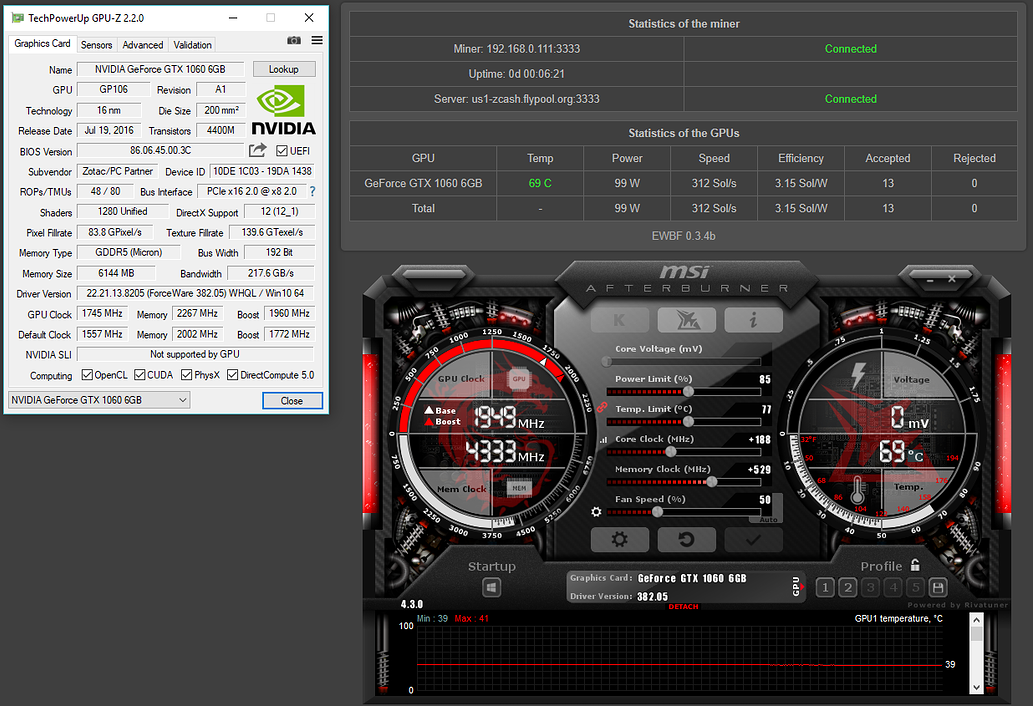
The lower the number of rejected balls in relation to the accepted ones, the higher the efficiency of your GPU overclocking profile.
However, most users leave their hardware with default settings, as overclocking results may differ for each user. It also depends heavily on the actual components the manufacturer uses, as some components can be overclocked beyond spec and some just don’t work that well.
Overclocking profile creation
All overclocking profiles are created individually for each farm and cannot be shared between farms. You can create a farm-wide profile or a worker-specific profile. Worker-specific settings will always override any farm-wide settings. For example, in this way you can set the optimal desired settings for the entire farm, and then fine-tune each rig individually.
To add a new profile, go to the Overclocking Profiles tab of your farm and click on the Add OC Profile button .
In the Save Overclocking as Template window, give your profile a name and click Save .
Creating a new overclocking pattern
You have created a template that will later be used by specific workers or your entire farm. This template can then be copied and modified for different combinations of miners or algorithms.
The template you create will be used by all of your GPUs, but the settings are different for Nvidia and AMD. You can have separate presets for both types of GPUs in the same profile if your rig runs on Nvidia and AMD GPUs, and they will apply to each GPU type individually.
To edit your overclocking profile, click on the plus icon next to your profile name and follow the instructions depending on your GPU type.
Overclocking pattern editing
Please note that you can use the most popular templates by going to the Popular Presets tab and finding your graphics card model.
Overclocking Nvidia GPUs
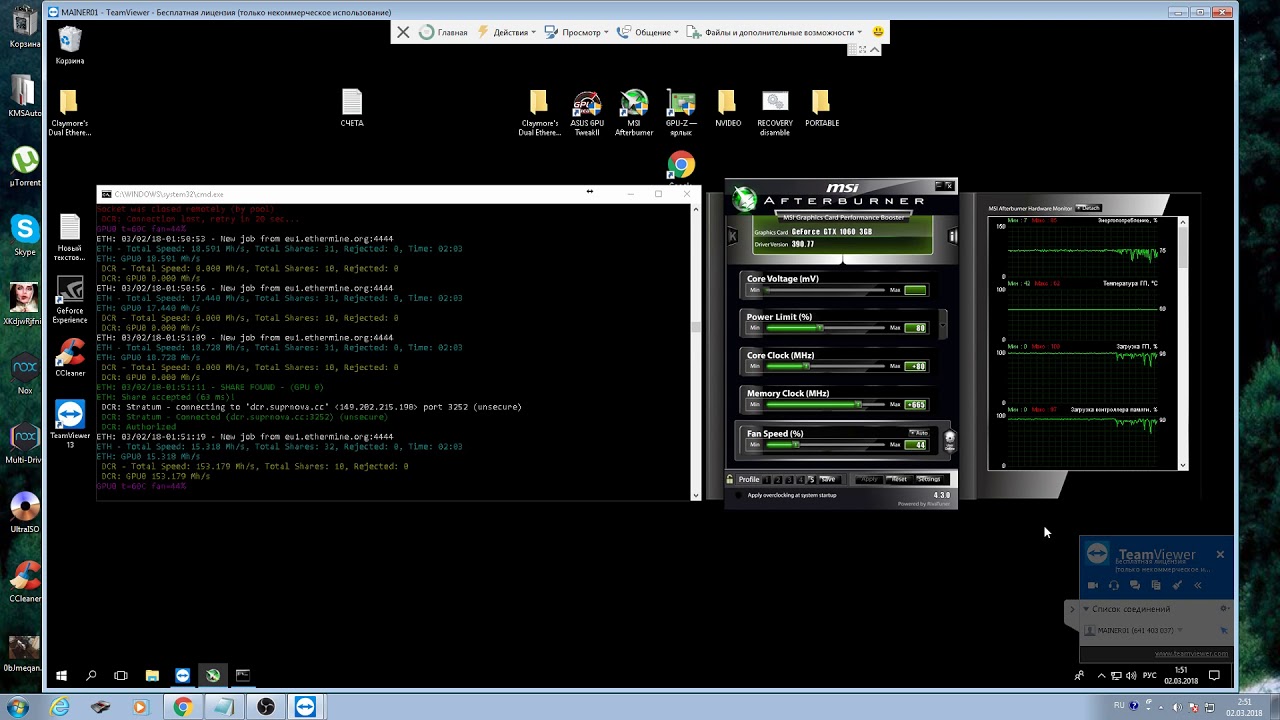
Before changing any settings, you can run the command nvidia-smi to find out your current GPU settings. To do this remotely from the control panel, go to your worker and click on the Run Command button in the toolbar at the top of the screen.
Toolbar
You can specify one value for all cards or a list of values for each card separated by a space. For example:
150 - one value for all GPUs.
0 100 0 0 0 140 - this means GPU0 = 0, GPU1 = 100, and so on.
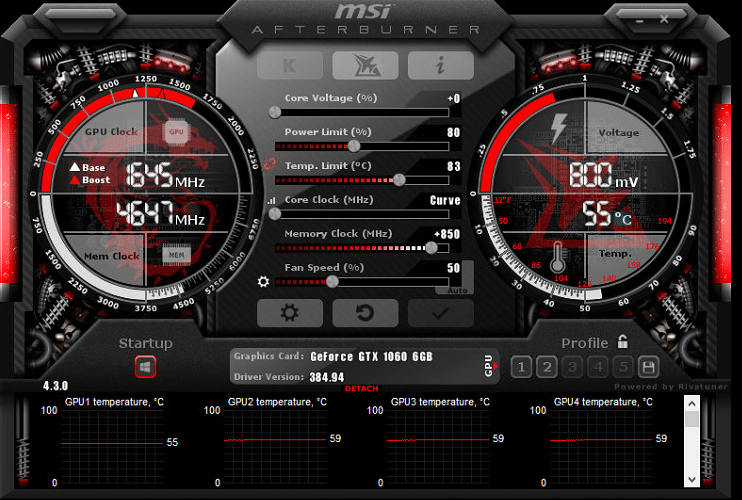
Nvidia Overclocking Window
The Algo field is used to specify overclocking settings for a specific algorithm. You can create a separate set of overclocking settings for each algorithm individually, or chooseDefault Config , which will apply to all algorithms, but can be overwritten by the algorithm settings themselves.
- + Core Clock (Mhz) - increases the clock frequency of the GPU core in MHz. The minimum and maximum values for your GPU can be found in the Nvidia X Server Settings tool by going to the PowerMizer tab in your rig. For GPUs, 0 will always be the default (factory) value.
- Memory (Mhz) - Increases the GPU memory speed in MHz. Typically this value is double what you see in AfterBurner. For example, if on Windows it is + 800 MHz, then the value should be 1600. The minimum and maximum values for your GPU can be found in the Nvidia X Server Settings tool by clicking the PowerMizer tab.
- Fan (%) - Controls the speed of your GPU’s fan / fans. For GPUs, 0 will always be the default (factory) value. The default fan speed is not determined by the miner, but by the bios of your GPU.
- Power Limit (W) - controls power consumption. These values must be absolute, unlike AfterBurner, where the values are percentiles.
You can check your power limits in your rig’s GPU list. For example, a power limit of 60.00 W, 120.00 W, 140.00 W means the first value, 60.00 W is the minimum value, 120.00 W is the default value, and 140.00 W is the maximum value. This parameter will not apply if your values are less than or greater than the minimum / maximum values of your GPU.
- Turn Off LEDs - This turns off the LEDs on your GPU, if any. This option may not work on some GPUs.
- OhGodAnETHlargementPill - Only works with Nvidia GTX 1080 series. Provided by OhGodACompany.
- Click Save and that’s it.