


How to enable delete confirmation dialog in Windows 11
Nothing can be faster than you pressing the Remove key and the selected file goes straight to the Recycle Bin without any extra steps in between. But what if you don’t want it that way? Let’s say you pressed the Remove key to an important file and then the file flew straight to the Recycle Bin without even asking for your confirmation. Now you have to go through all the trouble of getting into the Recycle Bin, find and restore the deleted file. Well, it doesn’t sound fun, I know.
So if you happen to have a confirmation dialog Between the press delete key step and the file going to recycle bin step, things could turn out perfect for you. In this article, we explain in 3 steps how you can easily add the delete confirmation dialog en su Windows 11.
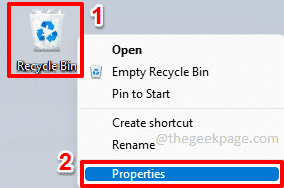
Paso 1: The right button of the mouse about him Recycle Bin icon on the Desk. Click on the Properties option.
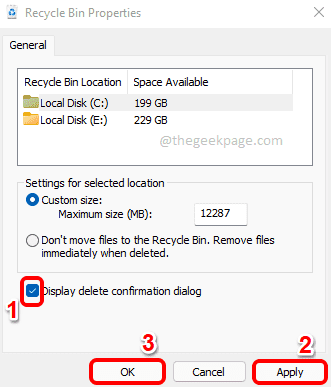
Paso 2: In the Recycle Bin Properties window, check the cash register corresponding to the option Show delete confirmation dialog.
Once you’re done, press the button Request button and then the OK button.
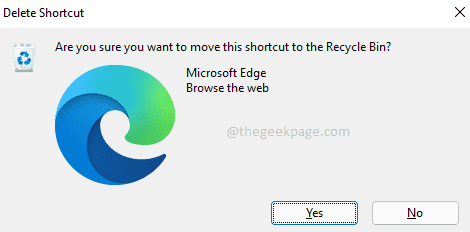
Paso 3: That’s it. Now, if you delete any file, you’ll get a delete confirmation dialog asking if you’re sure you want to move the file to the Recycle Bin. Enjoy!
Tell us in the comments section if the article was useful to you.
Related posts:
 How to access Steam games without an internet connection
  How to view FPS with Xbox Game Bar in Windows 10: Steps Made Easy
  Hacked account? How to check and remedy
  How to make video calls from WhatsApp Web
  How to increase the RAM memory of a desktop or laptop + Tips and Tricks
  How to organize your YouTube subscriptions into categories
+ Tips and Tricks
How to organize your YouTube subscriptions into categories
+ Tips and Tricks


