


How to enable / disable automatic login after upgrade in Windows 11
Many Windows users prefer to protect their Microsoft account by blocking access to the PC with the help of a strong password or a 4-digit PIN. So if you or another user wants to access your PC, you will have to enter the PIN or password to access your account and your PC. In the same way, when you want to install a Windows Update and your PC restarts to apply the update, you get to the Windows login screen, where you will have to enter the PIN or password to access.
This can be time consuming and annoying for some users and therefore you may want to bypass the login screen and go straight to the desktop, without the need to enter your PIN or password. For this to happen, you must activate the «Automatic login after an update”Feature in Windows settings. This allows Windows to save your login credentials which are then used to automatically log into your Microsoft account to finish installing and applying the update.
However, you should note that this feature applies only to Windows update and will work only when you want to finish installing an update and not under normal circumstances. You will still need to enter your PIN or password to access your account under normal circumstances.
This post will guide you on how to enable / disable the Automatic login after update feature in Windows 11. Let’s see how:
Method 1: through the settings app
This method allows you to enable the Automatic login after update function on your Windows 11 PC using the Settings app in just a few quick steps. Let’s see how:
Paso 1: press the Win + me keys simultaneously on your keyboard to start the Settings application.
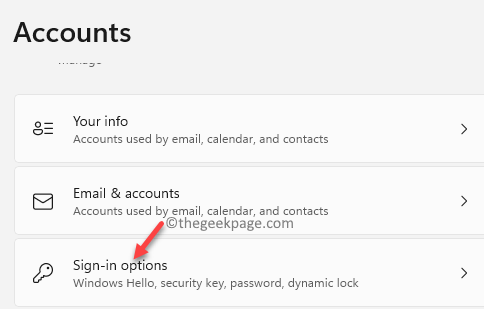
Paso 2: At Settings window, click the Accounts options on the left side of the panel.
Paso 3: Now, go to the right side of the window and click on Login options.
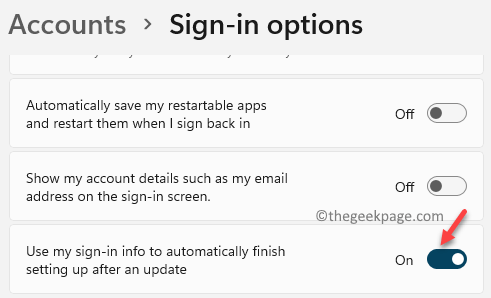
Stage 4: Then in the Login options settings window, go to the right side, scroll down to the bottom and below the Additional settings option, go to Use my login information to finish setup automatically after an update.
Now, move the toggle switch next to the right to enable the Automatic login after update characteristic.
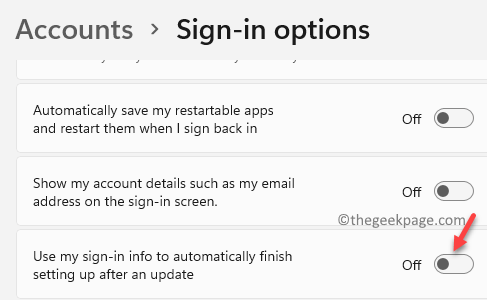
*Note – To disable the Automatic login after update function, follow Steps 1 to 3 as shown above and then go to the right side of the panel> Additional settings> Use my login information to finish setup automatically after an update > move the toggle switch to the left to deactivate it.
Method 2: via group policy editor
Alternatively, you can use the Group Policy Editor to edit certain Windows settings and properties to enable or disable the Automatic login after update characteristic. That’s how:
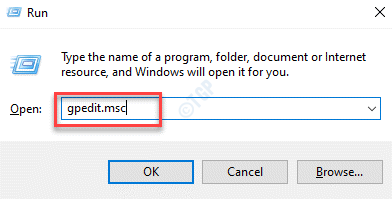
Paso 1: press the Win + R shortcut keys on your keyboard to open Run command.
Paso 2: At Run command window that opens, type gpedit.msc and hit Get into to open the Local Group Policy Editor window.
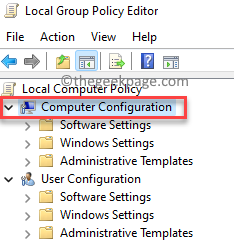
Paso 3: At Local Group Policy Editor window, expand the Computer Configuration field on the left side of the panel.
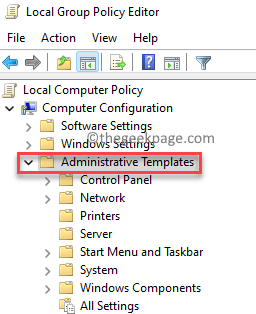
Stage 4: Then go to Administrative Templates field and expand it.
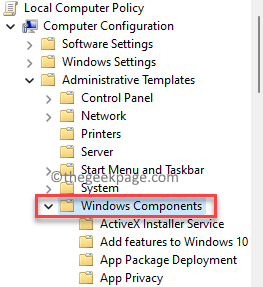
Paso 5: Then expand the Windows Components section.
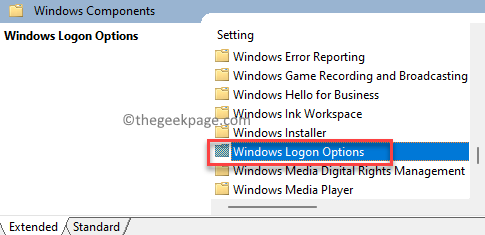
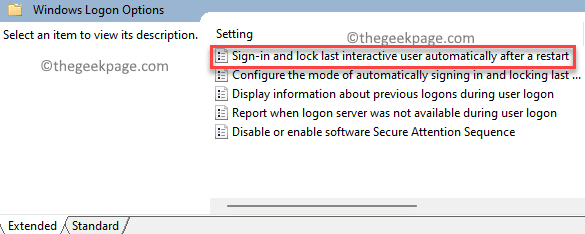
Paso 6: Now go to the right side of the window and look for Windows login options.
Double click on it.
Paso 6: In the next window, below the Windows logon options, on the right side, double-click the Login and lock the last interactive user automatically after reboot adjustment.
This option must be disabled to Automatic login after update function to be enabled.
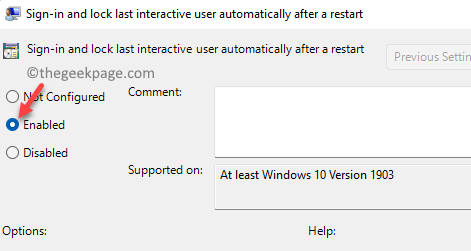
Paso 7: Now in the Login and lock the last interactive user automatically after reboot window, select the radio button next to Activated.
printing OK to save the changes.
Now, close the Local Group Policy Editor window and the Automatic login after update the function is enabled correctly.
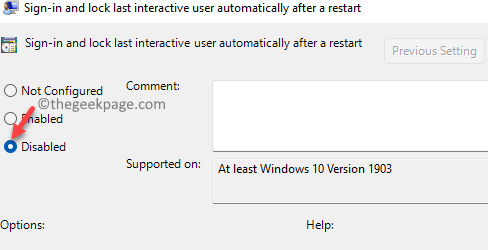
*Note – To disable the Automatic login after update function at any time later, follow the Steps 1 through 6and then under Login and lock last interactive user automatically after reboot window, select the radio button next to Disabled.
printing OK to save the changes.
Get out of Local Group Policy Editor and the Automatic login after update the function is disabled.
Related posts:
 How to access Steam games without an internet connection
  How to view FPS with Xbox Game Bar in Windows 10: Steps Made Easy
  Hacked account? How to check and remedy
  How to make video calls from WhatsApp Web
  How to increase the RAM memory of a desktop or laptop + Tips and Tricks
  How to organize your YouTube subscriptions into categories
+ Tips and Tricks
How to organize your YouTube subscriptions into categories
+ Tips and Tricks


