


How to Get the Most Out of a 3D Printer on Linux with SuperSlicer
SuperSlicer is an open source fork of the PrusaSlicer application. It works quickly and efficiently and can help you get the most out of your 3D printer. Here’s how to use SuperSlicer on your Linux PC.
Installing SuperSlicer on Linux
SuperSlicer works on various Linux operating systems through an AppImage or Arch Linux AUR. To install SuperSlicer on your Linux PC, you need to open a terminal window.
To open a terminal window on the Linux desktop, press Ctrl + Alt + T on the keyboard. Or search for “Terminal” in the application menu and run it that way. Once the terminal window is open, follow the installation instructions below that match the Linux operating system you are currently using.
Ubuntu / Debian
On Ubuntu, you can compile the SuperSlicer application with the AppImage version. AppImage is specifically designed to run on Ubuntu, and reflects this on the “releases” page on Github.
Note: Debian is very similar to Ubuntu except for a few things. Debian users should be able to follow Ubuntu’s instructions without any problems.
To get your hands on the latest SuperSlicer AppImage for Ubuntu, use the wget command below.
GTK 3
wget https://github.com/supermerill/SuperSlicer/releases/download/2.3.57.8/SuperSlicer-ubuntu_18.04-gtk3-2.3.57.8.AppImage
GTK 2
wget https://github.com/supermerill/SuperSlicer/releases/download/2.3.57.8/SuperSlicer-ubuntu_18.04-gtk2-2.3.57.8.AppImage
After downloading the latest AppImage file on your computer, follow our guide on how to configure the AppImageLauncher tool. AppImageLauncher makes setting up SuperSlicer AppImage much easier.
Once you have configured the AppImageLauncher tool, open the Linux file manager, click on the home folder, select SuperSlicer AppImage and integrate it to your system with AppImageLauncher.
Arch Linux
The SuperSlicer application is available on Arch Linux AUR. To get it working on your system, start by installing the “git” and “base-devel” packages on your computer.
sudo pacman -S git base-devel
With both packages configured on your computer, run the clone de git command to download the Trizen AUR helper. Then install it with the makepkg command. Trizen will make setting up SuperSlicer much easier.
git clone https://aur.archlinux.org/trizen.git

cd trizen/
makepkg -sri
Finally, with the Trizen tool installed on your system, use the trizen -S command to install the SuperSilcer application.
trizen -S superslicer-bin
AppImage Generic Linux
Although AppImage for SuperSlicer is labeled “Ubuntu”, users can still use it on a wide variety of Linux operating systems. To get it working, start by setting up the AppImageLauncher program on your computer by following our setup guide.
With the AppImageLauncher tool configured, use the wget command to download the latest AppImage. Then open Linux file manager and double click AppImage to integrate it with your system.
GTK 3
wget https://github.com/supermerill/SuperSlicer/releases/download/2.3.57.8/SuperSlicer-ubuntu_18.04-gtk3-2.3.57.8.AppImage
GTK 2
wget https://github.com/supermerill/SuperSlicer/releases/download/2.3.57.8/SuperSlicer-ubuntu_18.04-gtk2-2.3.57.8.AppImage
SuperSlicer Configuration on Linux
To configure SuperSlicer on Linux, start by launching the application through the application menu. Once the app is open, follow the step-by-step instructions below.
Paso 1: With the application open, the welcome screen will appear. Find the “Next” button at the bottom of the screen and click it to go to the next page.

Paso 2: You must select your printer. Look at the list of printers available in SuperSlicer and click on the box next to your 3D printer. SuperSlicer supports multiple printers, including ANycubic, Creality, Prusa, MakerGear, and more.

Paso 3: You now need to select your filament profile selection. By default, they are all selected (PLA, PETG, and ABS). However, if you want to modify the filament selections, review the list and change them. When finished, click “Next”.

Stage 4: Next, you will need to configure automatic updates. By default, SuperSlicer is not configured to handle updates. Check “Check for app updates” and “Update built-in presets automatically” to enable updates. Click “Next” to go to the next page.

Paso 5: If you want to export full model and part paths, check the “Export full paths” box. Otherwise, leave it blank if you don’t know what this setting does. Click “Next” when done to proceed to the next page.

Paso 6: Now you need to configure your view mode. The default display mode is “Simple”. If you are a beginner, we recommend that you save it here. However, select ‘Advanced’ or ‘Export’ if you are more advanced ‘.

Do you want to use imperial instead of metric? Select the “Use Inches” button. Click “Finish” when you are done.
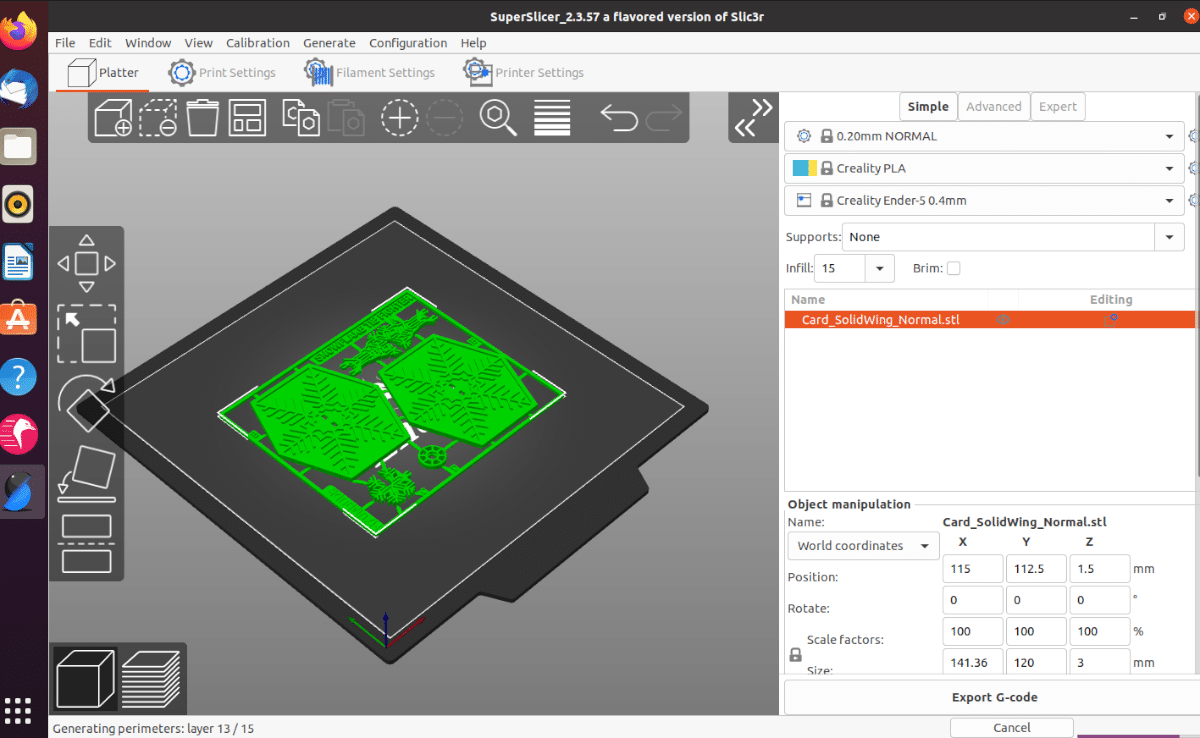
How to use SuperSlicer
To use SuperSlicer, start by launching the application. Then head over to Thangs, or Thingiversey download an STL model file. You can also import your own model files from Blender, Tinkercad, etc.
Once you have your file, click the “File” button and search for “Import.” After selecting “Import”, select “Import STL” to import your model file. Finally, find the STL file to add to SuperSlicer.

Look for the “Cut Now” button after adding the STL file to SuperSlicer; look for the “Cut Now” button. Click on it to automatically prepare the model for printing on your 3D printer. Then find the “Export G-code” button to save it as a Gcode file for your 3D printer.
Transfer the G-code file to an SD card (or other storage device) and put the file on your 3D printer to print.

Related posts:
 How to access Steam games without an internet connection
  How to view FPS with Xbox Game Bar in Windows 10: Steps Made Easy
  Hacked account? How to check and remedy
  How to make video calls from WhatsApp Web
  How to increase the RAM memory of a desktop or laptop + Tips and Tricks
  How to organize your YouTube subscriptions into categories
+ Tips and Tricks
How to organize your YouTube subscriptions into categories
+ Tips and Tricks


