


How to put the Kiosk mode of your Windows 10 PC? – Use and Activate Correctly
–
The kiosk mode in Windows 10 is a tool that comes with this operating system and it is very useful to be able to execute the option to block one or more applications. If you are interested in security, this article will be useful to you, here you will be able to see in detail how to use this alternative and activate the kiosk mode in a computer running Windows 10 properly.
How can you configure your computer so that kiosk mode can be enabled?
This function can be a bit confusing to enableHowever, activating this setting on your Windows 10 PC has two ways, here you will see the Step by Step of each method to achieve optimal results.
Have an activated account
To start the kiosk mode activation procedure in Windows 10 it is necessary to have an activated program account, follow these instructions to achieve it:
- Using the admin account set up a standard account and then press the keys ‘Windows + I’ to execute the keyboard shortcut.
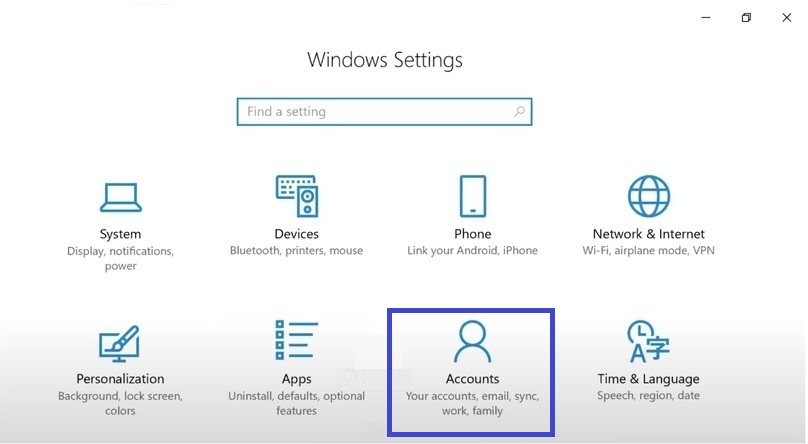
- Go to ‘Accounts’ and then to ‘Other people’ Then click on the ‘Set up assigned access’ option.
- Choose the alternative ‘Choose an Account’. When you do this you should choose a standard account which you created at the beginning.
- Then go to the ‘Choose an App’ option and select an app from ‘Supported Apps’.
- Finally, restart your computer and when it turns on, Sign in to the standard account.
Update your operating system to the latest version of Windows
To enable kiosk mode on PC you must have Windows 10 or higher operating system, if you do not have that version, you must update your Windows 10 operating system to the latest version. To find out what version my computer has, can be done as follows:
- Press the ‘Start’ and ‘R’ keys, in the launcher type the word ‘Winver’ and press ‘OK’ you will see a window with the version of your Windows 10.
- If the version you have is not the right one, you must update the operating system, go to the Microsoft official page in the web browser.
- Download the Windows 10 update assistant and click on ‘Update now’, select a path on the computer to save the software and the download will start.
- When you have it already downloaded, double click on the wizard icon update to run it.
- An update assistant window will be displayed, it automatically checks if you have the latest version of Windows 10.
- Click on ‘Update Now’ again and it will start preparing the update by downloading the necessary files.
- When you finish downloading all the necessary files for the update, tap on ‘Restart now’ and you will have the latest version of Windows.
What is the procedure to activate kiosk mode on your computer?
In case the previous procedures did not work, there are 3 additional methods to be able to activate kiosk mode in windows 10Here you will see each of them.
From the local configuration of the machine
It is possible to enable Windows 10 kiosk mode from the same device, to achieve this you must have the latest version of the Windows 10 operating system to carry out this process.
When you have this, go to the Windows Start button and then to ‘Settings’ next click on ‘Accounts’ in the new tab. Finally, select the option ‘Family and other people’ and configure the kiosk mode in the applications you want.
Using Windows PowerShell
This interface is designed exclusively for system administrators, the cmdlet method must be used with the Windows PowerShell interface to be able to activate the kiosk mode on the computer and be effective for institutions or companies to configure one or more computers and have our kiosk mode.
Using the configuration designer
The Configuration Designer tool that comes with Windows 10 allows users to activate the kiosk mode on the device, to do so Proceed with these instructions:
- Use Microsoft’s tool that allows you to create a device like a kiosk PC. Then go to Windows ADK in the menu and get a program called ‘Windows Configuration Designer’.
- When you click on the program wait for it to load and Click on ‘Provision kiosk devices’.
- A new window will appear where you will place the name of the project, then choose where you want to save it and touch on ‘Finish’.
- Wait for it to load and then the option to configure will appear and you will get send it or send it to the kiosk device.
- By performing each of the steps of the ‘Windows Configuration Designer’ program you will be able to activate the kiosk mode on the computer.
How to correctly configure the kiosk mode of your Windows 10 computer?
To do it correctly, the kiosk mode can be done in two ways, the first is validating the access of said mode to the PC and automatically when entering the user.
To validate access on your PC
As it was just said, to configure the kiosk mode correctly you can use the option to validate access to the computer, with this procedure you will be able to achieve it:
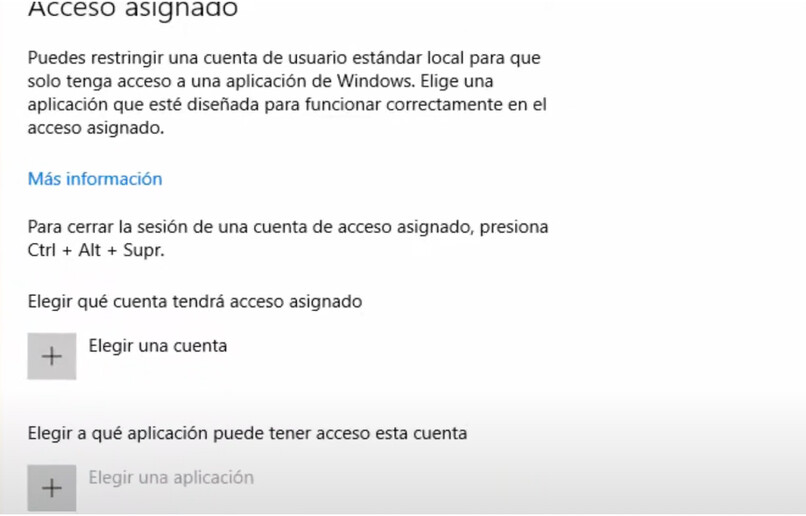
- You must create another account on your computer, when you have it created click ‘Set up assigned access’
- Then, to validate access in kiosk mode, click on ‘Choose an account’, search for and select the account created.
- Later press on ‘Choose an application’, select and then sign out. Log in to the account and you are done.
Automatically upon user login
The last method to activate the kiosk mode in Windows 10 is to do it automatically when the user enters, execute these steps to achieve it:
- Using the keyboard shortcut ‘Start + R’ type in ‘Run’ the word ‘netplwiz’ and then click on ‘OK’.
- Next, click on the user you created and click on the box that indicates to write the name and password to use the computer, in this way we deactivate it.
- To end, click on ‘Apply’ and complete the password of the created account and that’s it.
Related posts:
 How to access Steam games without an internet connection
  How to view FPS with Xbox Game Bar in Windows 10: Steps Made Easy
  Hacked account? How to check and remedy
  How to make video calls from WhatsApp Web
  How to increase the RAM memory of a desktop or laptop + Tips and Tricks
  How to organize your YouTube subscriptions into categories
+ Tips and Tricks
How to organize your YouTube subscriptions into categories
+ Tips and Tricks


