


How to Put the Popcorn Symbol in PowerPoint? | Check Mark
–
You have finished your Power Point presentation and you need to place a Check Mark in one of them so that they see the confirmation of your information. How can you put the symbol of the popcorn in your presentation? In this article We will explain how you can do it.
In which cases is it appropriate to use the PowerPoint ‘Check’ symbol?
If it is appropriate for you to use the ‘Check’ symbol, the check mark or ‘cross’ which is similar to a bullet list, it will depend on what you need it for, it is usually used for mark some printed form which includes tables, to indicate that a certain form is reviewed.
But the symbol ‘Check’ in computer science is usually presented in conjunction with a check box which is displayed with an empty box, this is what you can fill in just by clicking on one from them.
Now the R mark in some applications such as Facebook, WhatsApp and Telegram is usually used to indicate that your message has been seen or read by your contact but you have not received any response yet. In the case of your Power Point Application You usually use your ‘Check’ to indicate that you have finished your presentation.
Finished presentation
The ‘Check’ is very useful when you want to make known to a crowd that you have finished your presentation or also to select a list of relevant data from a check box in front of a stage, in such a way that your presentation is interactive, just inserting the popcorn will suffice to indicate what you want.
How did you insert the PowerPoint popcorn from the symbols section?
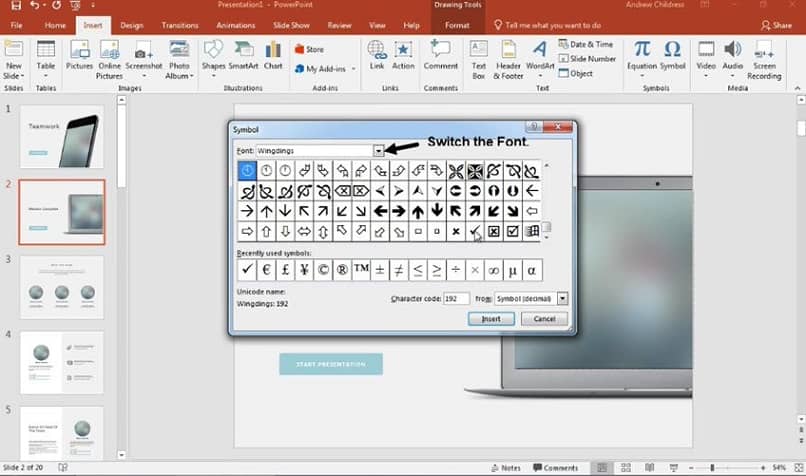
To insert the popcorn or a symbol in Power Point, it is very simple. First open your Power Point presentation, then go to the ‘Insert’ tab and select the ‘Text Box’ icon. Then, Click on the place where you want to place your ‘popcorn’, then again go to the ‘Insert’ tab, and now select the ‘Symbol’ icon that is shows with a figure of an omega.
Next, a window entitled ‘Symbol’ will open, there you will be able to see several of them, select from the ‘Source’ box the option ‘Wingdings 2’. Later, select from there the symbol you need, that is to say your ‘Check’ or popcorn, from there you have two options is R or estaP and you click on ‘Insert’ and that’s it.
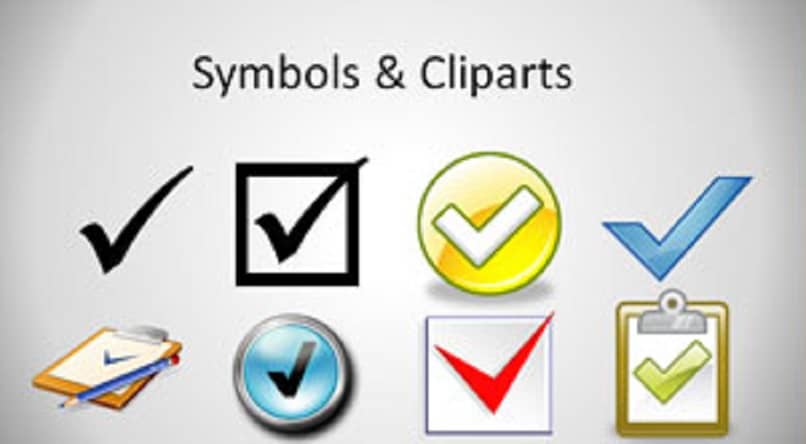
Where can I find colored check symbols for PowerPoint?
To find colored check symbols for your Power Point presentation you can find them in Clip Art, then first we will talk to you about how you can insert your colored popcorn from there.
Using Clip Art
When using ‘Click Art’ will save you time at the time of putting or inserting images from it, since it allows inserting already predefined or elaborated images that are very striking and attractive to the general public. You can insert these not only from Powerpoint, you can also do it from a web page, from a PDF document and even from a word processor like Microsoft Word.
Your Gallery is extensive, grouped by category, there are them for all tastes and particularities, you can also obtain them in different formats such as printed ones and even in electronic format.
There are different free ‘Click Art’ programs in which you can make use of them, some of these are: Open Click Art Library, 1010Clipart +50000 Free ClipArts, Free clipart for non-commercial projects and others like him from your Power Point presentations.
Insert the Clip Art ‘Check’ symbol into your presentations
To insert the ‘Check’ symbol from Clip Art into your presentation, first from the presentation window go to the ‘Insert’ tab. Then, select from the drop-down dialog box the option ‘Image’ or ‘Picture’ and from the other drop-down box select ‘Clip Art’. Immediately the ‘Clip Art’ search function to the right of your Power Point presentation sheet.
Now, type in the search box ‘Check’ and then click on the ‘search’ button, then, when you see the same, click on the tab that is right next to your ‘Check’ and select ‘Insert’; You can also change the color by selecting it and then going to ‘Font Color’.
Related posts:
 How to access Steam games without an internet connection
  How to view FPS with Xbox Game Bar in Windows 10: Steps Made Easy
  Hacked account? How to check and remedy
  How to make video calls from WhatsApp Web
  How to increase the RAM memory of a desktop or laptop + Tips and Tricks
  How to organize your YouTube subscriptions into categories
+ Tips and Tricks
How to organize your YouTube subscriptions into categories
+ Tips and Tricks


