


How to record Zoom meetings in Windows 11/10: 3 methods
Everything is online today after a pandemic and to avoid the gathering of people, schools, universities and even workspaces are managed from home. All office classes and meetings are conducted through an app called Zoom. Zoom meetings became popular very quickly because it is quite easy and flexible to use. For reference, you may need to double-check or recall what happened in the meeting or in the class. So wouldn’t it be great if there was an option to record all your zoom meetings so you can revisit them later at any time? If you are also looking for how to record your zoom meetings, this post will definitely help you.
How to record Zoom meetings in Windows 11 from the Zoom app
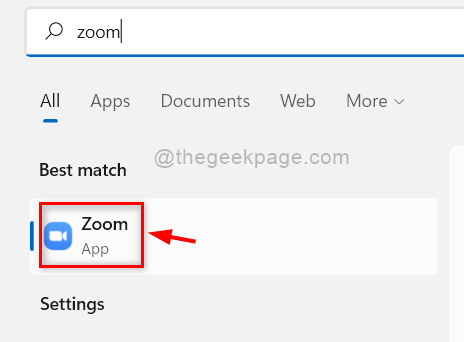
Step 1: Open the Zoom app on your system by pressing Windows key and typing zoom.
Step 2: select the Zoom app from the search results as shown below.
Step 3: Then click Settings icon present in the far right corner of the Zoom application.

Step 4: In the Settings pop-up window, click Recording in the left menu of Settings as shown below.
Step 5: Then check the Record video while screen sharing cash register.
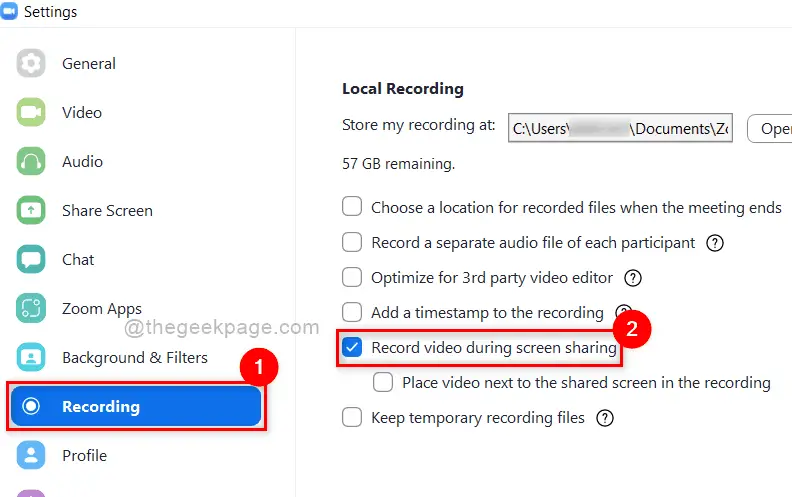
Step 6: Once done, close the Settings pop-up window.
Step 7: Whenever you are in a meeting, click Record in the bottom panel of the Zoom app to start recording your session.
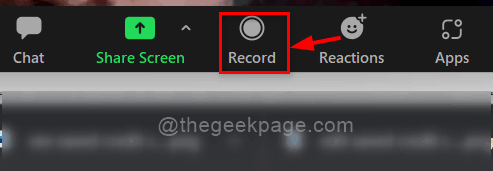
NOTE: The meeting recordings will be saved to the following given path: C: Users% username% Documents Zoom
In this way, one can record the meetings in the Zoom desktop application on their Windows 11 system.
How to Record Zoom Meetings in Windows 11 Using Zoom Web Online
Step 1: Open a new tab in your browser.
Step 2: Copy and paste the link provided below in the address bar and hit the Get into to open the zoom login page.
https://zoom.us/signin
Step 3: Next, use your credentials to log into zoom online.
Step 4: On the Zoom page, click Settings option located on the left side as shown below.
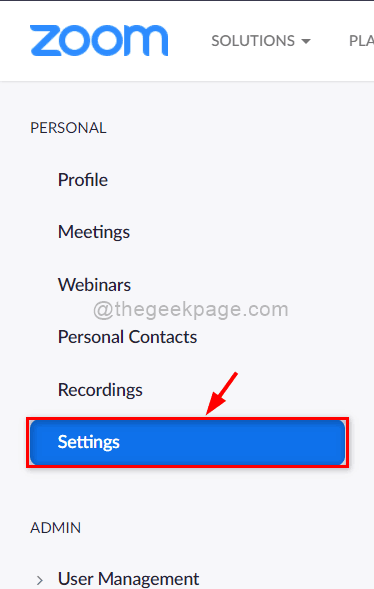
Step 5: Then, on the right side, select the Recording tab and click Local recording toggle button to rotate about.

Step 6: Then click Record to start the recording session when you are in a meeting, as shown below.
This is how you can record online zoom meetings through your web portal on your Windows 11 system.
How to Record Zoom Meetings in Windows 11 Using the Xbox Game Bar App
Step 1: Press Windows + I keys together on your keyboard to open Settings application directly.
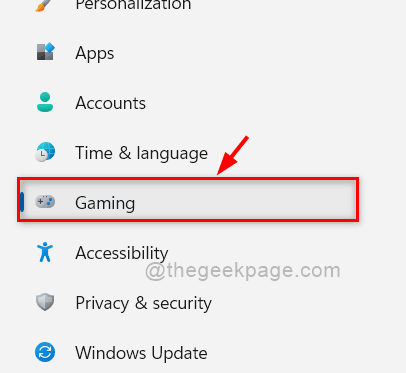
Step 2: Then click Gaming in the menu on the left of the Settings app.
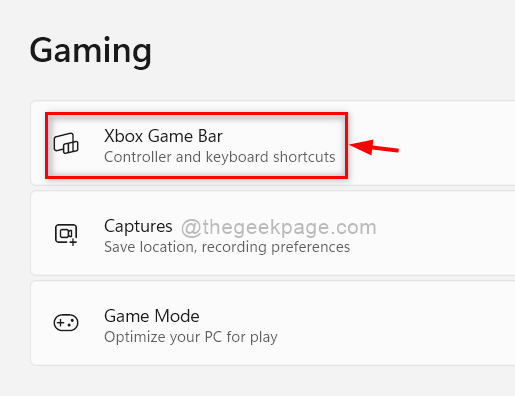
Step 3: Then click Xbox game bar option from the list on the Games page as shown below.
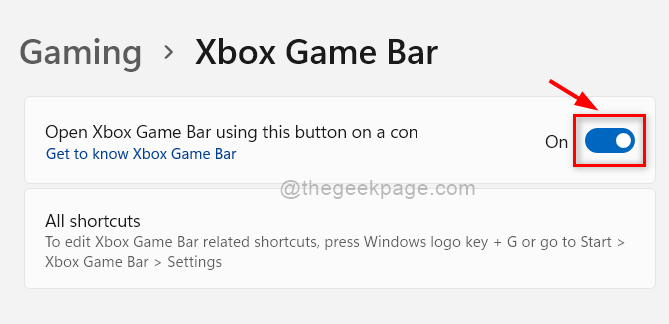
Step 4: On the Xbox Game Bar page, click the Open the Xbox game bar with this button on a controller toggle button to rotate About as shown in the following screenshot.
Step 5: After making the above changes, close the Settings app.
Step 6: Join a zoom meeting and once you are in a meeting, press Windows + G keys together on your keyboard to directly open the Xbox game bar application on screen.
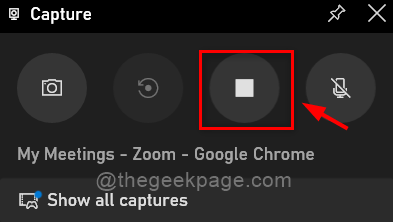
Step 7: Once the Xbox Game Bar screen is open, click Record in the Capture window, which is in the left corner of the screen.

Step 8: After the meeting is over, close the Xbox Game Bar app after clicking End button as shown in the picture below.
NOTE: The recordings will be saved in the indicated path: C: Users% username% Videos Captures.
That’s it, guys.
These are the best possible ways to record any zoom meeting on your Windows system.
I hope this article is informative and useful.
Let us know in the comment section below if this was helpful.
Thank you.
Related posts:
 How to access Steam games without an internet connection
  How to view FPS with Xbox Game Bar in Windows 10: Steps Made Easy
  Hacked account? How to check and remedy
  How to make video calls from WhatsApp Web
  How to increase the RAM memory of a desktop or laptop + Tips and Tricks
  How to organize your YouTube subscriptions into categories
+ Tips and Tricks
How to organize your YouTube subscriptions into categories
+ Tips and Tricks


