


How to Root or Root All Models of the Samsung Galaxy J5 Prime with or without a PC
–
Although it is true that when we think of Samsung as one of the main manufacturers of Android mobile devices, the most normal thing is that almost immediately we go with its terminals of the gamas Galaxy S o Galaxy Note.
Beyond that, we have to highlight that the Korean firm has recently shown other very good terminals, among which we can find the Samsung Galaxy J or the Samsung Galaxy A, so today we are going to stop at one of them.
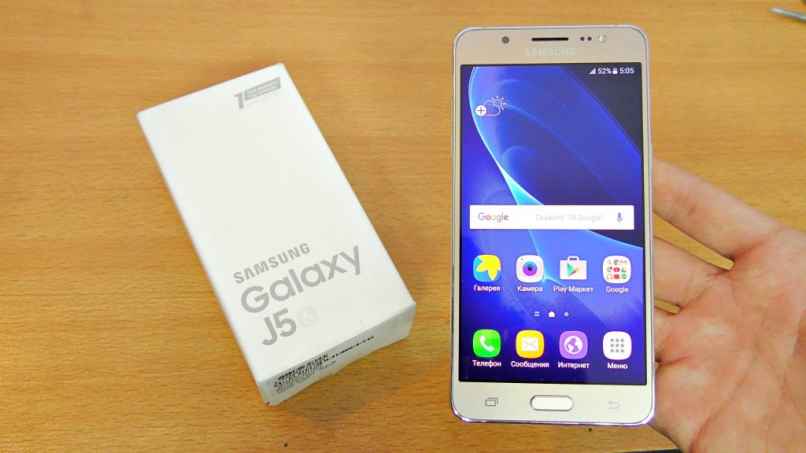
The first thing to mention then is that the Samsung Galaxy J5 is the terminal which we want to deal with on this occasion, to show you all the details about an otherwise interesting device, which has many of the contents that we can expect from a smartphone.
Beyond this, we have to consider in the same way that we can root the Samsung Galaxy J5 without problems, even without using a computer, so we wanted to show you all the details about it.
The first thing you have to consider in these cases is that to dispense with the computer when rooting a Samsung Galaxy J5, you have to download some specific softwares or applications, among which we especially want to mention KingRoot first, and then 360 Root.
You can get the first one in this link and the second in this link, being both completely safe, and recommending to always look for trusted sites at the time of this type of downloads.
With a little patience and about 10 minutes you will have your Rooted Samsung Galaxy J5 thanks to this tutorial and you will be able to enjoy all the advantages that that means.
Requirements to root Samsung J5
Although, it is almost impossible for you to lose data, photos, etc. We recommend you just in case make a backup of all your files before starting this process.
It is also important that you have your mobile battery charged, even 60%, Personally, I would prefer to charge it to the maximum.
Use the original USB cable to avoid problems when carrying out the process since it is normal that with other cables it is disconnected, etc.
You need to have the Samsung Galaxy J5 drivers installed on your computer. In turn, you must have Odin and SuperSU downloaded, which must be in the internal memory of your device.
In Settings> Developer options you have to activate USB debugging and OEM unlocking. In case the “Developer options“What you are going to do is in Settings> About the device, press Compilation number seven times.
Installing TWRP Recovery on Samsung Galaxy J5
The first thing you are going to do is completely turn off the mobile, after this you will turn it on again, but this time you will leave the keys pressed volume up + home + power for several seconds until you see a yellow warning sign with the Android logo, here you will press the volume button up to confirm.
Now we open Odin and then we connect the mobile so that it says “ID: COM, Added” at the top left, which means that it recognizes the mobile.
What you have to do now is press on the button that says PDA and select the file TWRP recovery that we downloaded earlier.
After this you give Start and wait for the process to complete, when you do it you will realize why you will see in the upper left where the Added was, which is now green and says PASS.
Rooting Samsung Galaxy J5
Now if we are finally going to root the mobile, what you have to do is turn it off, assuming that you already have the SuperSU in the microSD.
We will turn it on in recovery mode for this we will press the buttons volume up + start + on for several seconds and release.
Now let’s go where it says Install and select the file SuperSU.Zip and we wait for it to finish and then simply go to Reboot and restart the mobile.
If you want to verify if you are a root user without a doubt you have to download the Root Checker app which you can find in the Play Store.
Root Samsung Galaxy J5 for free
Well, if you already have everything prepared then, you should know that the first thing after the downloads of the software or applications on your Samsung Galaxy J5 will be to activate the Unknown Sources or Unknown Origins.
This depends on the Android version, but is always found in Settings, Security. No matter which of the two previous tools is the one you prefer, since they both work in the same way, you have to open them and give the Root option, which will begin the process that should take about a couple of minutes.
It doesn’t really take much more to get the Samsung Galaxy J5 rooted, although you do have to take into account some interesting details related to this step by step when we talk about this type of procedure, that they won’t hurt you at all.
For example, you should consider that these rooting tools should only be used one at a time, and that any of them will root your Samsung Galaxy J5 in just a little while, so there is no problem with installing just one if you prefer.
On the other hand, if your Samsung Galaxy J5 has an antivirus installed, it is possible that some of the software that has to be downloaded previously will be detected by the system, which is why we recommend in this type of case, directly bypass or uninstall them from the device.
Finally, you have to know that when you want to be sure that your Samsung Galaxy J5 or any other Android smartphone has been rooted, all you have to do is download one app like Root Checker, specially developed for that, from this link.
How are you going to see it is not too complicated to root a mobile And as you read, you will surely have many good things, although perhaps one of the bad things, to a certain extent, is that we completely lose the warranty. Although if your mobile is several years old it will obviously not affect you.
How to root Samsung Galaxy J5 with Odin
We turn off the mobile and then we turn it on in download mode, to achieve this we are going to press and hold the low volume + home + power buttons at the same time for a few seconds and then we release.
- We will see that a warning appears, it is a yellow triangle, here press volume up.
- Now open Odin on your computer, connect the mobile to it with the original USB cable and you will see a message that says Added.
- Once that is ready, what we are going to do is simply click on the PDA button and select the root file that we downloaded earlier (in tar.md5 format)
- Click on the Start button below to start the process where your mobile will restart and wait a few minutes for it to finish.
- It should now appear at the top left in a green box the word “PASS”.
Ready, you are already a root user.
Confirm if you are a root user
Download Root Checker to be able to confirm if indeed the process you carried out worked as it should, although if you followed the steps there is no doubt that it did.
Related posts:
 How to access Steam games without an internet connection
  How to view FPS with Xbox Game Bar in Windows 10: Steps Made Easy
  Hacked account? How to check and remedy
  How to make video calls from WhatsApp Web
  How to increase the RAM memory of a desktop or laptop + Tips and Tricks
  How to organize your YouTube subscriptions into categories
+ Tips and Tricks
How to organize your YouTube subscriptions into categories
+ Tips and Tricks


