How to Store Files in the Cloud for Free with Ice Drive on Linux
Ice Drive is a cloud storage solution that has excellent support for Linux users. If you are not a fan of big cloud service providers like Google Drive, Microsoft OneDrive or Dropbox, Ice Drive is a good option. Here’s how to use Ice Drive on Linux.
Create an Ice Drive account
To upload your Linux files to Ice Drive, you will first need to set up a free account on its official website. Here’s how to do it. First, start by going to icedrive.net. Once you have reached the site, find the “sign up” button and click on it with your mouse.
When you select the “sign up” button, you will see the price of Ice Drive. There are “lite”, “pro” and “pro +”. If you prefer to use a free account, scroll to the bottom of the page and select “Get a FREE account.”
After selecting the “Get a FREE account” button, you will see the account creation page pop-up on the screen. Enter your first name, last name, email address and a memorable password. Also be sure to check the “I accept the Terms of Service” button.
Once you have completed all the text boxes, you will be asked to confirm your email address. Check your email and enter the PIN that was mailed to you. Then click the “Confirm” button to continue.
Installing Ice Drive on Linux
Now that you have set up your Ice Drive account, you will need to install the Ice Drive application on Linux. Unfortunately, the application is not distributed via a DEB package, an RPM package, or anything like that. Instead, it must be installed using a universal AppImage file or a Snap package.
AppImage
To start installing the Ice Drive application on your computer, head over to the Ice Drive download page. On the page, scroll down to “portable app.” Then click on the drop-down menu. After selecting the drop-down menu, search for “Linux” and select the AppImage option, followed by “Download.”
Once the file is downloaded, open a terminal window on the Linux desktop. You can open a terminal window by pressing Ctrl + Alt + T on the keyboard. Or search for “Terminal” in the application menu.
With the terminal window open, use the CD command to move to the “Downloads” directory where the Ice Drive AppImage file is located.
cd ~/Downloads/
Then use the mkdir command to create a new folder named “AppImages”. This folder will contain the Ice Drive application image file.
mkdir -p ~/AppImages/
After creating the new folder, use the mv and move the AppImage file from Ice Drive to the new “AppImages” folder.
mv Icedrive_Portable_Linux-x64.AppImage ~/AppImages
Then move the terminal window to the “AppImages” folder using the CD command.
cd ~/AppImages/
Next, update the Ice Drive app image permissions using the chmod command below.
sudo chmod +x Icedrive_Portable_Linux-x64.AppImage
Finally, start the application using the following command. Or open the “AppImages” folder using the Linux file manager and double-click the Ice Drive AppImage file.

./Icedrive_Portable_Linux-x64.AppImage
Snap package
For the Snap version of Ice Drive to work on your Linux PC, make sure you have the latest Snapd runtime installed. Then use the commands below to get the app working.
sudo snap install icedrive
Use Ice Drive to store Linux files
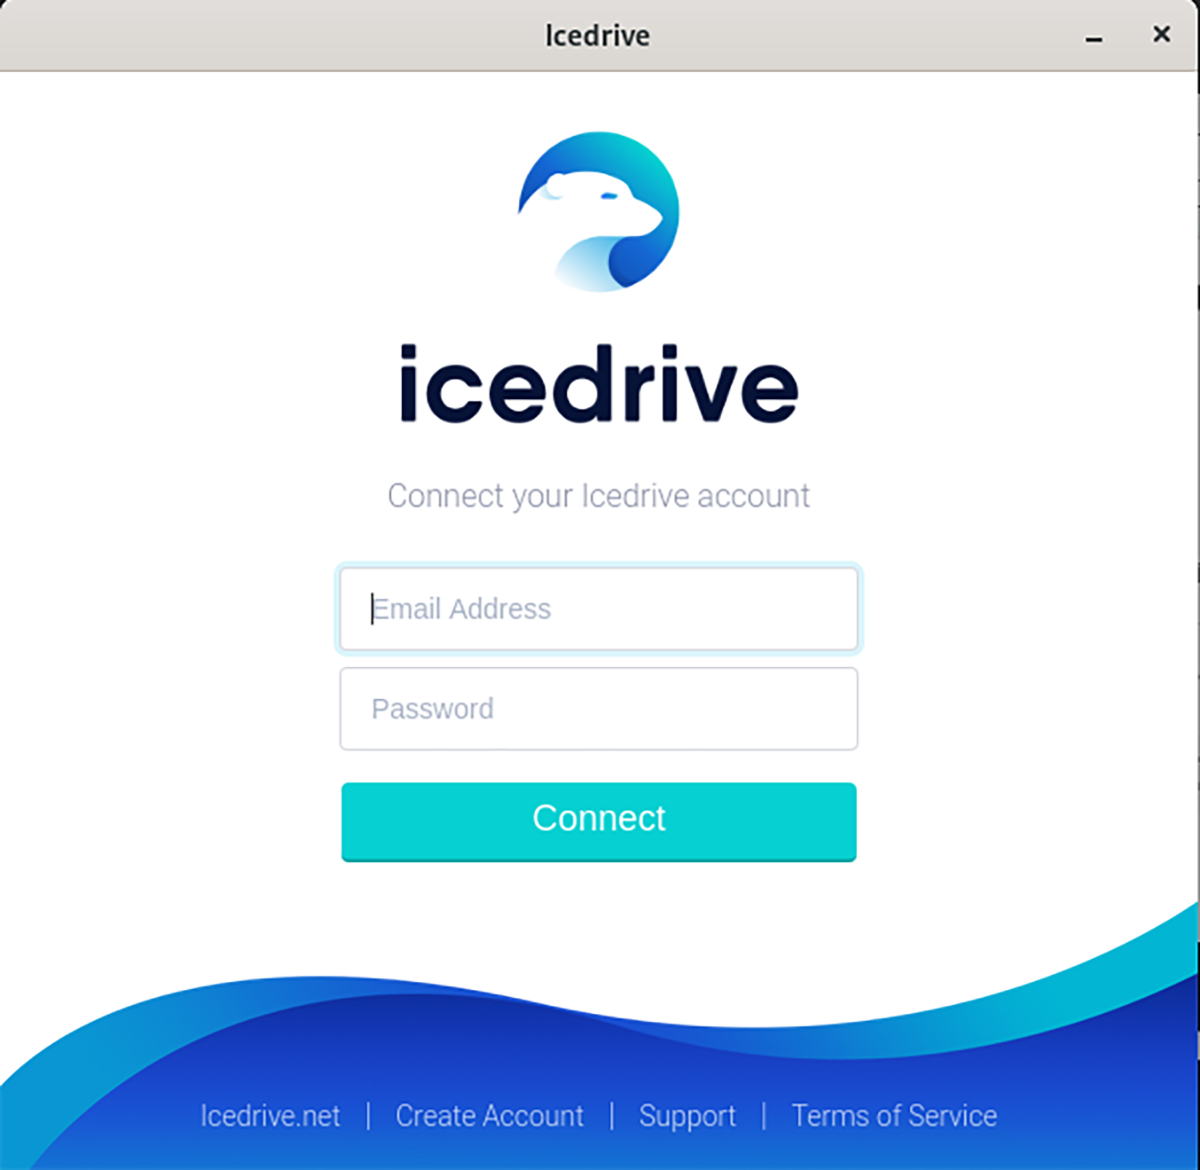
Once the Ice Drive application is installed on your Linux PC, open the application by launching the AppImage file or by running the Snap package from the application menu. When the application is open, log into your account using the user interface.

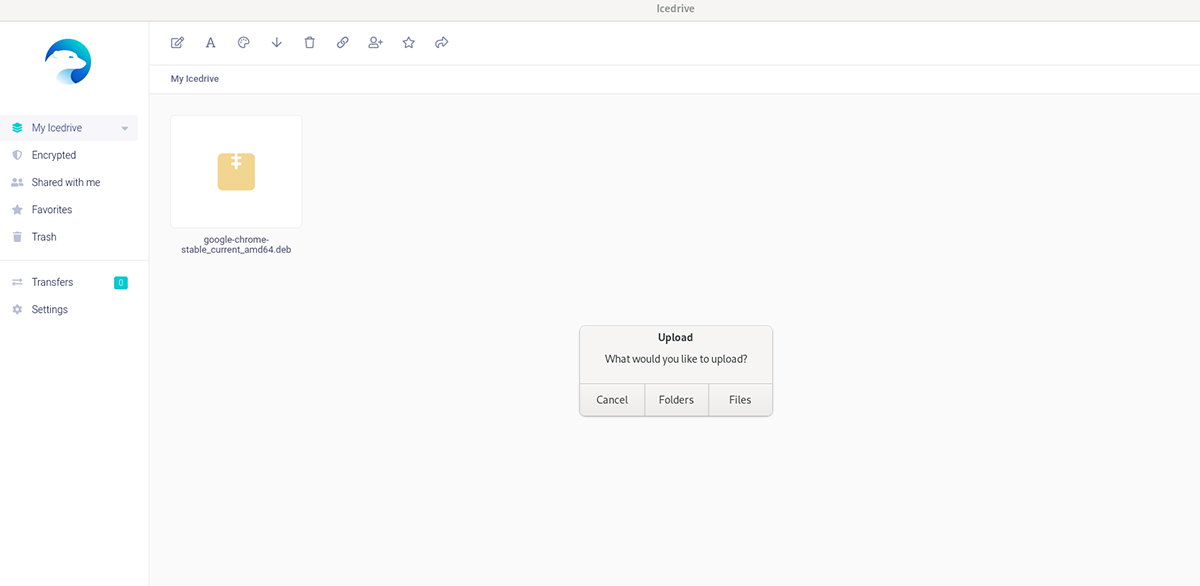
After pressing the “Connect” button, you will be taken to the Ice Drive application interface from the login menu. From here, you can start uploading. Find the cloud icon in the upper right corner and select it with your mouse.
When you select the upload button, a pop-up window will appear. This window says: “What would you like to load?” Select the “Folders” button or the “Files” button. Then use the pop-up window to find the item you want to upload to your Ice Drive account.

With your file selected, Ice Drive will begin uploading to your account. It may take a couple of seconds or longer to load depending on your internet speed. When the process is complete, Ice Drive will tell you that your file has been uploaded.
When your file is uploaded to Ice Drive, it will appear in the main folder UI. From here, you can select the item and click the Share button to share it, select “Download” to download it, as well as many of the other options available.
Deleting files
Do you need to delete something from your Ice Drive account? Open the Linux application and find the file in the Ice Drive application. Once you have found it, click on it with your mouse to select it. Then choose the trash can icon to remove it from your account.


