


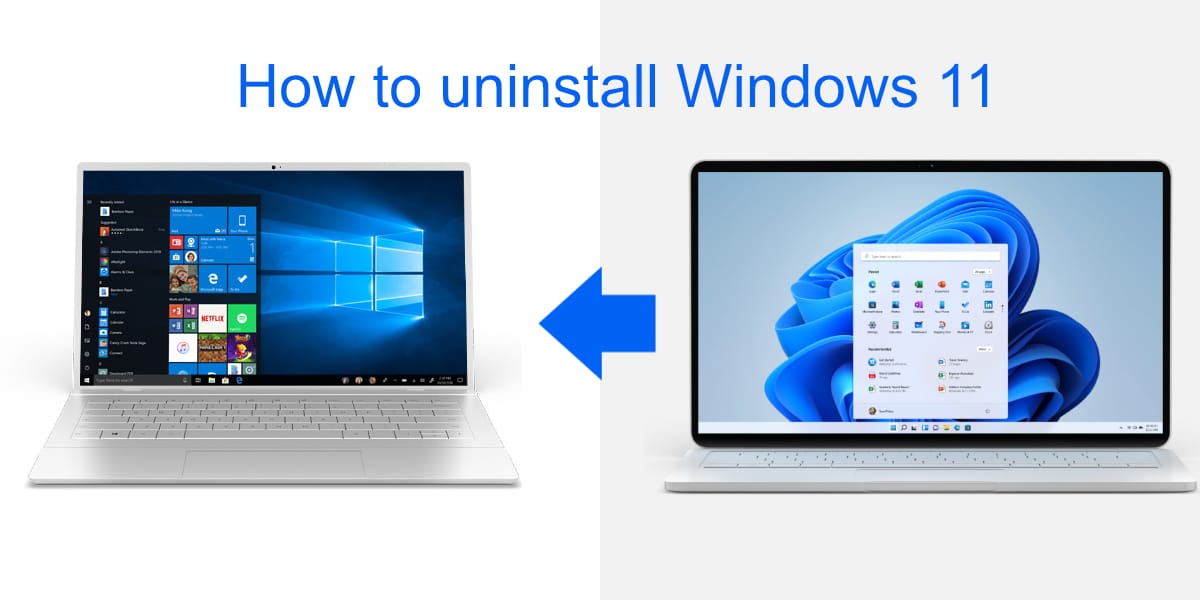
How to uninstall Windows 11 – GEEK MATTER
You tried Windows 11. You didn’t like Windows 11 and you would like to go back to Windows 10. When it comes to licensing, if you had a genuine Windows 10 license when you upgraded to Windows 11, you can always go back. To downgrade the operating system, it depends on how long you have been using Windows 11.
Uninstall Windows 11
There are two ways to uninstall Windows 11: you can revert it to Windows 10 or you can format the Windows drive and install Windows 10 again.
1. Revert Windows 11 to Windows 10
If you want to go back to Windows 10, you are limited by certain conditions;
- You must have installed Windows 11 by updating Windows 10, that is, Windows 11 should NOT have been a clean install.
- Updated to Windows 11 10 or fewer days ago.
- You did not delete the Windows.old folder on your Windows drive.
If you meet the above requirements, you can go back to Windows 10 from Windows 11 by following these steps.
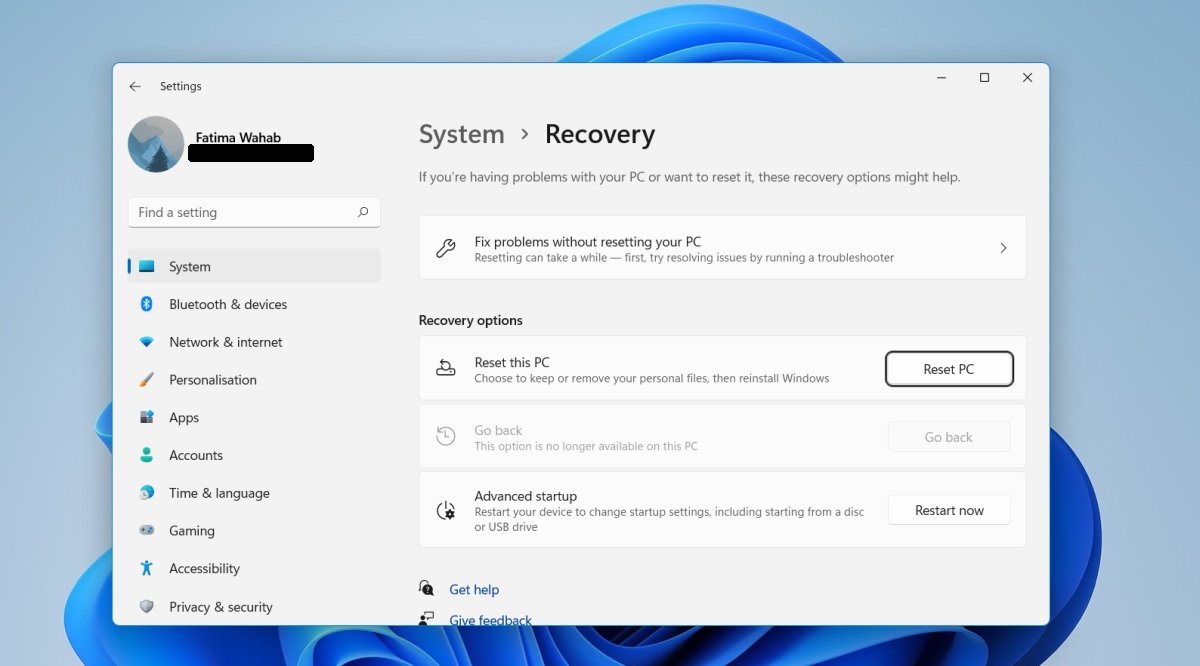
- Open the Settings application with the Win + I keyboard shortcut.
- Go to System.
- Please select Recovery.
- Below Recovery options, select Return.
- Follow the On-screen instructions to return to Windows 10.
Note: If this option is grayed out with the message ‘This option is no longer available on this PC’, you have used Windows 11 for more than 10 days, deleted the Windows.old folder, or installed Windows 11 Fresh.
2. New installation of Windows 10
If you can’t go back to Windows 10, you will have to install it again in Windows 11. Make sure to back up all your important files before installing Windows 10 again.
- Visit the Microsoft download page for Windows 10.
- Download the Windows 10 Media Creation Tool.
- Run the tool the tool and select the version of Windows 10 and the language you want to use.
- Connect a USB that has at least 8 GB for your system.
- Select the option to record to USB.
- Allow the tool to download and burn Windows 10 to USB.
- Once the USB is ready, reboot the system.
- Boot into your BIOS.
- Select the first boot device to USB.
- Connect the Windows 10 USB installation on your system.
- Restart the system.
- On the installation screen, select the language of the operating system.
- Select your Windows disk and format it (This will delete everything on the drive, including all Windows 11 files).
- Once the format is complete, Follow the onscreen steps to install Windows 10.
Note: Windows 10 can be installed in 20 minutes to 2 hours. It depends on your hardware.
conclusion
Windows 11 doesn’t have any major features that the average user wants to upgrade to, but it is a new operating system. If you’re shopping for a new laptop or desktop, buying one with Windows 11 isn’t a bad idea. For the most part it is stable. However, if you are coming from a Windows 10 system, the changes in the operating system, however small, may not be to your liking.
Related posts:
 How to access Steam games without an internet connection
  How to view FPS with Xbox Game Bar in Windows 10: Steps Made Easy
  Hacked account? How to check and remedy
  How to make video calls from WhatsApp Web
  How to increase the RAM memory of a desktop or laptop + Tips and Tricks
  How to organize your YouTube subscriptions into categories
+ Tips and Tricks
How to organize your YouTube subscriptions into categories
+ Tips and Tricks


