


What to Do if Shortcuts Stop Working in Windows 10
–
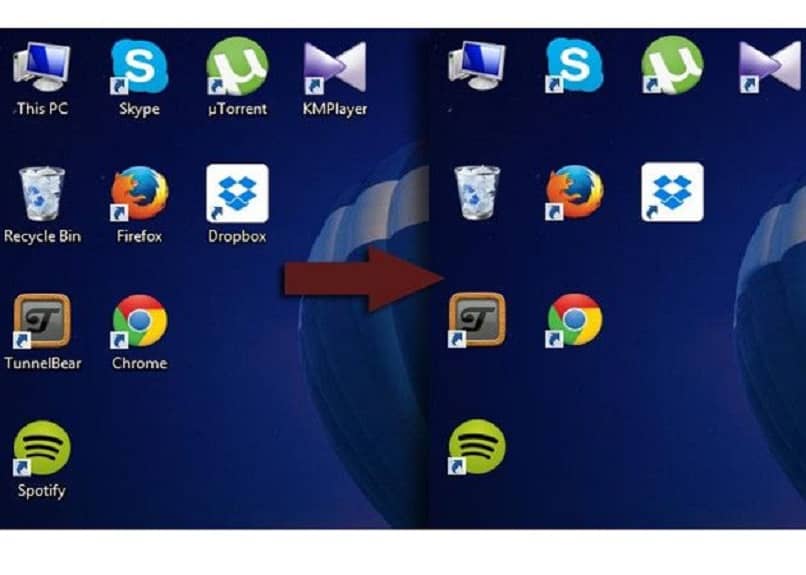
Shortcuts are a tool that is often used very frequently on personal computers in a Windows environment. We place these on the desktop or in the toolbar to run programs or applications faster. But they are not free from errors and then we will tell you what to do if shortcuts stop working in windows 10.
How to fix if a shortcut stops working in Windows 10?
When you click a shortcut to a game, application, or program from the Microsoft Office library. It is possible that it does not respond or instead shows us an error message on the screen. In any case, it has stopped working and it is necessary that we apply some corrective to solve the fault, Let’s see what we can do.
Configure the app shortcuts directory
you can configure the App Shortcuts directory and for this you will go to the following path: C:NUsuarios Account name AppDataLocalMicrosoftWindowsApplication Shortcuts.
Once you are in this folder, you will be able to see the Apps that you have installed on your PC in different folders. and you will have to find that program that has stopped working and the corresponding folder. You can recognize it because it has the ‘App’ shortcut. Now simply remove the shortcut and finally restart the computer for the changes to take effect.
Disable antivirus
The problems that a direct access presents can be generated by the antivirus that you are using and It is advisable disable antivirus. Check if your antivirus is active, this may not be enough and it will be better to uninstall it and check if the error persists. If not, please use other antivirus software as your computer cannot be unprotected.
Create a new shortcut
Perhaps one of the best solutions you can apply is create a new shortcut of the program that is failing. And this because the possible error that is presenting is due to a change that you made and now you do not remember. Either in the name of the folder or you changed the program to another storage drive on the PC.
Then it is convenient to generate a new direct access, for this we will go to the program folders. There we will find and select the executable .exe file, now we will right click to display a menu of options. And from them we will choose the option ‘Create a shortcut’, clicking it will appear on the desktop.
Check application path
In some cases the path to the program is faulty and this may be causing the current problem. Therefore, it is necessary that check application path, a very simple process to carry out. The first thing you need to do is locate the problematic shortcut, hover over it and right click.
This action will display a menu of options on the screen and select the ‘Properties’ option and a new window will open. And in the tab of ‘Direct access’ you would locate yourself in the ‘Destination’ field and the path to the executable file of the ‘.exe’ program should appear there.
If that is not the case, find the program executable, copy and paste it into this field, remember that it must be enclosed in quotes, for example ‘path’. To finish, you must click on the ‘Apply’ button and then ‘OK’ so that the new changes are saved.
How to fix shortcut not working in Windows 10 from PowerShell?
In case you still can’t get fix problem with shortcut, then you can make use of an advanced tool. And we are talking about PowerShell, the Windows 10 command window. To use it you must do the following, first enter PowerShell, to do this press the ‘Windows + R’ key.
position yourself with hover over ‘Windows PowerShell’ and right click and then select ‘Run as administrator’. Once the command window appears on the screen, you must enter the following instruction:
Get-AppXPackage -AllUsers |Where-Object {$_.InstallLocation -like ‘*SystemApps*’} | Foreach {Add-AppxPackage -DisableDevelopmentMode -Register ‘$($_.InstallLocation)AppXManifest.xml’}. Next you must press on the Enter key and this action will execute the command and in this way they should be solved the failure of the shortcut in Windows 10.
How to perform a clean boot and fix Windows 10 shortcut errors?
Third-party services can be another cause for Windows 10 shortcuts to fail. And the best thing you can do is disable them for them. is carried out a clean boot. To do this you must do the following:
- Enter the ‘Run’ function, for this press the keys ‘Windows + R’ and type the following command ‘msconfig’ and press ‘Enter’.
- The system configuration box will appear and select the ‘Services’ tab and check the option ‘Hide all Microsoft services’. Then you need to disable third party services by clicking on ‘Disable all’.
- Next you need to select the ‘Startup’ tab and then click on the ‘Open Task Manager’ option. This action will display on the screen the list of startup programs.
- Hover over the first program and right click and select the ‘Disable’ option. Then repeat these same steps for the remaining programs on the list.
- Go back to ‘System Settings’ and select the ‘Apply’ button and finally click ‘OK’.
The system may ask you to restart the PC, do so and verify that the shortcut works without problems. And so we finish this article that I teach you what you should do when a shortcut stop working on windows 10. And as you have seen, it is very simple, as much or the same as creating a restore point in Windows 10.
Related posts:
 How to access Steam games without an internet connection
  How to view FPS with Xbox Game Bar in Windows 10: Steps Made Easy
  Hacked account? How to check and remedy
  How to make video calls from WhatsApp Web
  How to increase the RAM memory of a desktop or laptop + Tips and Tricks
  How to organize your YouTube subscriptions into categories
+ Tips and Tricks
How to organize your YouTube subscriptions into categories
+ Tips and Tricks


