


Windows 11 or 10 Group Policy editor is missing
Group Policy Editor is one of the exclusive features of Windows Pro and Business editions, helping everyone from network administrators to regular users. But, on some rare occasions, users have seen this error message “Windows can’t find gpedit.msc. Make sure you have spelled the name correctly.” when trying to open the Local Group Policy Editor on their systems. Do not worry. Sometimes the existing system files may have been corrupted due to some reasons. You can fix it very easily.
Solution 1 – What version of Windows are you using
As we have mentioned, Group Policy Editor is not available in Windows Home edition. Check which version of Windows you are using.
1. At first, press the button Tecla de Windows+I keys together. This will open the Settings screen.
2. Simply click the button “System” in the left pane.
3. Next, on the right panel, scroll down and tap «On“.
4. Here, you can easily notice which version of Windows you are currently using from the left panel.
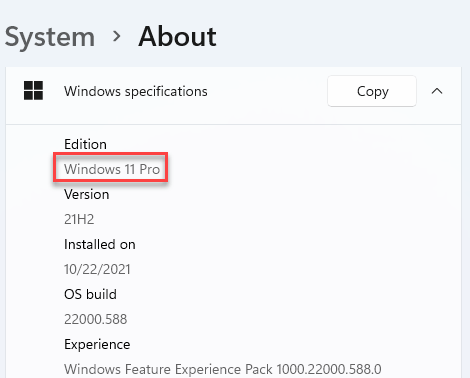
If you are using the Home Edition of Windows, you can easily upgrade to the Pro or Business Edition.
Or, if you want to use the Group Policy Editor tool in Home Edition, go to Solution 3.
Solution 2: Copy files and folders
Copying the missing files from the sysWOW64 folder to the parent System32 folder may work.
1. Press the button Windows key+E keys together.
2. Once you have opened File Explorer, navigate to this directory:
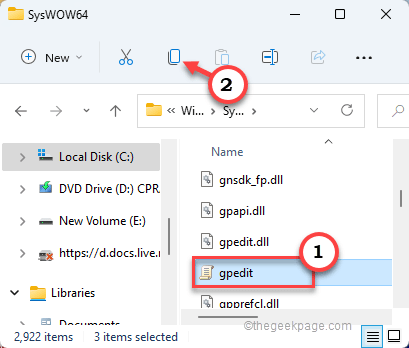
C:WindowsSysWOW64
3. Once you are there, locate these folders and the plugin console file:
GroupPolicy

GroupPolicyUsers

gpedit.msc
4. Select these files and tap on the copy icon in the menu bar to copy them at once.
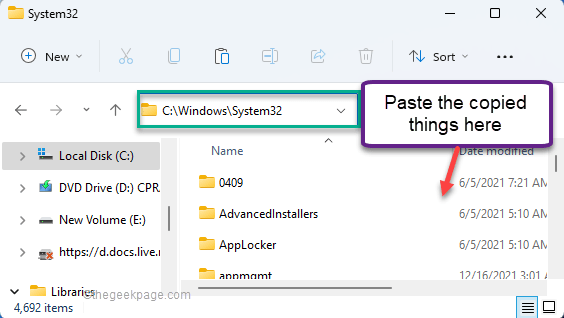
5. So, go to this place –
C:WindowsSystem32
6. Solo to take the content copied to this directory.
Once you have done this, close File Explorer and reboot your system.
Once the system boots, try accessing the Local Group Policy Editor.
Solution 3 – Install gpedit.msc from a batch file
You can manually download and install gpedit.msc from a batch file very easily.
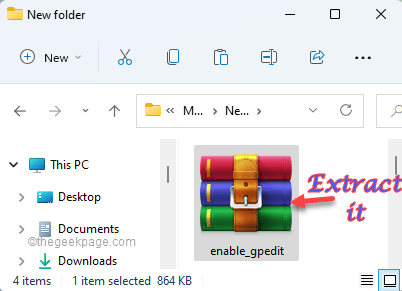
1. At first, you need to download the enable_gpedit file.
2. Once you have downloaded it, extract it somewhere on your system.
3. Once you have extracted the zip file, double touch the “setup.exe“.
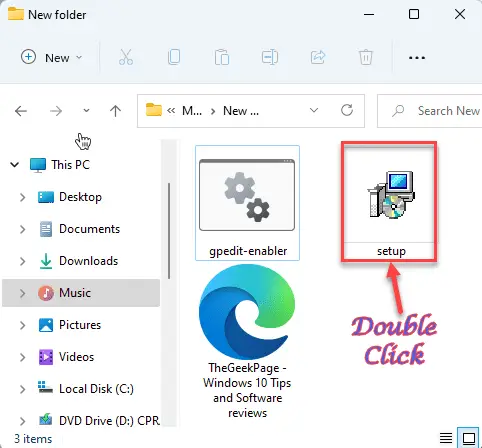
4. On the Setup-gpedit.msc screen, tap «Next” once to continue.
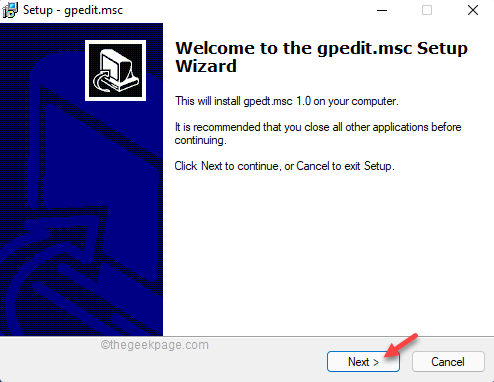
5. After that, just click «install on pc” once to install gpedit.msc on your computer.
Just wait for it to install on your system.

6. Once done, tap «Finalize” to complete the installation process.
Once you’re done, go back to the extract directory again.
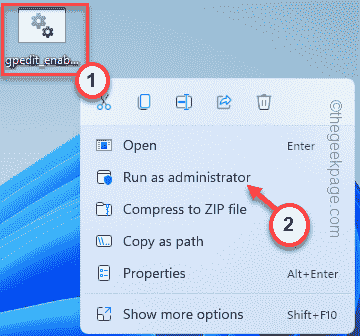
7. Here, just right click on the «gpedit enabler“batch file and touch”Execute as an administrator“.

Now the batch file will run with administrative rights.
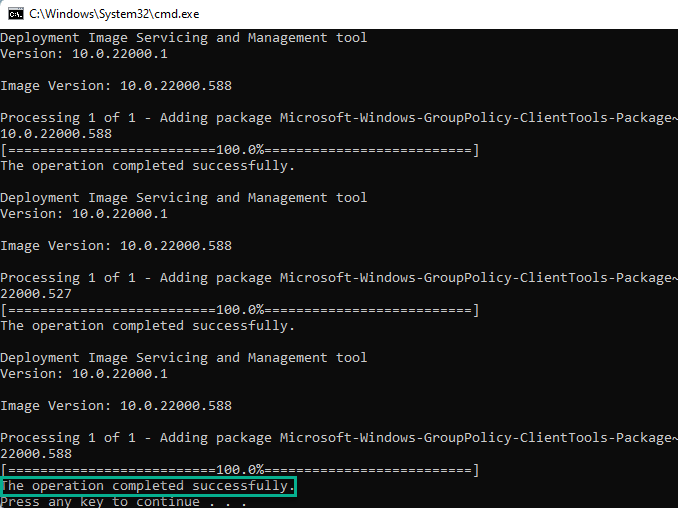
8. The batch file adds certain group policy features to your system.
9. After a while, you will see the «The operation has been completed successfully. Press any key to continue…” message in the terminal.
10. Solo press a key and ready
Now all you have to do is close everything else and restart the window once.
Once the system reboots, try opening the Group Policy Editor again.
This time it should work.
Solution 4 – Create the batch file and run it
If you don’t want to download and run a batch file, you can easily create one and then run it to achieve the same results.
1. You have to write “Bloc” in the search box.
2. After that, click «Bloc“.

2. On the blank page of Notepad, simply copy take These lines.
@echo off
pushd "%~dp0"
dir /b %SystemRoot%servicingPackagesMicrosoft-Windows-GroupPolicy-ClientExtensions-Package~3*.mum >List.txt
dir /b %SystemRoot%servicingPackagesMicrosoft-Windows-GroupPolicy-ClientTools-Package~3*.mum >>List.txt
para /f %%i in ('findstr /i . List.txt 2^>nul') do dism /online /norestart /add-package:"%SystemRoot%servicingPackages%%i"
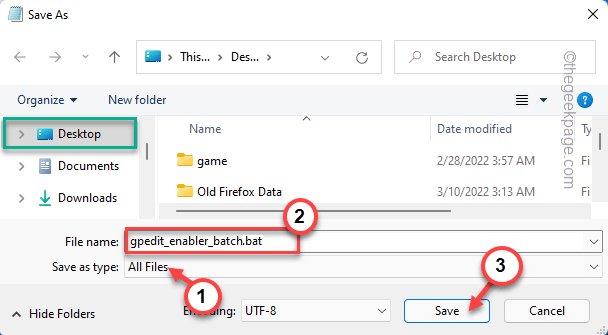
pause3. Once you have done that, tap on the "File" and click on "Save As...".

4. After that, set the file type to “All the files“.
5. Now, you need to name this batch file with the «.bat“. You can name it”gpedit_enabler_batch.bat“.
6. Navigate to the Desk to save the file. After that, click on “To save” to save the file.
Once you have saved the file, go to the place where you saved the file.
7. Simply right-click on the «gpedit_enabler_batch” batch file and tap on “Execute as an administrator” to run the batch file.
Just wait a moment while this runs the batch file and re-enables the gpedit.msc plugin console on your system.
Related posts:
 How to access Steam games without an internet connection
  How to view FPS with Xbox Game Bar in Windows 10: Steps Made Easy
  Hacked account? How to check and remedy
  How to make video calls from WhatsApp Web
  How to increase the RAM memory of a desktop or laptop + Tips and Tricks
  How to organize your YouTube subscriptions into categories
+ Tips and Tricks
How to organize your YouTube subscriptions into categories
+ Tips and Tricks


