


Application.exe has stopped working on Windows 11, 10
Applications may sometimes crash during the execution period and this is not a cause for alarm. But if a certain .exe file crashes again and again and shows “exe has stopped working” message, there are some problems with the application file. Don’t be alarmed, there are plenty of reasons that can cause the exe file to crash. Just follow the easy solutions and activate them on your system for quick resolution.
alternative solutions –
1. Before doing anything, we recommend that you restart your computer once and then launch the application again.
2. Simply disable any third party antivirus that may interfere with the process.
Solution 1 – Restart the program
Delete the suspended program and start the program again.
1. Simply right-click the Windows icon on your taskbar and tap «Task Manager” to access Task Manager.
2. Now, you will see the app in the list of apps in Task Manager.
3. Simply right-click the app and tap «Final task” to kill the app instantly.
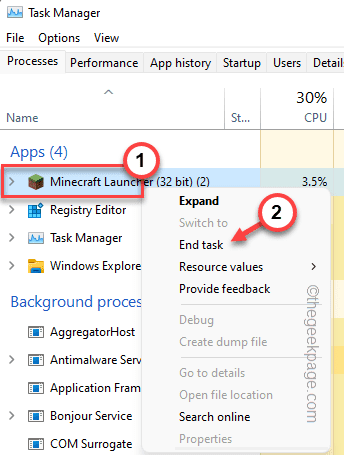
Close Task Manager. After closing Task Manager and try restarting the app once more and test if this works.
Solution 2 – Close all background apps
Sometimes background apps can consume a lot of resources.
1. Right click on the Windows icon and it should open a menu page.
2. Then touch the button “Task Manager” to access it.

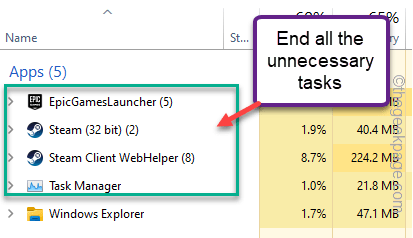
3. When Task Manager opens, you will notice several applications running in the background.
4. Simply, right click on any unnecessary app that you can find on your system and tap «Final task“.
This will kill that application process.

5. Now following the same path, you need to remove the apps that are consuming the system resources unnecessarily.
You can close Task Manager. Then launch the app again and try.
Solution 3 – Run the program as administrator
Sometimes some applications require administrative-level execution to work properly.
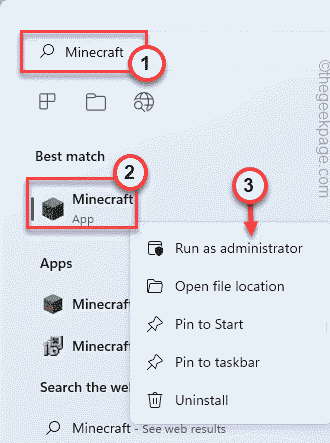
[Here, we have used “Minecraft” as an example.]
1. Solo writes the name of the app in the search box.
2. Then right-click the app and tap «Execute as an administrator“.
Check if this works for you. By doing so, you can ensure that every time this application starts, it does so with administrative permissions. Follow these steps –
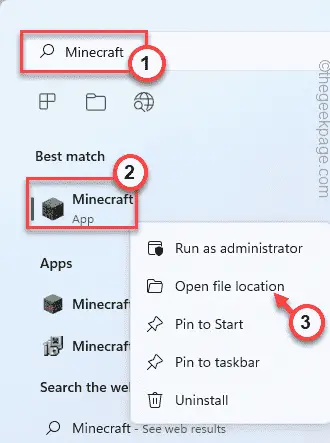
1. Now just press the button tecla de windows and write the name of the exe file.
(Minecraft in our case)
2. Then right click on the app and tap «Open file location“.
This should lead directly to the installation directory. If not, you can manually go to the installation directory.
3. When you have reached the location of the executable file, right-click the app and tap «Properties“.
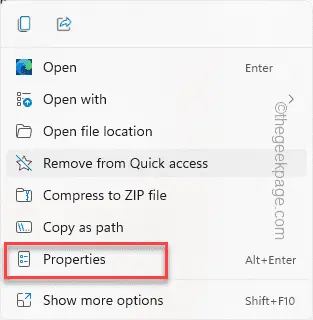
4. In the Properties window, go to “Compatibility” section.
5. Here alone control the “Execute as an administrator» option.
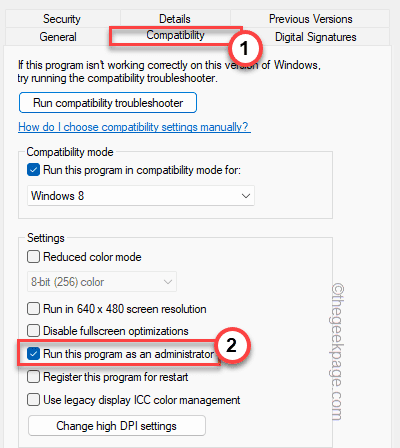
6. Once you are done, click «Apply” and “OK” to apply this change immediately.

After that, try launching the app again and see if this works.
Solution 4 – Set the program to run in compatibility mode
Sometimes incompatibility between the app and your system can cause this problem.
1. At first, right-click on the exe file and tap «Properties” to open the application properties.
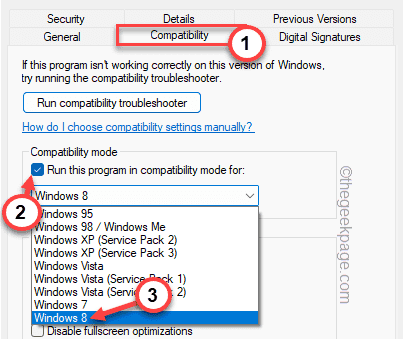
2. Then go to the “Compatibility” tab.
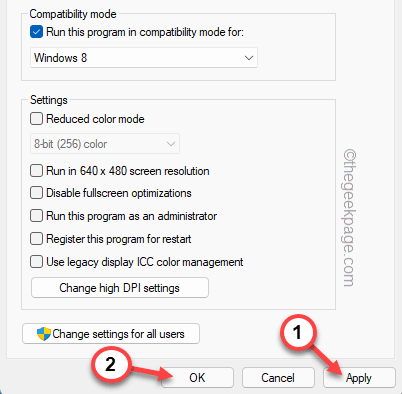
3. Here alone control the “Run this program as” and set the option to “windows 8” of the list.
4. Once you’re done, tap «Apply” and “OK” to finally save the changes.
Then run the app and test if it is crashing or not.
Solution 5 – Check your DEP settings
Data Execution Prevention can block and restrict the app from running smoothly.
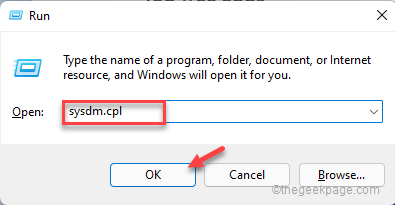
1. At first, right-click the Windows icon and click “Run“.
2. Then type “sysdm.cpl” in the Run window and tap “OK“.
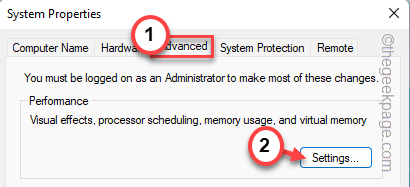
3. Then go to “Advanced“.
4. In the Performance section, tap “Settings“.
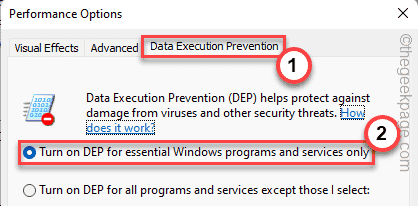
5. In the Performance Options window, go to «data execution prevention” section.
6. After that, just choose the “Turn on DEP for essential Windows programs and services only” cash register.
7. Finally, touch “OK” to save these changes.
8. Then touch “Apply” and “OK” to save the changes.
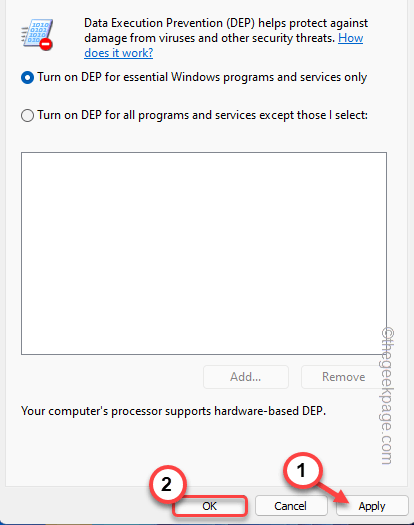
Once you’ve done this, run the app and test.
Solution 6 – Empty the temporary folders
If the above fixes don’t work, try emptying your temporary folders.
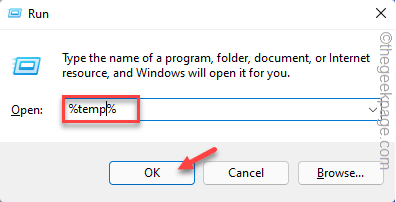
1. Press the button tecla de windows and the R keys together.
2. Then type this in Run and click “OK“.
%temp%
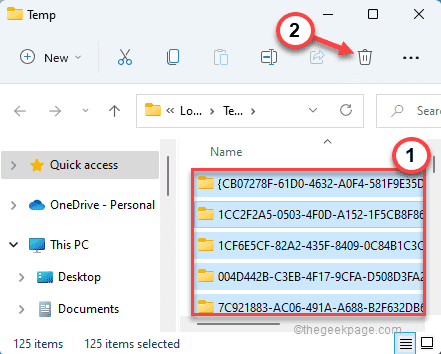
2. There you will notice several files and folders.
3. Select all the files and tap the trash can icon to completely empty the folder.
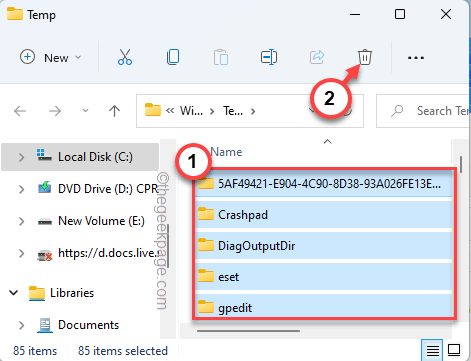
4. On the File Explorer screen, follow this direction:
C:WindowsTemp
5. Empty this folder as before.
After emptying the folder, close File Explorer.
Solution 7 – Restore system files using scans
Running SFC scans can restore crucial system files and fix crash issues.
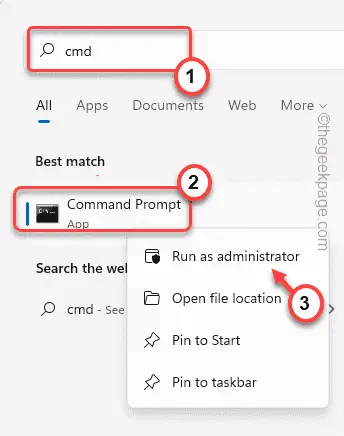
1. At first, right click on the tecla de windows and tap on the «cmd“.
2. Now, simply right-click on “Command Prompt” and tap on “Execute as an administrator” to open the terminal with the corresponding administrative rights.
3. At first, you need to perform DISM scan. Then, to take this code and press Get into.
DISM.exe /Online /Cleanup-image /Restorehealth
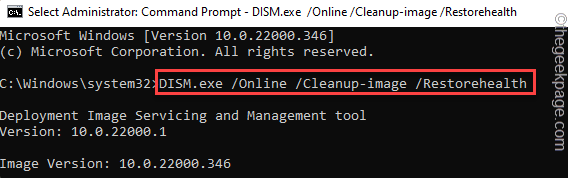
Windows will run a DISM check.
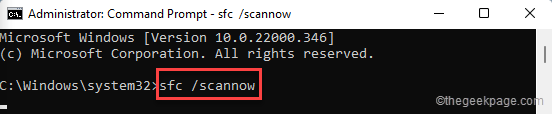
4. Once you are done, to take this command and press Get into to run an SFC scan.
sfc /scannow
Close the command prompt window. After completing both scans, remember restart your system.
After reboot, try to launch the app again. It should work like before.
Related posts:
 How to access Steam games without an internet connection
  How to view FPS with Xbox Game Bar in Windows 10: Steps Made Easy
  Hacked account? How to check and remedy
  How to make video calls from WhatsApp Web
  How to increase the RAM memory of a desktop or laptop + Tips and Tricks
  How to organize your YouTube subscriptions into categories
+ Tips and Tricks
How to organize your YouTube subscriptions into categories
+ Tips and Tricks


