


![Google Chrome Demasiadas solicitudes Error 429 [Solved]](https://www.bitcoinminershashrate.com/wp-content/uploads/2022/03/Google-Chrome-Too-Many-Requests-Error-429-Solved.jpg)
Google Chrome Too Many Requests Error 429 [Solved]
Many Windows users recently reported that when they tried to access a URL, the Google Chrome browser on their PC showed a 429 error. This is because it happens every time a user tries to send too many requests in a short period of time through the browser.
This error is usually generated by the website to avoid getting hacked by bots or hacking viruses by sending too many requests to the server.
Users are puzzled as to what can be done at this stage and are disappointed as a result. There can be many factors for this error to cause and we have listed some of them below.
- Cache and other site data not cleared
- Extensions installed from third party sources
- Some harmful software on the system
- virus attack
After researching the factors listed above, we have compiled some fixes in this post that would most likely resolve the Google Chrome error code 429 with too many requests.
Sometimes clearing cookie and other site data in Google Chrome browsing is the best possible solution to resolve this 429 error for too many requests, as cookies and other site data being corrupted can cause such errors.
Let us see how to clear cookie and other site data in Google Chrome browser on your Windows 11 system.
Step 1: Press the Windows key on your keyboard and type Google Chrome.
Step 2: Select the Google Chrome application from the search results as shown below.
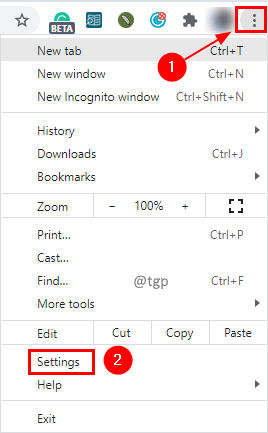
Step 3: Click three vertical dots (show more options) in the upper right corner as shown in the image below.
Step 4: Go to Settings list option.
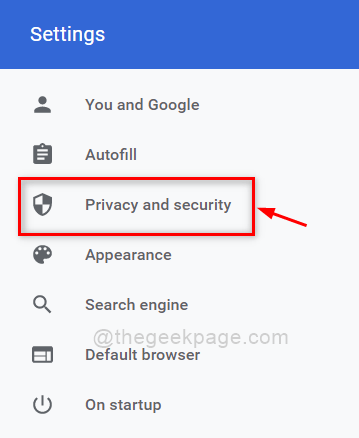
Step 5: Click security and privacy on the left side of the Settings page.
Step 6: On the right side, click the Delete navigation data option as shown below.

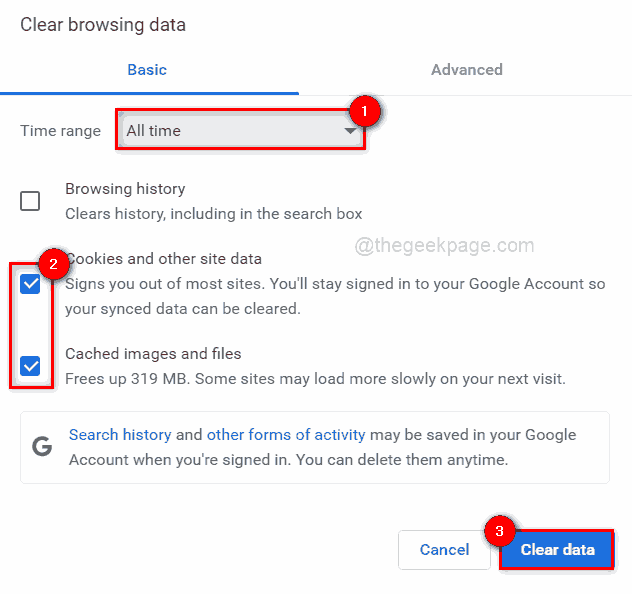
Step 7: Make Sure All the time is selected from the dropdown list of Time interval and select Cookies and other site data & Cached images and files check boxes as shown.
Step 8: Click Delete data to clear cookies and other site data along with cached images and files.
Step 9: Once done, restart the Google Chrome browser once and check if the issue is resolved.
Solution 2 – Disable extensions in Google Chrome
Third party font extensions installed on Google Chrome browser can create some issues while browsing any page. Therefore, users are suggested to disable the extensions and check if the issue is resolved.
Follow these steps on how to disable extensions in Google Chrome.
Step 1: open the Google Chrome browser on your system.
Step 2 – Open a new tab and sign in chrome://extensions/ in the address bar and press Get into wrench.
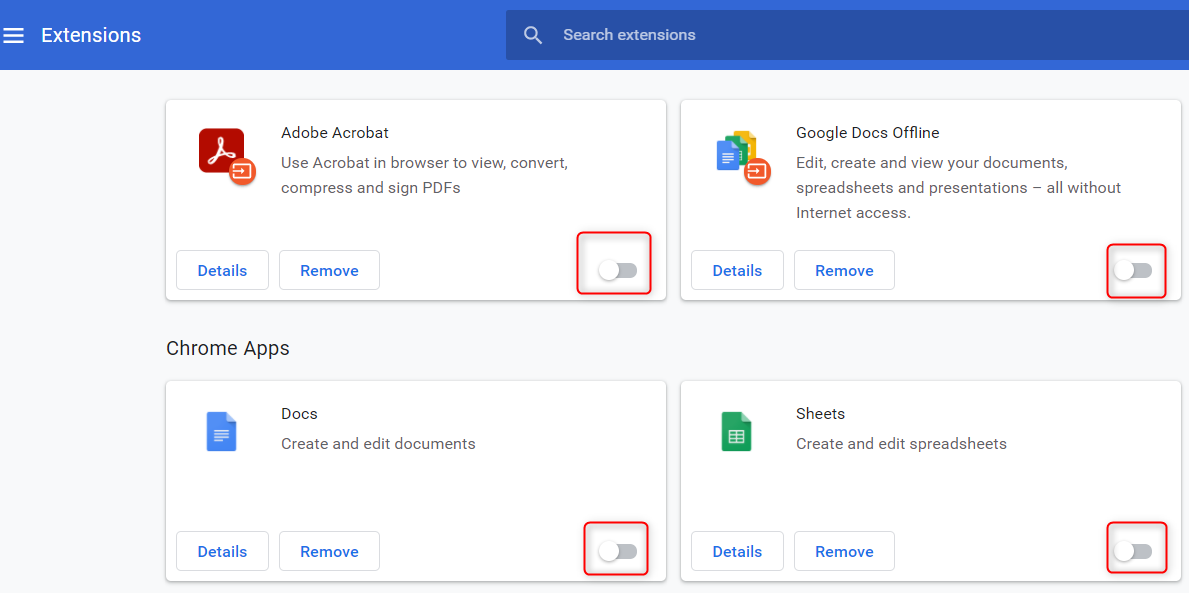
Step 3: Once the Extensions page opens, click the toggle button for all the extensions you want to disable as shown below.
Step 4 – Once done, close the extensions page.
Step 5 – Now check if the problem is fixed.
That’s it.
Solution 3 – Clean the computer to find harmful software
Google Chrome has a built-in feature that scans the computer for any harmful software installed on the system that may have caused this problem. Let’s see how to clean up computer in Google Chrome browser with some simple steps below.
Step 1: Open a new tab in the Google Chrome browser.
Step 2: Then type chrome://settings in the address bar and tap Get into to open the Settings page.
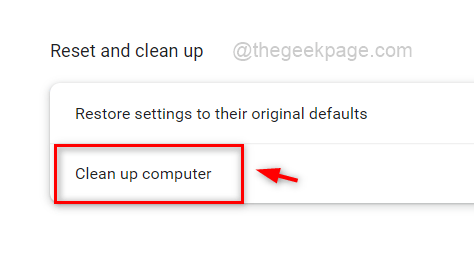
Step 3: Click the advanced option to expand it in the left menu of the Settings page as shown below.
Step 4: Then select the reset and clean list option.
Step 5: On the right side, click the clean computer option.
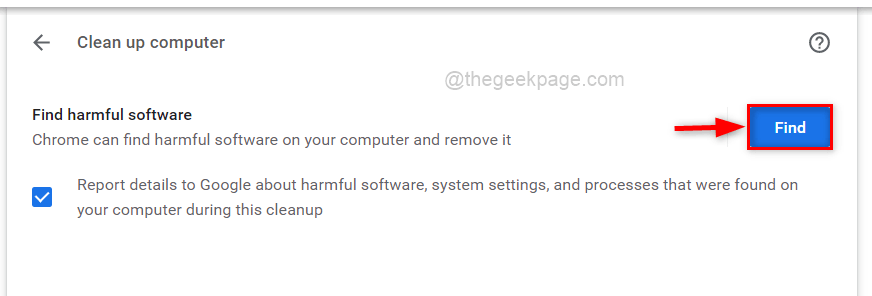
Step 6: Finally, click on the Find button to start finding harmful software on the system.
Step 7: Once done, it will display the program list that is harmful. Otherwise it will display “No harmful software found“.
Step 8 – Close the Settings page.
Check if the problem persists or not.
Solution 4 – Renew your IP address and flush your DNS cache
Usually, IP addresses are renewed after a period of time set by the user in the router and when it is renewed, the user gets the new IP address and the router is rebooted. So, the best solution would be to renew the IP address once if you are facing such an issue on your system and it is also suggested to flush the DNS cache which stores all the IP address information of the websites you previously visited.
Follow the steps below on how to renew IP address and flush DNS cache using Command Prompt.
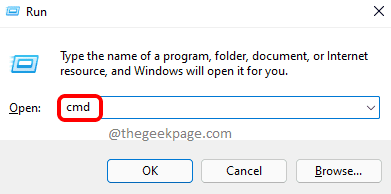
Step 1: Press Windows + R keys to open the run cash register.
Step 2: Write cmd at Run box and press CTRL + SHIFT + ENTER keys together to open the Symbol of the system application as a management.
Step 3: Accept the User access control notice by clicking Yes continue.
Step 4: Once the command prompt opens, run the following commands one by one as shown below.
ipconfig /release
ipconfig /renew

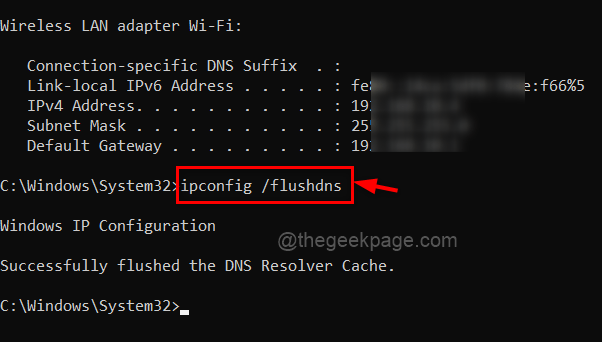
Step 5: Once done, copy and paste the following command into the command prompt and press Get into key to run it.
ipconfig /flushdns
Step 6: Once done, close the Command Prompt window.
Now check if the issue is resolved.
That’s all guys. Thanks!
Related posts:
 How to access Steam games without an internet connection
  How to view FPS with Xbox Game Bar in Windows 10: Steps Made Easy
  Hacked account? How to check and remedy
  How to make video calls from WhatsApp Web
  How to increase the RAM memory of a desktop or laptop + Tips and Tricks
  How to organize your YouTube subscriptions into categories
+ Tips and Tricks
How to organize your YouTube subscriptions into categories
+ Tips and Tricks


