


How to check if your Windows PC has a TPM chip for Windows 11 update
With the announcement of the release of Windows 11 in the second half of this year, many Windows users are excited and automatically curious to know if their Windows PC has a TPM (Trusted Platform Module) chip. Recently, Microsoft has specified some basic PC requirements for Windows 11 upgrade and one of them is that the PC has a TPM 2.0 chip and above. Which means that your system must have a TPM or if it is already there, it must be enabled to install the Windows 11 operating system.
TPM is a small chip that is built into the motherboard of most new computers, providing user security and preventing hacker attacks. It offers a special code (cryptographic key) to keep your PC protected from unauthorized use. Now, with the preview release of Windows 11 for those who have signed up for the Windows Insider Program, people are increasingly curious to install the operating system and see how it works. However, since not all PCs may have the TPM chip or it may not be enabled, you will first need to check if your PC has a TPM chip for Windows 11 upgrade. Here’s how to check.
Method 1: Use TPM.msc
The first thing you can try is to check if your PC supports a TPM and if it does, which one through the TPM management tool. This is one of the basic and easiest ways to find out if your computer is TPM compliant. Let’s see how to find if your Windows PC has a TPM chip for Windows 11 upgrade:
Paso 1: press the Win + X keys together on your keyboard to open the menu.
From the right-click context menu, select To run to open the run command window.
Paso 2: In the search field, type tpm.msc and hit Get into to open the Trusted Platform Module (TPM) Management on the local computer console.
This is a built-in tool of the Windows 10 operating system.
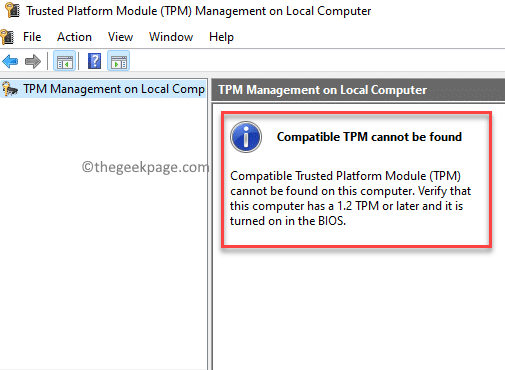
Paso 3: The result will be displayed in the central section of the window.
If your PC does not have a TPM or is not enabled in BIOS or UEFI mode, you will see a message that says: Cannot find compatible TPM.
However, if your PC has the TPM enabled, the status will show: TPM is ready and it will show about the PC TPM manufacturer details.
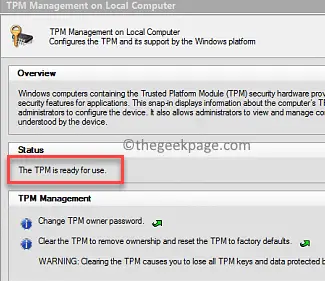
Also, if the Specification version at the bottom right is shown as 2.0it means that TPM 2.0 is enabled on your PC.
Method 2: Use Device Manager
Device manager is another easy way to check if your PC has a TPM or not. Let’s see how to verify:
Paso 1: Right-click on the Windows icon located in the center of the taskbar and select Device administrator.
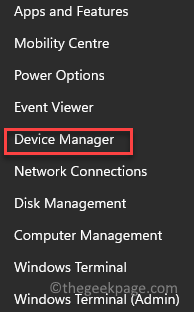
Paso 2: This will open the Device administrator window.
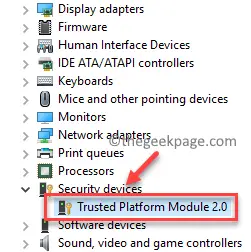
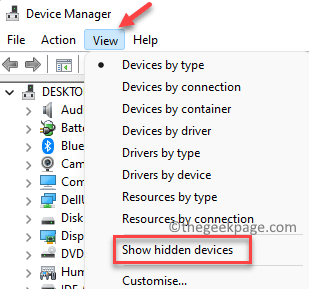
Here, navigate to the security devices section, expand it and the Trusted Platform Module 2.0 the device should be in the list.
*Note – If you don’t see the security devices option, you can go to the Vista tab at the top and select Show hidden devices to discover the security devices option.
Method 3: Use Command Prompt
Using the elevated command prompt is another great method of finding a lot of things through commands instead of searching for them manually. Let’s see how to check if your Windows PC has a TPM chip:
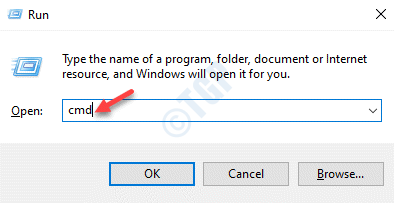
Paso 1: press the Earn + R keys together on your keyboard to open the run command window.
Paso 2: In it run command search field, type cmd and press the button Ctrl + Mayús + Intro shortcut keys on your keyboard to start the Symbol of the system in administrator mode.
Paso 3: In it Symbol of the system window, run the following command and press Get into:
wmic /namespace:rootcimv2securitymicrosofttpm path win32_tpm get * /format:textvaluelist.xsl
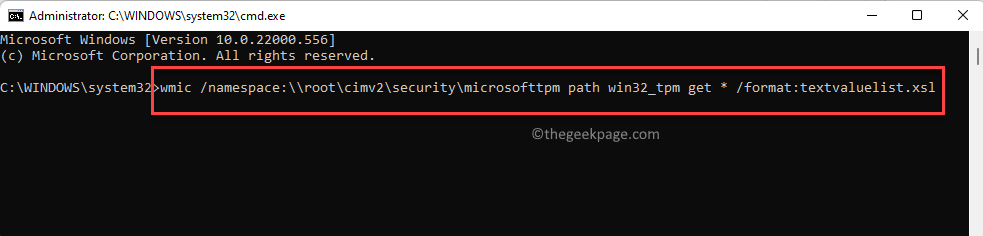
It will now generate the result that will display if the TPM is present and enabled.
If your PC does not have a TPM installed, you will see a message: No instances available.
Method 4: Use UEFI/BIOS
Although a bit tricky, this is one of the best methods to check if your PC has a TP installed and if it is enabled. Sometimes your PC may have a TPM, but it may not be enabled and therefore the above methods may not be able to detect one. Let’s see how to check if your PC has a TPM chip via UEFI or BIOS firmware settings:
Paso 1: press the win + me keys simultaneously on your keyboard to open the Settings application
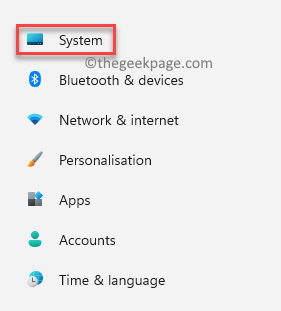
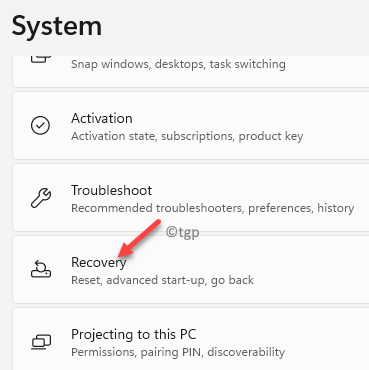
Paso 2: In it Settings window, click the System option on the left side of the panel.
Paso 3: Now, go to the right side and click on Recovery.
Stage 4: Now check again on the right side and at the bottom, on the Advanced start section, click Restart now.
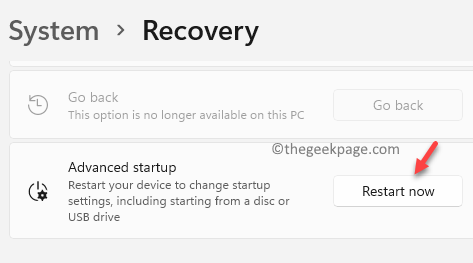
Paso 5: Your PC will now reboot directly into the advanced recovery mode.
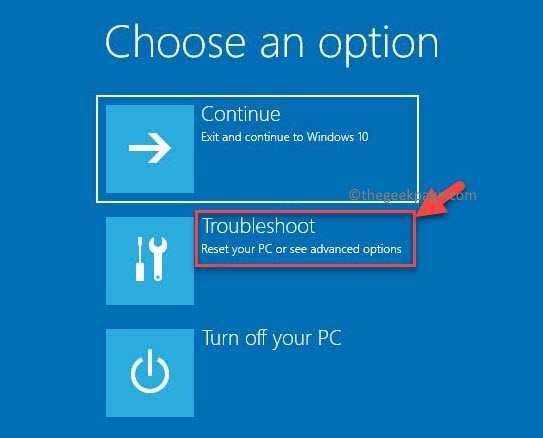
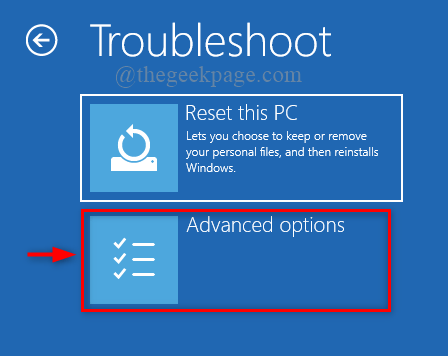
Here, follow the path Choose an option > Solve problems .
Paso 6: then click Advanced Options.
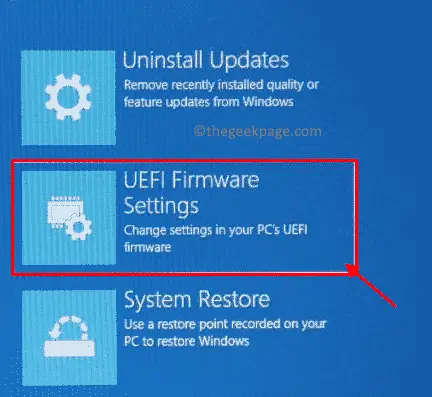
Paso 7: Now in the Advanced Options screen, select UEFI Firmware Settings.
Paso 8: Once you have reached the UEFI firmware settings screen, click Restart.
Paso 9: As your PC restarts, it will now enter the BIOS UEFI screen.
Here, go to the Security tab or the Advanced tab and find the TPM Support/Security Chip/TPM Security or something similar.
Enable the TPM option.
*Note – If you don’t see any of the options, your PC may not have the TPM chip.
Related posts:
 How to access Steam games without an internet connection
  How to view FPS with Xbox Game Bar in Windows 10: Steps Made Easy
  Hacked account? How to check and remedy
  How to make video calls from WhatsApp Web
  How to increase the RAM memory of a desktop or laptop + Tips and Tricks
  How to organize your YouTube subscriptions into categories
+ Tips and Tricks
How to organize your YouTube subscriptions into categories
+ Tips and Tricks


