


How to create and delete custom power plans in Windows 11
It is based on your computer’s power plans that your system manages and consumes power. Windows 11 offers built-in power plans like Balanced, High Performance, and Power Saver. You can adjust your existing power plan settings to better suit your needs. Or if you want to create a new custom power plan, you can do so by taking one of the built-in power plans as your base plan and then modifying the settings on it.
In this article, we explain in detail how you can create a custom power plan and how you can remove it with some very simple methods.
How to create a custom power plan through the control panel
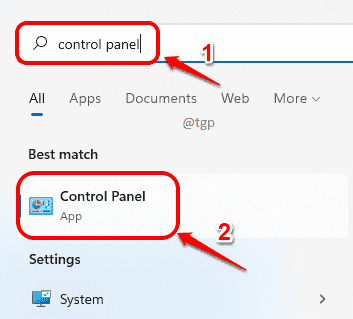
Paso 1: About him taskbar, click on the Look for icon.
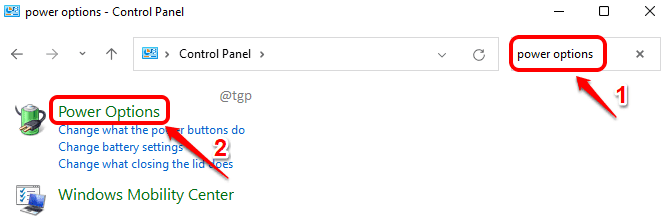
Paso 2: In the search bar, writes on Control Panel. Click on the Control Panel search results option.
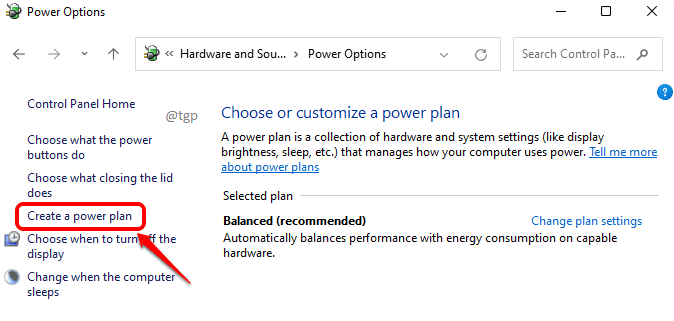
Paso 3: In the search window of the control panel, writes on power options. Click on Power options of the displayed results.

Paso 4: As below, in the left window panel, click the link that says Create a power plan.
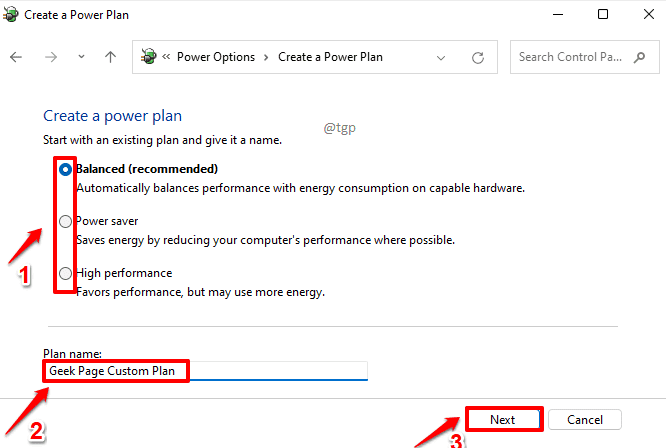
Paso 5: You will now have options to create your custom power plan from any of the existing power plans.
Select a base power plan of existing power plans. I have selected the Balanced power plan in the example below.
Once the base power plan is selected, Give me a name to your new personalized power plan.
Hit the next button when done.
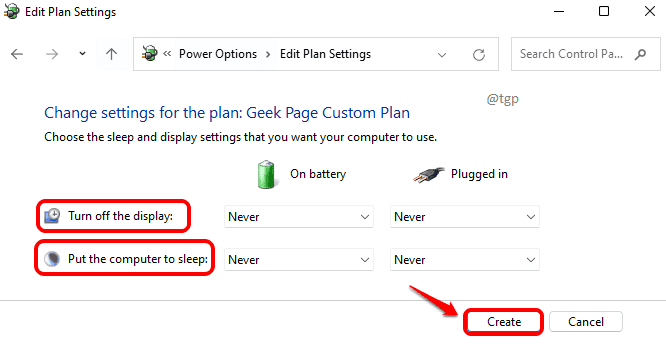
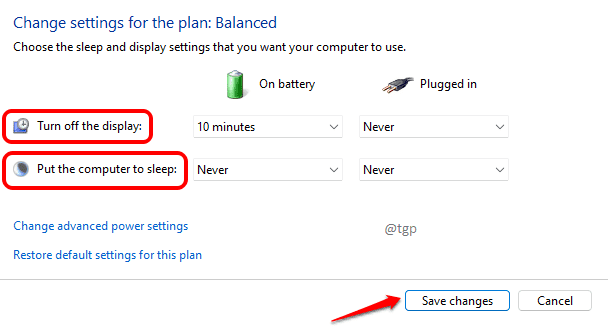
Paso 6: In the power plan settings window that opens, you can change the settings for your custom plan.
You can use the drop-down menus associated with the Turn off the screen option and Put the computer to sleep option to make the necessary changes.
Once you are done, click on the Create button.
Paso 7: That is all. Now you can see that your custom power plan was created successfully.
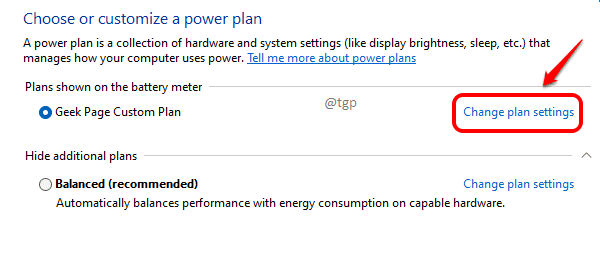
If you want to modify any configuration in your personalized plan, you can click on the Change plan settings link associated with your power plan.
Paso 8: As in step 6, in this window, you can Modify setting up your plan. Once everything is done, press the button Save money changes.
How to delete a custom power plan through the control panel
To delete a custom power plan, follow the steps below.
Paso 1: Click on the Look for on the taskbar.

Paso 2: Search and start control panel.

Paso 3: Look for To view the power options in the control panel window and the results, click Power options Link.
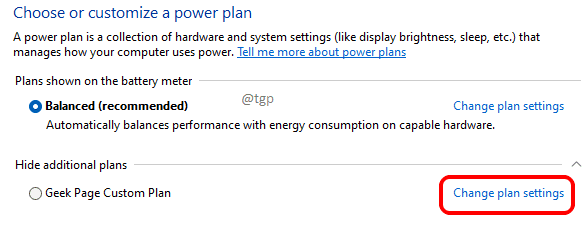
Paso 4: At Choose or customize a power plan window, click the link that says Change plan settings associated with the custom power plan that you want to delete.
Paso 5: At Change plan settings window, click the link Delete this plan.
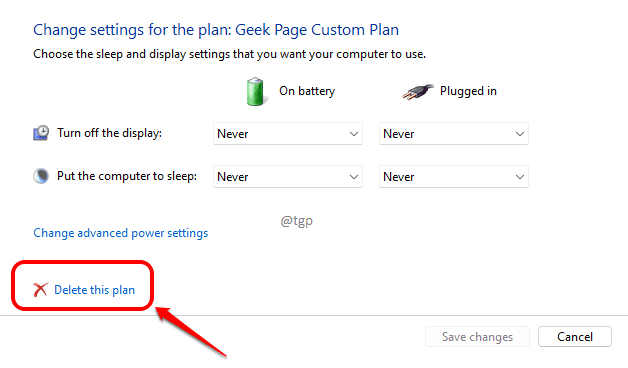
That is all. You have successfully removed the custom power plan.
How to create a custom power plan via command prompt
For those users who love having a graphical user interface, Control Panel is the best option for creating and deleting custom power plans. However, if you are one of the technicians who loves to play with the endless options that the command prompt offers, you can follow the steps below to create and delete custom power plans in Windows 11.
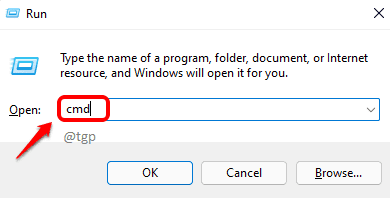
Paso 1: Start the To run window pressing Win y R keys together. Writes on cmd and hit Pay in wrench.
Paso 2: To create a custom power plan, you need a base power plan that already exists on your machine. It is with the configuration of this base power plan that your new custom plan will be created.
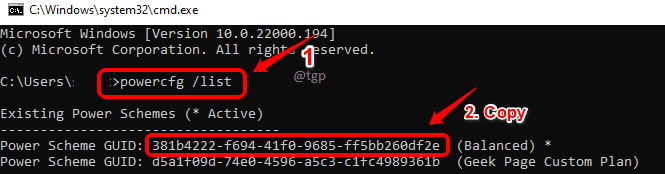
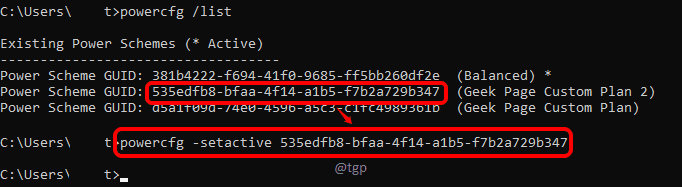
1. Writes In the next command and press Pay in key to see all existing power plans on your machine.
powercfg /list
2. As below, copy the GUID of the base power plan that you selected. In the example below, I have taken the GUID from the balanced power plan.
Paso 3: As below, we need double the base power plan that you selected. For that, writes In the next command and hit Pay in wrench.
powercfg -duplicatescheme BASE_GUIDNote: be sure to replace BASE_GUID with the GUID you copied in the previous step.
At the command prompt, a new line Power Scheme GUID will come now, which provides you with the GUID of your new custom plan. COPY THIS NEW GUIDE.

Paso 4: The next step is to give your personalized power plan proper name. For that,
1. Write the following command and hit Pay in wrench.
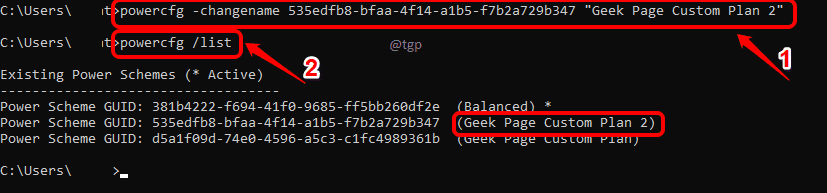
powercfg -changename GUID "name"
Note: make sure replace GUID with the GUID value in which you copied Paso 3. Also, replace Name with the name of your personalized power plan. In the example below, I have named my custom power plan Geek Page Custom Plan 2.
2. If you want to see if the custom power plan is added or not, you can list the power plans again using the following command.
powercfg /list
Paso 5: Once you create a custom power plan, to make it the active power plan that your system uses, you must use the active command as shown below.
powercfg -setactive GUIDNote: Replace the GUID with the actual GUID of your custom power plan that you copied into Paso 3.
You have now successfully created a new custom power plan for your machine and made it the asset.
How to delete a custom power plan via command prompt
1. To delete a custom power plan, you must first make another power plan the active one. For that, use the setactive command.
powercfg -setactive GUIDNote: make sure replace the GUID with the GUID of any power plan other than the GUID you are removing.
2. As below, remove custom power plan using the Remove command.
powercfg -delete GUIDNote: Replace GUID with the GUID of the custom power plan to be removed.

Tell us in the comments which method you used and whether it was successful or not.
Related posts:
 How to access Steam games without an internet connection
  How to view FPS with Xbox Game Bar in Windows 10: Steps Made Easy
  Hacked account? How to check and remedy
  How to make video calls from WhatsApp Web
  How to increase the RAM memory of a desktop or laptop + Tips and Tricks
  How to organize your YouTube subscriptions into categories
+ Tips and Tricks
How to organize your YouTube subscriptions into categories
+ Tips and Tricks


