


How to Design a box in Microsoft Publisher? – Create your Templates
–
Publisher is one of the programs that is part of the Microsoft Office package, it is a self-publishing program that works for create print and digital publications, creating from scratch or using predesigned templates that allow you to create and design calendars, cards, newsletters, boxes or triptychs in Publisher, among others.
What elements are needed to create a box in Publisher?
Publisher is an editing program, has a great scope in creating designsIt is very easy to use and you do not need to have much knowledge to create or modify a Publisher template, to design a box you only need patterns and shapes, to create a good design.
Patterns
To create a box you will need the shape tool, but first you will need to create the box pattern. You also have the option of using a pattern as a model, which you can get by searching in your web browser a template pattern template for boxes.
Shapes
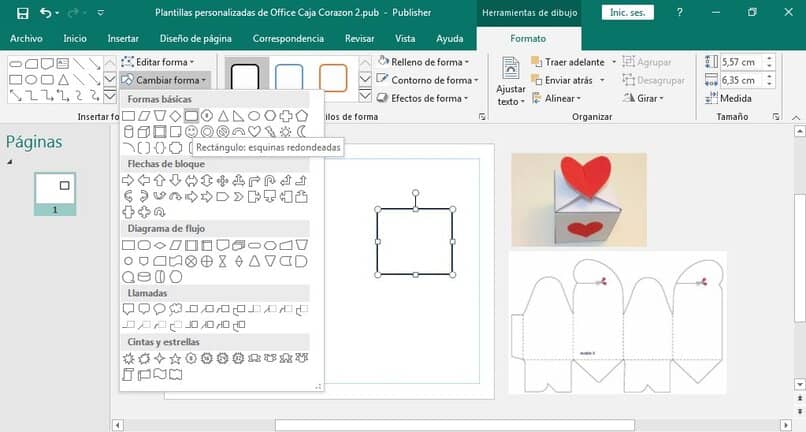
In the Microsoft Publisher forms tool you can find a wide variety of forms that you can use, such as squares, triangles, circles, hearts, stars or lines, which you can modify and resize whenever you want, plus you could also change the fill color or insert an image.
What are the steps to follow to design the box?
- Open the Publisher application from your pc.
- Select the horizontally shaped sheet that says “Blank 11x 8.5 in.”
- Search your web browser for a checkout template.
- Then head over to Publisher and click paste or you can use the Ctrl + V keys and place the template to the side of the layout sheet.
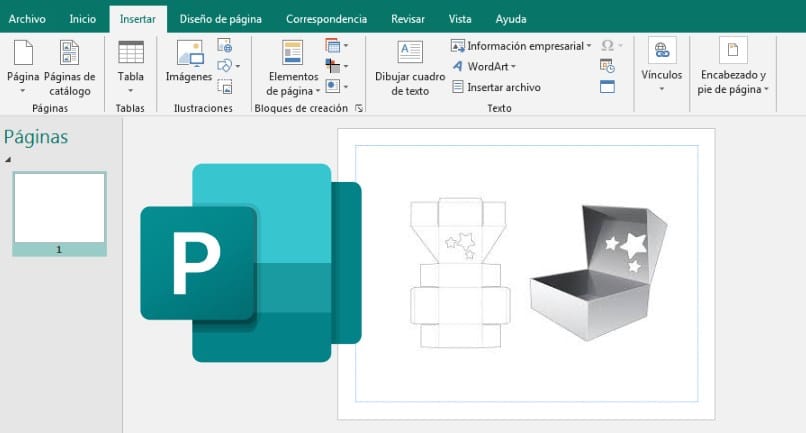
- Select the “Insert” tab and in the “Illustrations” section you will find several options to design.
- Click on “Shape” and select the shapes you need to design your box and drag to size the shape.
- Then click on “Format” and in the upper right you will have the option to modify the size of the shape.
- If you want to replicate the image, just right click and select “copy” and then right click and select paste. or you can use Ctrl + V keys to paste.
- Position the shapes so that they take the shape of the template model you are using.
Join the shapes
- To join two or more shapes you must first select the shapes you want to join, to do this you must press the Ctrl key and click on the shapes you want to join.
- Later In the “Format” section click on “Align”. Perform this procedure to align the vertical and horizontal shapes.
- If one of the main shapes is overshadowed by another shape, you just have to select the shape and click “Send to back”.
- To join all the shapes, you must select all the shapes and click on “group”.
Insert images
- If you want to add images to a specific shape, click “Ungroup shapes” similar to a word document.
- Press the Ctrl key and select with the shapes you want to insert an image.
- Then go to the “Format” section, and click on the ‘Shape Fill’ tool A menu with several options will be displayed, and click on the “image” option.
- Select an image from your pc gallery or search for an image on the internet.
Detailing the edges and colors
Select all the shapes and in the “Organize” section click on “Group” this will allow all the shapes to be joined, then you just have to select the shape and go to the “Shape Styles” section and click on “Shape contour” and the menu will be displayed and you will be able to change the outline color and the thickness size.
How to save the project as a template?
- Go to the top left and click the “Save” icon and select the folder where you want to save your file or you can click the Ctrl + G buttons.
- Another option is to click on “File” where it will redirect you to the home page and you will have the “Save” or “Save As” options the latter allows you to share your file on OneDrive or select a file folder on your pc.
What other programs allow box designs?
You can use a wide variety of graphics software that allow you to create your box designs as an example Free 3D Box Maker online which is free but limited, but there are others that require a monthly or annual subscription such as ArtiosCAD, Studio, Adobe Illustrator, Impact Design Software and CAPE Systems.

Adobe Illustrator
It is a vector graphics editor that allows you to create designs such as logos, icons, illustrations for books, or even create boxes. You just have to download and install Adobe Illustrator for Windows or MAC and you can start creating your designs.
Impact Design Software
It is a CAD software best known worldwide for packaging designers that allows you to create packaging design quickly, simply and accurately, you already have the necessary tools to develop the best packaging designs.
CAPE Systems
It is software used by large companies to design packaging since it allows defining the ideal size of the products and secondary packaging, as well as helping to determine the quantity of products per box and the pallet load.
Related posts:
 How to access Steam games without an internet connection
  How to view FPS with Xbox Game Bar in Windows 10: Steps Made Easy
  Hacked account? How to check and remedy
  How to make video calls from WhatsApp Web
  How to increase the RAM memory of a desktop or laptop + Tips and Tricks
  How to organize your YouTube subscriptions into categories
+ Tips and Tricks
How to organize your YouTube subscriptions into categories
+ Tips and Tricks


