


How to fix error code 0x80240438 in Windows 11, 10
Recently many users reported seeing an error code 0x80240438 while trying to perform a Windows update or install apps through the Windows Store. This error code is usually called a Windows Store error since there is a link between the update section and the Store app. The performance of both the update service and the store is affected due to this error.
This can be an annoying error for users as it prevents the user from downloading new applications or updating already installed programs on their Windows PC. If you are also facing this error code while performing updates or installing new apps then go ahead and dig deeper into this article. In this article, we have discussed some troubleshooting methods that can help you resolve error code 0x80240438 on your system.
Solution 1 – Disable Windows Defender Firewall
1. Open the Run dialog using the windows and r keys on your keyboard simultaneously.
2. Type ms-settings:windowsdefender and hit Get into to open Windows security.
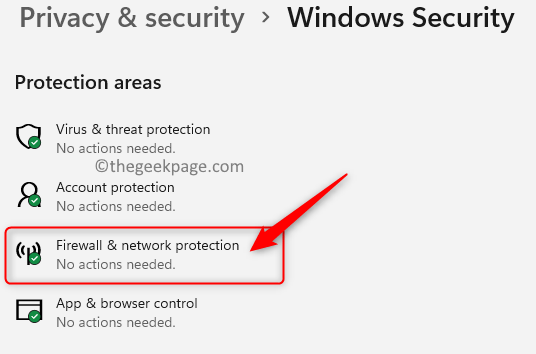
3. Here, choose Firewall and network protection under Protection areas.
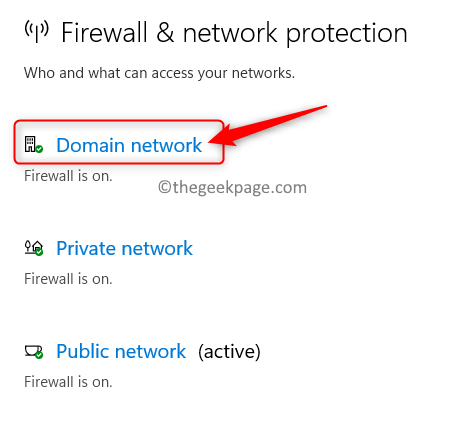
4. You will see domain network, public network, and Private network here.
5. To disable Windows Firewall, select domain network in the network list.
6. then delete the lever associate with Microsoft Defender Firewall.
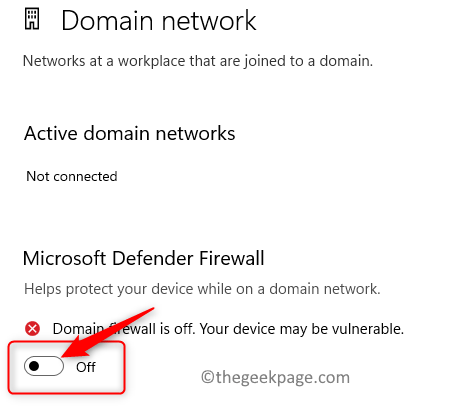
7. Click Yes when you request it User Account Control asking for permission to make changes to the device.
8. Perform Steps 5 – 7 by Private and public networks as well as. This will disable Windows Defender Firewall for all three types of networks.
9. Check if the problem persists or not.
Solution 2: Disable IPv6
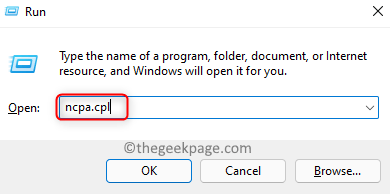
1. Press the button windows and r key combination to open Run.
2. Type ncpa.cpl and hit Get into to open Network connections.
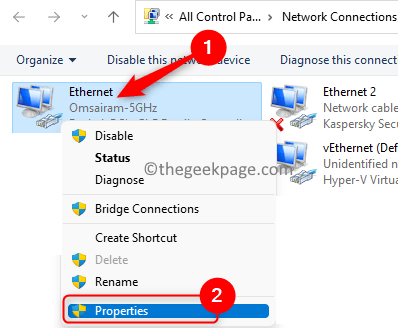
3. The right button of the mouse in your current network adapter and choose Properties.
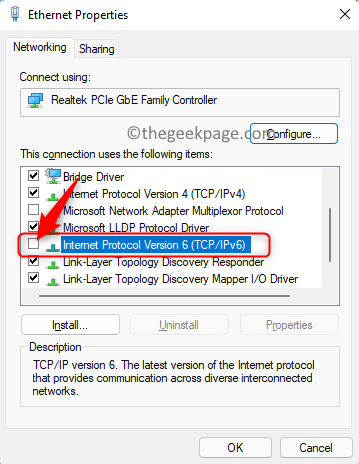
4. In the Network properties window, Mark off the box next to Internet Protocol version 6 (TCP/IPv6).
5. Click it’s fine.
6. Restart your computer to apply the changes. Check if the error code is resolved.
Solution 3 – Run the Windows Store Apps Troubleshooter
1. Just press the button windows and r keys together.
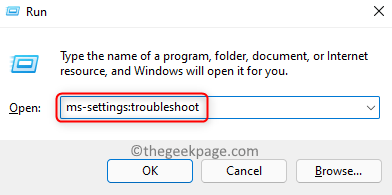
2. Type ms-settings: troubleshooting and hit Get into to open the Troubleshoot configuration page.
3. Click Other problem solvers.
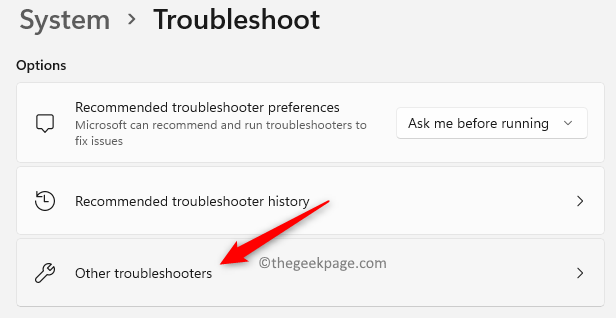
4. Scroll down and locate Windows Store apps at Other troubleshooters ready.
5. Click on the Run button associated with Windows Store apps.

6. Wait for the troubleshooter to finish the scan and check if there are any issues. If there are any problems, it will show solutions that can be applied.
7. Restart once the troubleshooting process is complete. Check if the error code is resolved while updating or installing any app using the Store.
Solution 4 – Clear Windows Update Cache
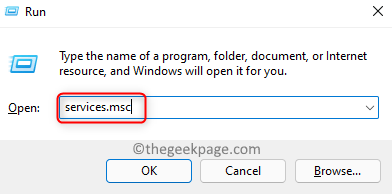
1. Press Windows + R to open the Run cash register.
2. Type services.msc to open Windows services.
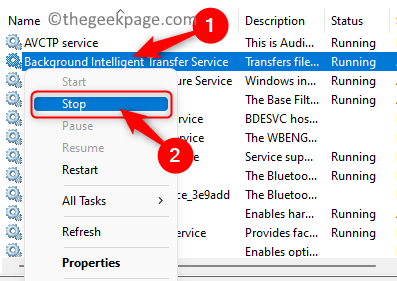
3. In the list of services, find Intelligent Background Transfer Service. The right button of the mouse on it and select Stop.
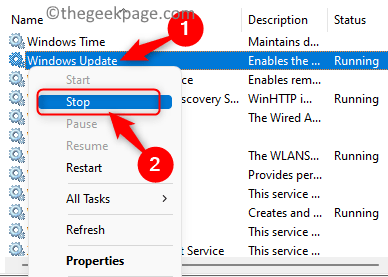
4. The right button of the mouse on windows update service in the list and choose the option Stop.
5. Open the File Browser using the Window and my keys.
6. Dupdo and to take the path below in the navigation bar.
C:WindowsSoftwareDistribution
7. Select all (Ctrl + A) the files and folders in this location and touch the button Delete icon (trash can) at the top to delete all files and folders in this folder.
Note: Make sure all the folders have been removed correctly.

8. Back to windows services like in Steps 1 and 2 above.
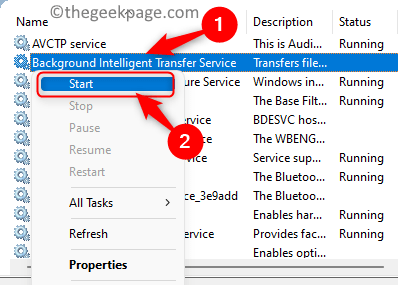
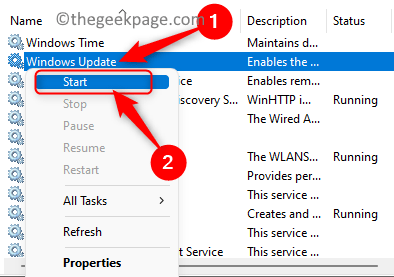
9. The right button of the mouse about him Background Intelligent Transfer Service and click Start to enable this service.
10 The right button of the mouse on windows update service and enable it by selecting Start in the context menu.
Check if you can update or install any app without the error code.
Solution 5 – Reset the proxy connection via Command Prompt
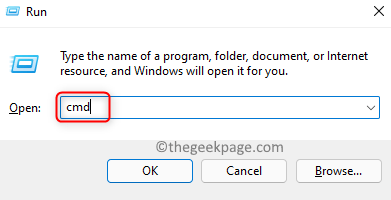
1. Press Windows + R to open Run.
2. Type cmd and press Ctrl + Mayús + Intro to open Command Prompt as Administrator.
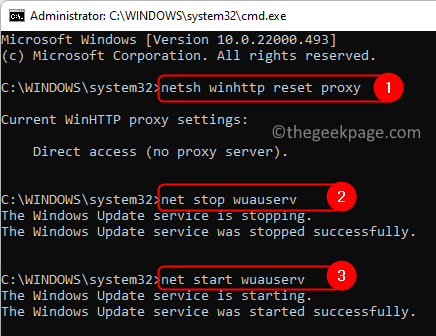
3. Run the commands given below, each followed by pressing the Get into wrench.
netsh winhttp reset proxy
net stop wuauserv
net start wuauserv
4. Check if this helped you to overcome the error code.
Solution 6 – Clear Windows Store Cache
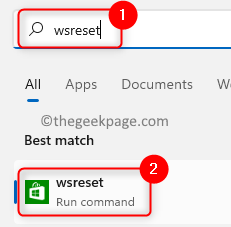
1. Hit the Windows key and type restore in the search box.
2. Select restore in the results list.
3. You will see a black command window. Wait for some time until the reboot is complete and the Windows Store opens.
4. Now check if the error code is fixed by updating or installing any program.
Solution 7 – Do a registry tweak
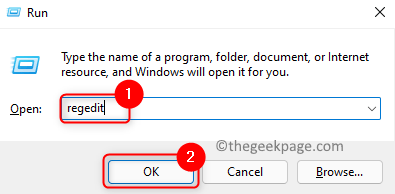
1. Open Ejecutar (Windows + R).
2. Type regeditar and click OK to open the Registry editor.
3. Navigate to the location below or copy and paste it into the navigation bar.
HKEY_CURRENT_USERSoftwareMicrosoftWindowsCurrentVersionPolicies
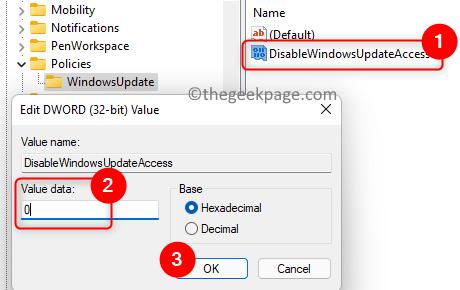
4. Select the windows update folder in this location.
5. Move to the right side and look for the Disable Windows Update Access tecla DWORD.
6. double click on this key and change its value to 0.
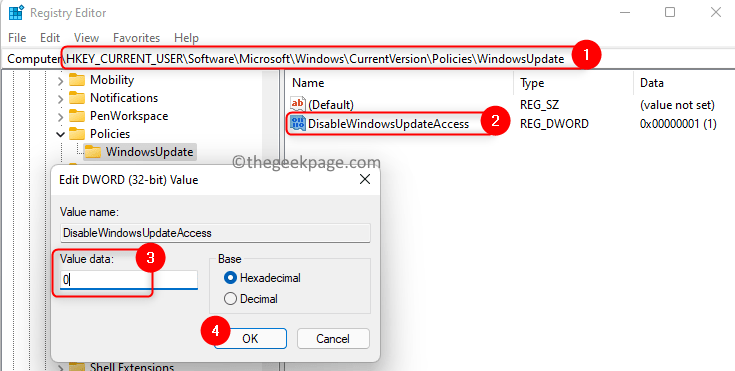
7. Restart your system and check if you fixed the error code.
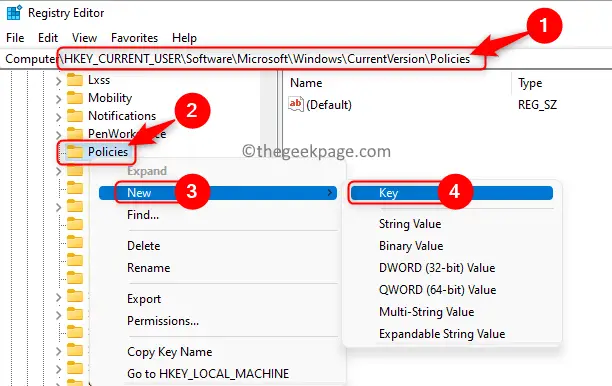
Note: If the WindowsUpdate key is not present in Policies, follow the steps below:
- The right button of the mouse about him Policies folder and make selection New -> Key. Name this new key as Windows update.
- Now, the right button of the mouse in this windows update key and choose Nuevo -> Valor DWORD (32 bits).
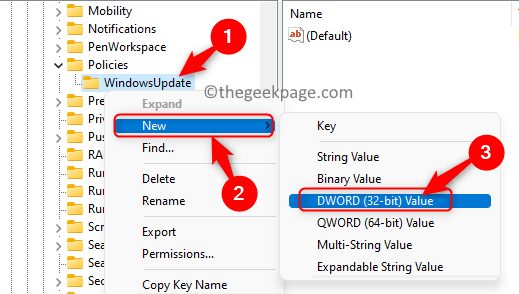
- Give the DWORD entry a name like Disable WindowsUpdateAccess.
- double click on this key and modify its value. Set your value data field to 0.
That’s it!
Now you will be able to install any new apps or update Windows apps via Store app without facing error code 0x80240438 on your Windows PC. We hope this article was informative enough to resolve this Windows Store app error. Please comment and let us know the solution that worked for you.
Related posts:
 How to access Steam games without an internet connection
  How to view FPS with Xbox Game Bar in Windows 10: Steps Made Easy
  Hacked account? How to check and remedy
  How to make video calls from WhatsApp Web
  How to increase the RAM memory of a desktop or laptop + Tips and Tricks
  How to organize your YouTube subscriptions into categories
+ Tips and Tricks
How to organize your YouTube subscriptions into categories
+ Tips and Tricks


