


How to fix stretched screen problem in Windows 11
If you have a laptop or mobile device running on Windows 11, you may often come across the stretched screen problem. When an application requests more space to work than is available on the current screen, the expanded screen will appear. Sources, images, or videos appear stretched, vertically or horizontally. The problem can occur when playing videos in full screen mode, browsing images in a photo editor, or just watching a slideshow.
This stretches the image or video to fit the PC screen and it is then that it becomes distorted, making it difficult to read the content on the desktop. So what really causes distorted fonts and images? Apparently it is due to jagged pixels on your desktop that end up expanding the image upward or parallel. Now, broken pixels could occur due to incorrectly configured screen resolution due to arbitrary keystrokes or due to outdated or dysfunctional graphics drivers.
The good news is that the stretched screen problem on your Windows 11 PC can be fixed with a couple of solutions. Let’s see how.
Method 1: changing the screen resolution
Paso 1: press the Win + me keys simultaneously on your keyboard to open the Settings app.
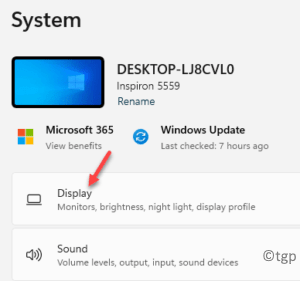
Paso 2: At Settings window, click System, on the left side of the panel.
Paso 3: Now, travel to the right side of the window and select Monitor.
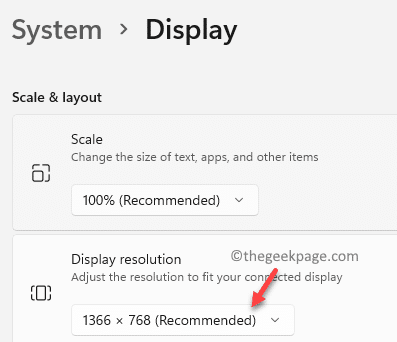
Paso 4: Then in the Monitor settings, scroll down and under the Scale and layout section, go to Screen resolution.
Here, select the Recommended from the drop-down menu to be on the safer side or select a resolution of your choice that best suits your needs.
Now check again and the stretched screen issue should be resolved.
Method 2: Updating the graphics driver
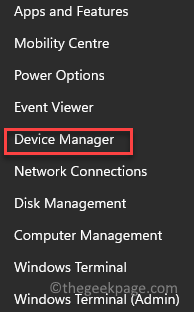
Paso 1: Go to Start, right click on it and select Device administrator from the context menu. .
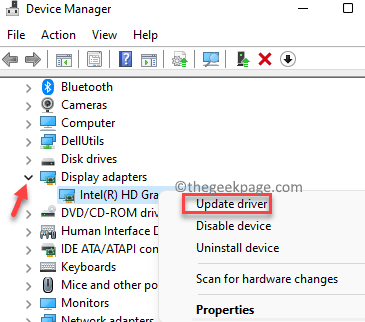
Paso 2: At Device administrator window, go to Display adapters and expand the section.
Right-click on the graphics driver and select Update driver.
Paso 3: At Update drivers window, click Find drivers on my computer.

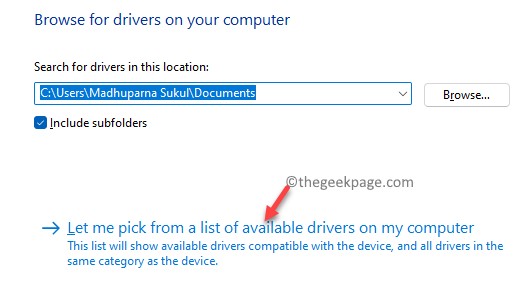
Paso 4: In the next window, select Let me choose from a list of drivers available on my computer.
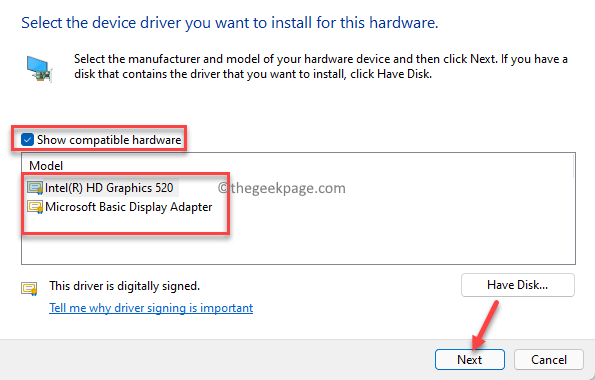
Paso 5: Then check the box next to Mostrar hardware compatible and select an older version of the driver from the list in the Model countryside.
press next to complete the installation.
Once done, exit the Device Manager window and restart your PC. You should now see a normal screen instead of a stretched screen on your Windows 11 PC.
Method 3: Rolling back the previous version of the graphics driver
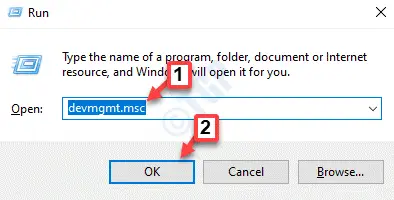
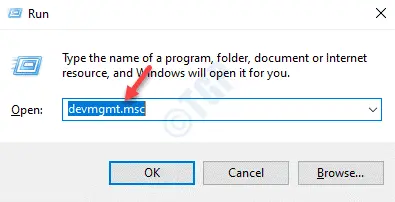
Paso 1: press the Win + R keyboard shortcut keys to open the Run command window.
Paso 2: At Run command search bar, type devmgmt.msc and hit Get into to open the Device administrator window.
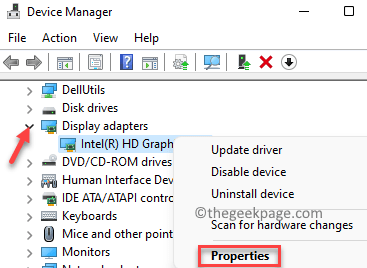
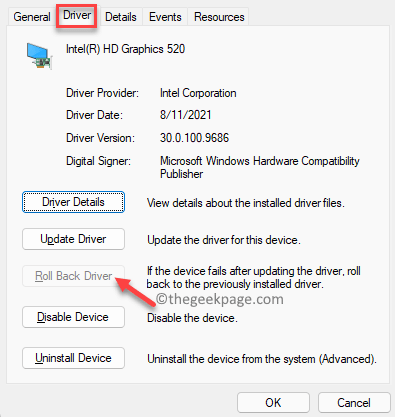
Paso 3: At Device administrator window, navigate to Display adapters section, right-click on the graphics driver and select Properties.
Paso 4: At Properties dialog box, select the Conductor tab.
Here, click Recoil controller.
This will roll back your graphics driver to an older stable version.
press OK to save the changes and exit.
Now, close the Device administrator window and restart your PC.
The stretched screen problem on your Windows 11 PC should be fixed now.
Method 4: Uninstalling the Graphics Driver
Paso 1: press the Win + R keys together on your keyboard to open the Run command window.
Paso 2: At Run command window type devmgmt.msc in the search field and press OK.
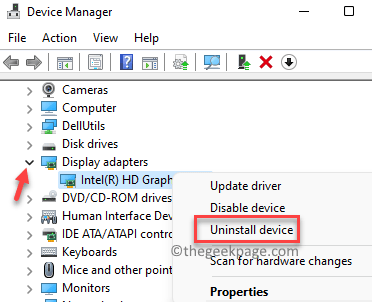
Paso 3: This will open the Device administrator window.
Now, expand the Display adapters section, right-click the graphics driver and click Uninstall device.
Paso 4: You will now see the Uninstall device message, check the box next to Try to remove the driver for this device.
Click on the Uninstall button.

Once the uninstallation is complete, close the Device Manager window and restart your PC. Once the computer starts, you should notice
Related posts:
 How to access Steam games without an internet connection
  How to view FPS with Xbox Game Bar in Windows 10: Steps Made Easy
  Hacked account? How to check and remedy
  How to make video calls from WhatsApp Web
  How to increase the RAM memory of a desktop or laptop + Tips and Tricks
  How to organize your YouTube subscriptions into categories
+ Tips and Tricks
How to organize your YouTube subscriptions into categories
+ Tips and Tricks


