


How to Fix the Error ‘The Hosted Network could not Start in Windows 10’
–
The error “Hosted network could not be started” can show up on any computer in Windows 10. In any case, just as it is possible to fix Windows Wi-Fi connection problems, this error can be fixed very easily.
Why do we get the message ‘The hosted network could not be started’?
This error appears when we have configured the equipment as a hosted network. In other words, if you have configured your computer to stream Wi-Fi to your phone or other devices, there is a possibility that you will get the error ‘The hosted network could not be started’.
What should we take into account if we want to correct the error of the hosted network?
The causes for the error ‘The hosted network could not be started’, can be diverse, but taking into account some basic aspects you will surely be able to find the solution. To do this, we recommend that you analyze the following points before trying any other solution.
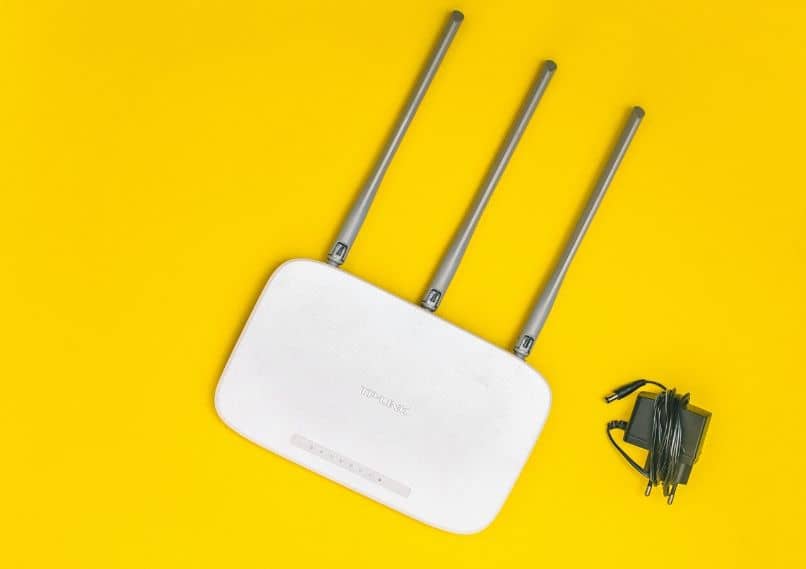
Verify that your router allows access
It is possible that your router is blocking access, in any case it is something very rare, since it requires access to the configuration options of the device. Anyway, if you want to free yourself from this possibility, try restarting the router to its factory settings or you can also configure the router again, with the help of TP-Link or another known tool.
Check that your version of Windows is compatible with the network
Wi-Fi wireless communication protocols have changed very little in recent years. In any case, if you have a version of Windows that is too old, there is a possibility that it will present problems and generate the error ‘The hosted network could not be started’. Given this, update your system so that you have the latest version.
What can we do to fix this error in Windows 10?
In relation to the fix ‘The hosted network could not be started’ error, there are different ways to deal with it. In any case, most of the time they have to do with the network card and virtual adapters. Here are the simplest and most effective solutions for this error.
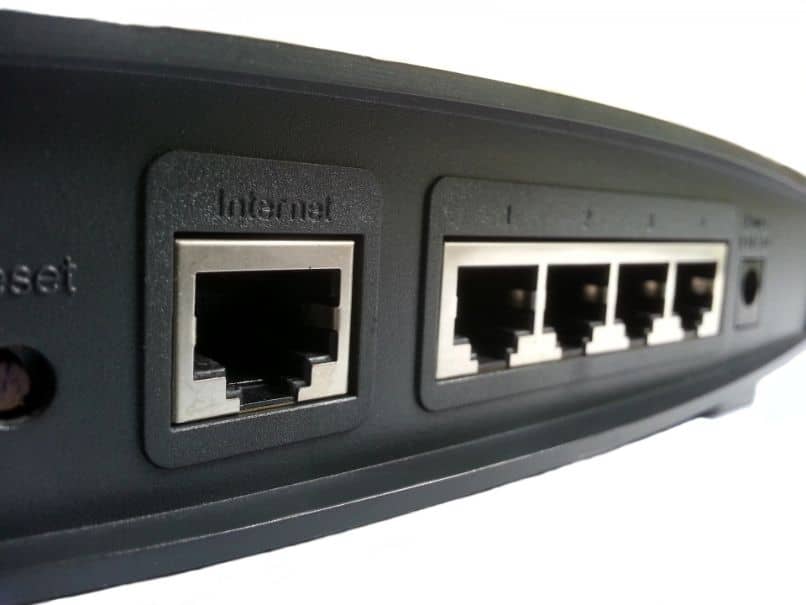
Check the network card
It is possible that the network card is having problems or that it is not capable of transmitting Wi-Fi, in view of this, it is important to know the characteristics of the Wi-Fi connection and those of your adapter. If you think this is the reason for the ‘Hosted network could not start’ error, test the network card on another computer. If it works properly on the test machine, then the problem is with your computer.
Activate a virtual adapter
Undoubtedly this is one of the easiest and most effective solutions when the error ‘The hosted network could not be started’ appears. There is a possibility that the hosted network adapter is simply not active. Fortunately you can activate it very simple if you follow these steps.
- In the Windows Start Menu, search for ‘Device Manager’ and open this option.
- Go to the top and click on ‘View’, check the box here ‘Show hidden devices’, something very important if you can’t see the device.
- Find the section ‘network adapters’ and click on the arrow on the left side.
- Locate the adapter ‘Microsoft Hosted Network Virtual Adapter’. Right click on this option, and select ‘Enable device’.
Check your power options
Power options may be causing the problem. Given this, it is best configure the equipment in the option of ‘maximum performance’. In any case, keep in mind that, if you have a laptop, this way the battery will drain more quickly.
- Inside the start menu, open the ‘PC Settings’.
- In the configuration options, search for ‘Edit power plan’ and select that option.
- Click on ‘Change advanced power settings’ and at the top select ‘High performance’. Save the changes by clicking on ‘OK’.
We also recommend accessing the Bluetooth settings and deactivating them if possible. It is rare, but could be causing problems with the wireless connection. Setting the power options is usually sufficient.
How should I proceed if the Windows virtual adapters do not appear?
If no network adapter appears, we recommend that you read the instructions above for ‘Activate a virtual adapter’. There we show you what you should do in case it’s hidden or not available. After following these steps, the adapter should display normally on Windows devices.
Related posts:
 How to access Steam games without an internet connection
  How to view FPS with Xbox Game Bar in Windows 10: Steps Made Easy
  Hacked account? How to check and remedy
  How to make video calls from WhatsApp Web
  How to increase the RAM memory of a desktop or laptop + Tips and Tricks
  How to organize your YouTube subscriptions into categories
+ Tips and Tricks
How to organize your YouTube subscriptions into categories
+ Tips and Tricks


