


How to fix wireless connection error 0x00028002 in Windows 11, 10
Some of the Windows 10 users have reported that when their system is idle for about an hour, the internet gets disconnected from the PC and one cannot reconnect. However, all other devices will remain connected to the Internet. The error message is as shown below:
I can’t connect to this network
This problem can be seen when there are some problems in the wireless controller. In this guide, we have listed some fixes that will help you resolve the wireless connection error with error code 0x00028002. Please test the fixes in the order they are listed.
Solution 1: update the WiFi driver
Step 1: Hold down the keys Windows and R to open the Run terminal window
Step 2: Write devmgmt.msc and hit Get into
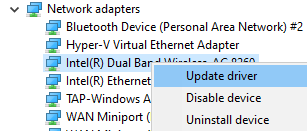
Step 3: In the Device Manager window that opens, scroll down and double-click Network adapters
Step 4: right click on your Wireless Adapter and click Update driver
Step 5: In the Update Drivers window, click Search for drivers automatically

Step 6: The system searches and you will be notified if updated drivers are found.
Step 7: Follow the instructions on the screen and update the drivers.
If you see the problem again, try the next solution.
Solution 2: Forget and reconnect to the WiFi network
NOTE: Before continuing, write down the Wifi Credentials (Wifi Name, Wifi Security Key)
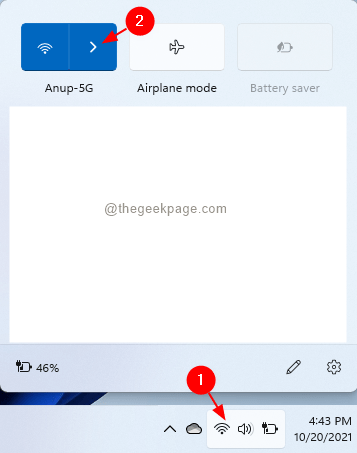
Step 1: Click on the WiFi symbol in the lower right corner of the taskbar.
Step 2: click > next to the Wireless button. Please refer to the screenshot below.
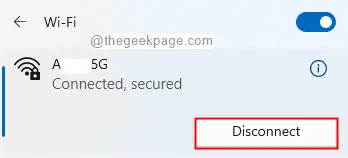
Step 3: click on your Wi-Fi connection.
Step 4: Click the Disconnect button.
Step 5: Wait a while and click on the Connect button.
Check if this works. If not, try the following
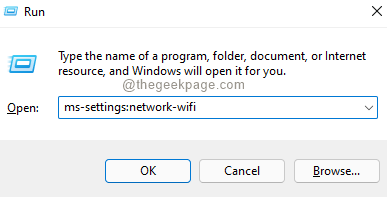
Step 1: Open the Run dialog window.
Step 2: Write ms-settings: red-wifi and hit Get into.
Step 3: In the window that appears, click Manage known networks

Step 4: Now click on the Forget next to your network name.

Step 5: Click the Add network button.

Step 6: In the window that appears, enter the name of your Wi-Fi.
Step 7: Click the connect button.
Step 8: Follow steps 1-3 and open the Wifi window.
Step 9: Click on the network name created in step 6.
Step 10: Enter the security key and press Enter.
Check if this fixes the problem.
Solution 3: disable IPv6
If your ISP does not support IPv6, you can disable the IPv6 settings.
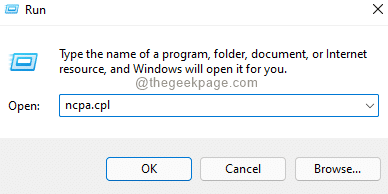
Step 1: open Run dialog using Win + R.
Step 2: Write ncpa.cpl and hit Get into.
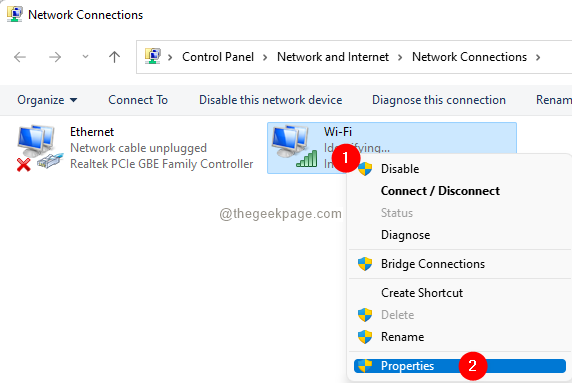
Step 3: In the window that appears, right-click on your Network adapter.
Step 4: choose Properties.
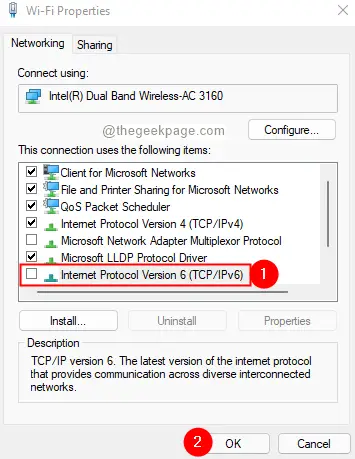
Step 5: In the Properties window that opens, uncheck the box corresponding to Internet Protocol version 6 (TCP / IPv6).
Step 6: click it’s okay.
Check if this fixes the error.
Solution 4: reset network settings
NOTE: Before proceeding, be sure to write down your Wi-Fi credentials.
If none of the above-mentioned solutions works for you, try resetting the network adapter to its factory settings. To do so, follow the steps below:
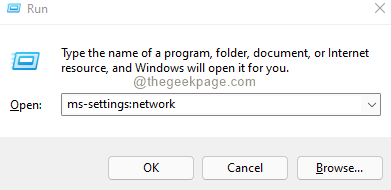
Step 1: Open the Run dialog using Windows + R.
Step 2: Write ms-settings: red and press OK.
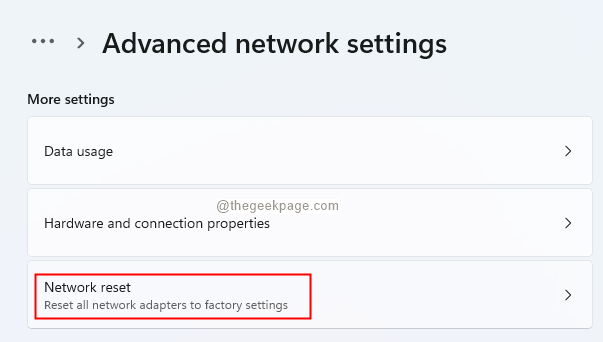
Step 3: In the window that appears, scroll down and select Advanced network settings.

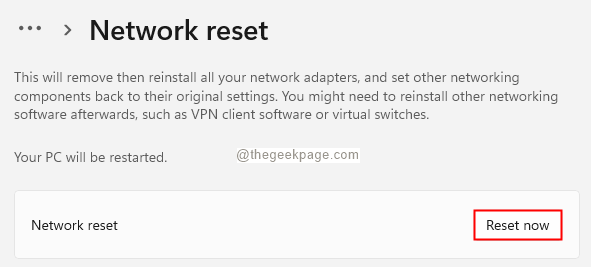
Step 4: In the Advanced Network Settings window, scroll down and locate the Network reset low option More settings
Step 5: In the window that appears, click Restart now.
Step 6: reboot the system.
That is all.
We hope this article has been informative for you. Please comment and let us know the solution that helped you solve the problem.
Thank you for reading.
Related posts:
 How to access Steam games without an internet connection
  How to view FPS with Xbox Game Bar in Windows 10: Steps Made Easy
  Hacked account? How to check and remedy
  How to make video calls from WhatsApp Web
  How to increase the RAM memory of a desktop or laptop + Tips and Tricks
  How to organize your YouTube subscriptions into categories
+ Tips and Tricks
How to organize your YouTube subscriptions into categories
+ Tips and Tricks


