


How to get Windows 10 style right mouse button context menu in Windows 11
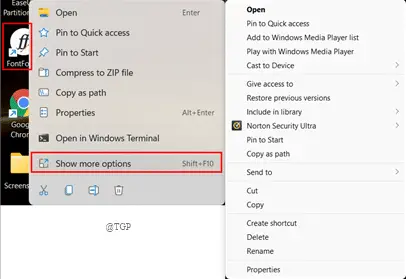
When you right-click on a file, you will see a new drop-down menu appear in your new Windows 11. This is because the right-click context menu in Windows 11 is restructured with limited entries compared to Windows 10. Always you need to click Show more options to get the 7-zip or other things you like to use at work that can be a bit of a hassle. Don’t worry, you can also get the old context menu back in Windows 11. If you want to know how this article explains how to get back the old right-click context menu.
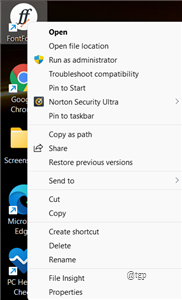
Right-click a folder or file and then click Show more options to return to the old right-click context menu.
If you don’t like this way and want the above menu with one click, please go to the next method below.
Use Registry Editor
You can simply use Registry Editor to bring back the old right-click context menu. We can edit the registry in two ways: Manual and Automatic. Let’s see them in detail below.
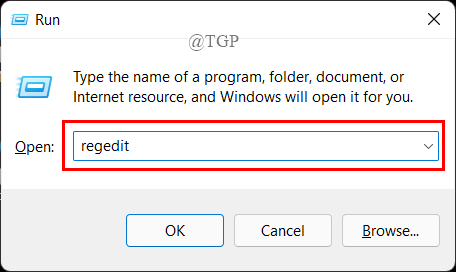
Step 1: open the To run window and type regedit to open Registry Editor.
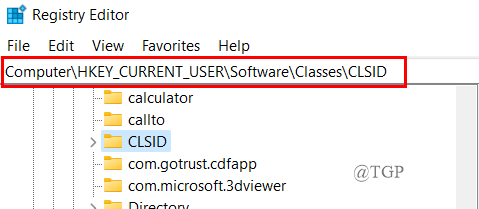
Step 2: Now, copy and paste the path into the address bar of the Registry Editor.
HKEY_CURRENT_USERSoftwareClassesCLSID
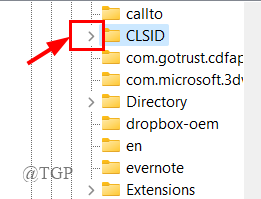
Step 3: Now, open the CLSID folder by clicking on the drop down button.
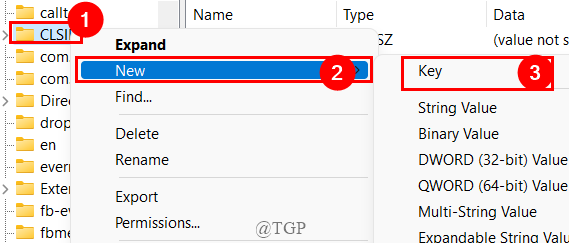
Step 4: Next, the right button of the mouse in the CLSID folder and click New> Key.
This will create a new key.
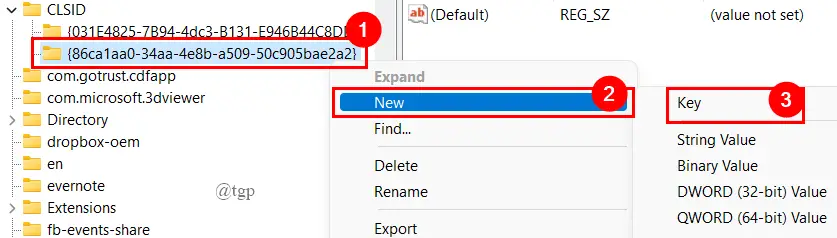
Step 5: Copy and paste the text provided below into the newly created key.
{86ca1aa0-34aa-4e8b-a509-50c905bae2a2}
Step 6: Next, the right button of the mouse on the newly created key and click New> Key.
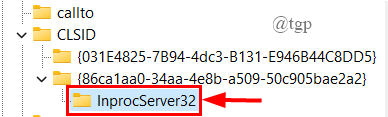
Step 7: Name the key as » InprocServer32“.
Step 8: Click on the InprocServer32 key and double click about him Default Chain on the right side panel.
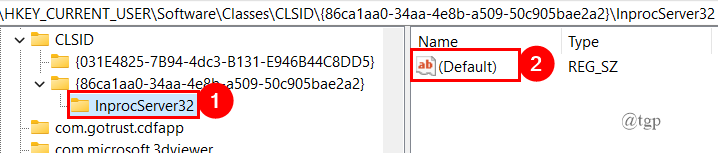
Step 9: A dialog box opens, click it’s okay.
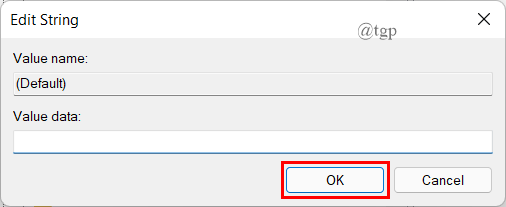
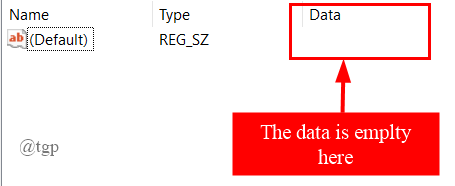
NOTE: The value data field must be blank.
Step 10: The right side panel will look like below after everything is done.
Step 11: Close Registry Editor and reboot your system.
Step 12: Now, right-click on any folder to get the old right-click context menu.
Edit the record automatically
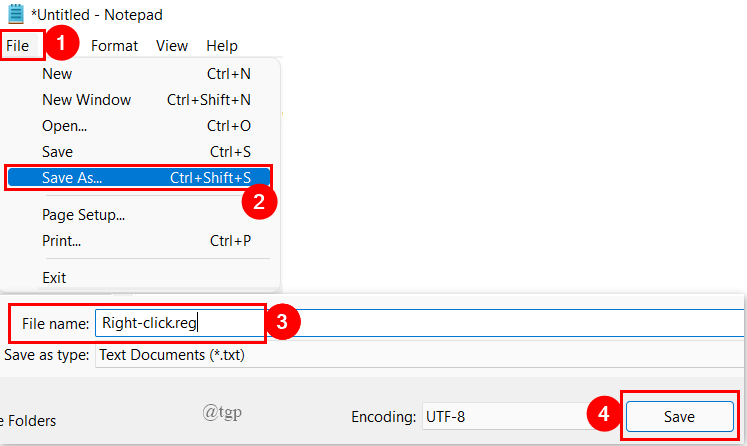
Step 1: Open Notepad by typing in the search menu tab.
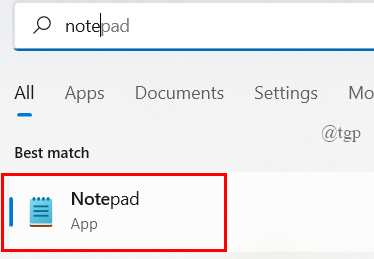
Step 2: Copy and paste the code below to write the registry version in notepad.
Windows Registry Editor Version 5.00

[HKEY_CURRENT_USERSoftwareClassesCLSID{86ca1aa0-34aa-4e8b-a509-50c905bae2a2}InprocServer32]
@=""

Step 3: Now, save the file as «.Reg» extension as shown below. This creates the log file.
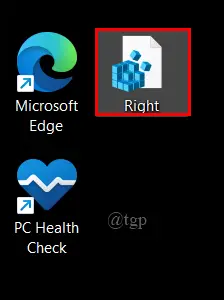
Step 4: Double click on the saved log file to run the program.
Step 5: Once done, reboot your system.
Step 6: Just right click on any folder to get the old context menu.
In this way, you can use any of the above methods to get back your old right-click context menu.
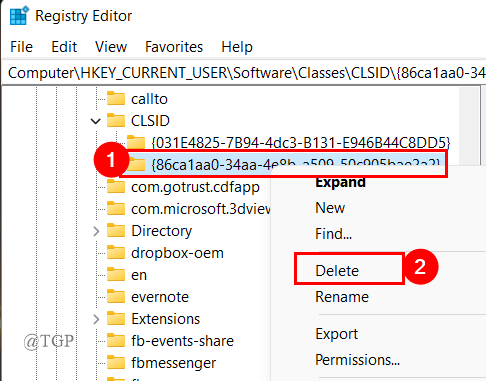
If you want to return to the new default right-click context menu, follow the steps in “Manual Registry Editing”. Just navigate to the address of the key we have created and delete that key.
That is all.
I hope this article is helpful and informative.
Thank you for reading.
Related posts:
 How to access Steam games without an internet connection
  How to view FPS with Xbox Game Bar in Windows 10: Steps Made Easy
  Hacked account? How to check and remedy
  How to make video calls from WhatsApp Web
  How to increase the RAM memory of a desktop or laptop + Tips and Tricks
  How to organize your YouTube subscriptions into categories
+ Tips and Tricks
How to organize your YouTube subscriptions into categories
+ Tips and Tricks


