


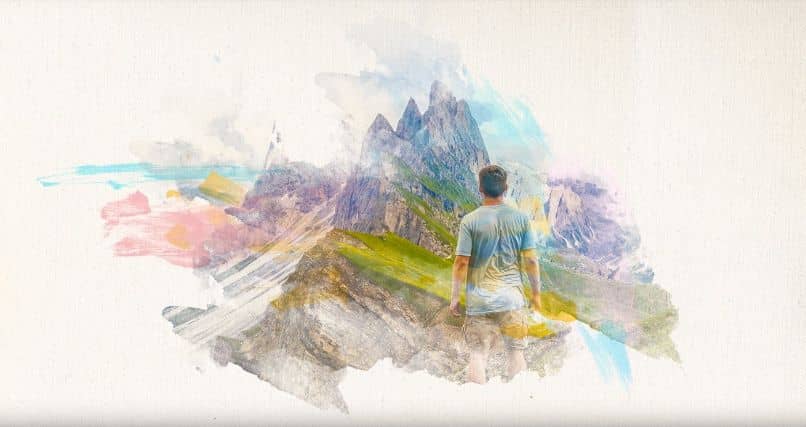
How to Make the Watercolor Effect on a Photo in Photoshop – Images as Paintings
–
When talking about easy-to-use programs or tools with incredible results, of course Photoshop is being talked about. As we know today there are various programs that are an alternative to this. However, Photoshop is still one of the most popular and used, That is why in the following article we will tell you how you can apply the watercolor effect to a photo with said program.
What are the requirements to add the watercolor effect to an image?
Now, as we already know via Photoshop tool, you can create various effects such as GTA and watercolor. But before explaining how this effect is done in an image, we are going to leave you with some requirements that you have to meet to achieve it.
Modo de color RGB 8 bits
The image you are going to use is recommended to be found with 8-bit RGB color mode, and to verify this you will have to go to the image option and then in mode.
2000 to 4000 pixels in width and height
Regarding the size of the image so that you get good results should be 2000 to 4000 pixels wide and height, and to check this as in the previous part you must go to the image option and then where it says image size.
Procedure for creating a photo with a watercolor effect
Once you know the necessary requirements to create a photo with the watercolor effectnow we are going to leave you in a very detailed way the procedure that you have to follow:
Create a canvas
First of all look for the Photoshop tool and open it, then what you have to do is create a new document which will be your canvas, here you must place the measures that you consider necessary. If you don’t know how to create a new document, you just have to go to the top where it says file and then select new.
Or simply use the following shortcut CTRL+N, Now place the measurements that your document will take and that’s it. As a measure you can place a width of 1920 and as soon as the height is 1080, finally a resolution of 300, press accept.
This will make it look like a blank sheet to you. Now in order to have a canvas-like appearance to the blank document you have to follow these small steps:
In the menu at the top, click on the filter option, after where it says filter gallery. In the menu on the right, click on the texture folder and then on the texture filter. This filter must have the following:
- As for the texture you should place: canvas
- On the scale put 135
- In the relief option, place 4.
- And finally in the light option: set bottom right.
- Finally to save the changes click on ok.
It should be noted that apart from this filter you can place a texture that you already have saved on your computer, there are various textures that you can use in Photoshop, just choose the one you prefer.
Add the image that will have the effect
Once we have the canvas ready, now we must add the image that will have the effect and for this you will have to follow these steps:
Go to the document where the model is located, then click on the layer that has said model, then you must choose the move tool from the bar lateral left or simply l letter Vnow click on the image you have as a model and then drag it to the canvas document.
In case you need to resize the image, you should press the CTRL + T keys, and then make any changes necessary to fit the image well.
to the model image let’s make a few small changes, one of them is that you have to put the filter that is diluted color. To do this you must go to the filter gallery found in the top menu of the screen. Here you must choose the folder that says artistic and then look for the diluted color filter. Now set this filter these parameters:
- As for the brush, set it to 14.
- The shadow intensity should be set to 0
- And finally the texture in 1.
- Click on ok and ready the changes will be applied.
Next you have to desaturate the image and to do this you must go to the top menu and click on image, then on settings and finally on saturation. In this saturation window lower the level to -75. Save the changes.
to the image we have to turn up the brightness, To do this, in the same top menu, click on image. Then select settings and finally brightness, you must raise it to 72. Then click on ok so that the changes are saved.
Create a mask
- Next we will need to create a mask on top of the model layer. With the layer selected, go to the bottom right corner and click on the mask.
- Choose the Brush tool by pressing the letter (B) or in the menu on the left, then choose black.
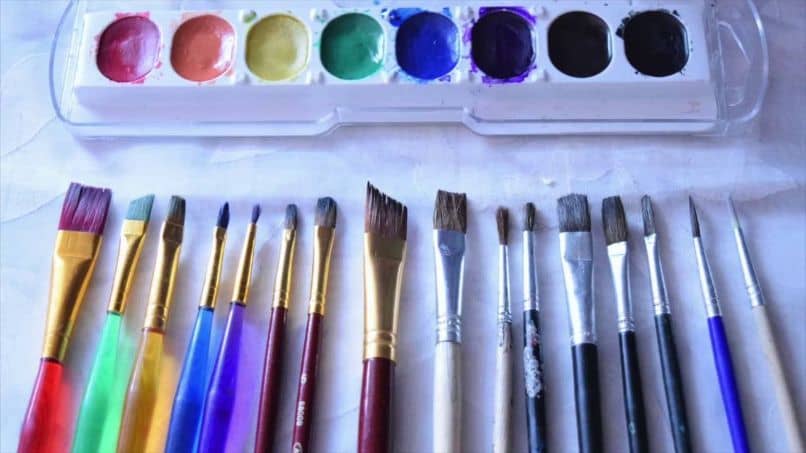
- We will use watercolor brushes to make the mask. On the internet you can find and download brushes of this type.
- We will create our mask step by step. For good results, use different types of brushes, changing their size and rotation so that the pattern doesn’t repeat.
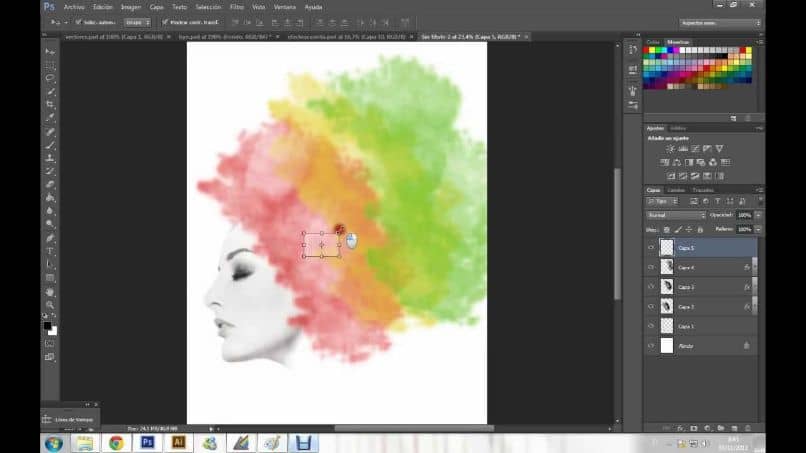
Apply watercolor colors
When we already have the mask, we must create a new layer which we must place below our model layer. Again, look for the brush tool to shape the watercolor.
Select the colors of your preference, and reuse the watercolor brushes with various sizes for good results. Finally, when you have finished, you only have to combine both layers and thus the image with the watercolor effect is obtained.
Related posts:
 How to access Steam games without an internet connection
  How to view FPS with Xbox Game Bar in Windows 10: Steps Made Easy
  Hacked account? How to check and remedy
  How to make video calls from WhatsApp Web
  How to increase the RAM memory of a desktop or laptop + Tips and Tricks
  How to organize your YouTube subscriptions into categories
+ Tips and Tricks
How to organize your YouTube subscriptions into categories
+ Tips and Tricks


