


How to Open and Use Windows 10 Snipping Tool – Using Web Extensions
–
There are many ways to take screenshots on PC, but few know that Windows 10 has an excellent option for cropping (custom screenshots). Understanding this, we teach you to open and use the Windows 10 Snipping Tool.
What is the snipping feature in Windows 10?
The snipping feature in Windows 10 is nothing more than taking a screenshot. In any case, the difference with a typical screen capture is that with the cuts you can select the exact location of the screen you want inside the capture. In turn, the clipping function allows you to make small edits that can be very useful.
What commands are used to open the Snipping Tool in Windows 10?
If you press the key combination Windows + Shift + S, you will be able to select a part of the screen to make a screenshot / screenshot. As you will see, after selecting the workspace, the capture made will be displayed at the bottom right of the screen.
If you click on the screenshot you made, you can make small edits using the ‘Crop and Annotation’ tool Windows. In this small program you will be able to use the brush tool and others, with the purpose of pointing out specific places of your capture.
In turn, if you press Ctrl + S you can choose where to save the screenshot, so that you can later share it with other users. In turn, if you press Windows + Shift + S and take a screenshot, said clipping will be saved on the clipboard, so you can paste it into a chat or any editing tool automatically.
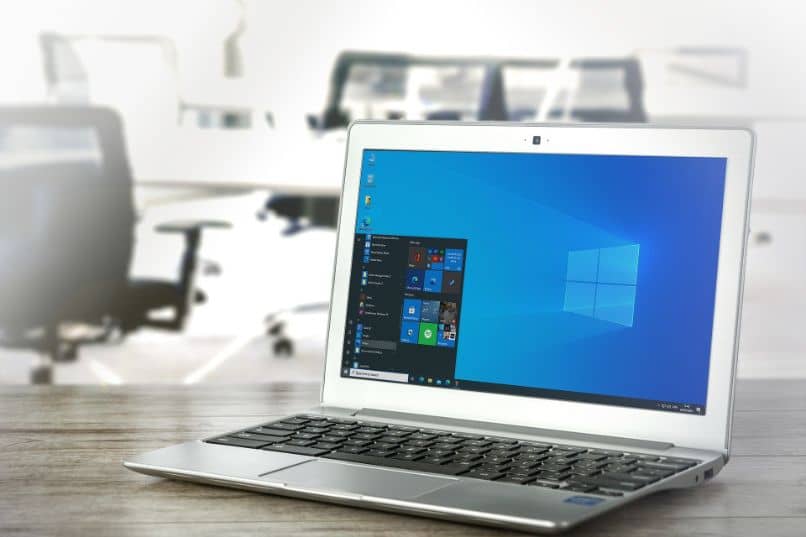
You can access the snipping / clipping and annotation tool from the start menu. To do this, simply head over to the Windows start menu and type ‘Snippets’. Several options will appear, in any case we recommend opening the one called ‘Clippings and annotation’.
To use the tool, simply click on ‘New’ at the top left. After the above, select with your mouse the section of the screen that you want to save as a capture. Finally, if you click on the capture you made, you can make simple changes then share your clipping.
In fact, Windows 10’s Snipping feature is exceptional for adding and editing a screenshot in Word and any other program. For this reason, it is one of the best techniques if you require share specific snippets or screen shots. In turn, its editing functions make it a very useful function to explain many things in detail.
What are the most downloaded extensions to perform ‘Snipping’ on your PC?
Undoubtedly, the ability to enable and disable extensions in Chrome and other browsers greatly expands the capabilities of your browser. In the same way, the function of taking captures is increasingly required for a large number of jobs. Given this, you should know that there are multiple extensions that can help make clippings on your PC and browser.
Awesome Screenshot
The Awesome Screenshot extension is an excellent tool that will allow you to select parts of the browser screen and take a screenshot. In turn, it stands out from other tools since you can make dimensions and annotations very easily.

Explain and Send Screenshots
Explain and Send Screenshots or how it is translated into Spanish Explain and Submit Screenshots, is an extension that we can find for Google Chrome. With this extension you can take screenshots of a specific place on a web page and make annotations and annotations.
Picnik
It is not a platform to make clipping, in fact Picnik was a very intuitive and easy to use photo editing platform, in any case, not working since 2013. Even so, as the platform indicates, we can access other photo editing pages, which can help you improve the cuts you make in Windows 10. Clear examples are befunky or Pixlr, which we will talk about later.
Pixlr Grabber
Pixlr is not designed for screen clipping, but it is a of the best photo editing pages that there is currently. In any case, if you want to access all the functions offered by the platform, you will have to go to the official Pixlr website and register. From here you can edit the cuts you make in Windows 10 and add the changes that you consider pertinent.
Related posts:
 How to access Steam games without an internet connection
  How to view FPS with Xbox Game Bar in Windows 10: Steps Made Easy
  Hacked account? How to check and remedy
  How to make video calls from WhatsApp Web
  How to increase the RAM memory of a desktop or laptop + Tips and Tricks
  How to organize your YouTube subscriptions into categories
+ Tips and Tricks
How to organize your YouTube subscriptions into categories
+ Tips and Tricks


