


How to Put or Remove the Lock Screen in Windows 10 from your PC?
–
Windows 10 is one of the most used OS worldwide, and this is due to the versatility it offers. In this sense, users can perform various tasks using resources such as stopwatch gadgets to measure the execution time of activities, among many others.
In addition, you will have other resources such as windows 10 lock screen that you can put on and take off whenever you want. Continue reading and find out how to do it.
How to customize your lock screen in Windows 10?
The Windows 10 lock screen is a interface that is generated when the computer or PC goes to sleep. Generally, it occurs after a preset and configurable time has passed without detecting activity of any kind, through its data input devices. The graphic elements of this screen can always be configured according to your interests and tastes, for this you can:
Select your own images
By default Windows places images that change over time When the lock screen is activated, many of these images are related to landscapes and elements related to nature; They have very good quality and belong to different scenarios worldwide.
But, if you are not satisfied with these images as a screen saver at the time of activation of the lock screen, you can change to others that you like. To do this, place the word “Settings” in the search field located next to the Windows symbol and press “Enter.” Follow the steps below:
- Select “Personalization”.
- In the left menu choose “Lock screen”.
- In the ldrop-down list under the item “background”, choose “Image”.
- Some images will be enabled below, as well as a button called “Browse”.
- Press the “Browse” button and you will be able to choose any personal image from your files.
Place apps to view on screen
Another possibility that you will have to customize the images of your lock screen in Windows 10 is use apps. To do this, you must follow the same procedure mentioned above to access the “Lock Screen” menu. From the list of options under the “Background” label, choose “Windows Featured Content.”
Below this content you will see a message that says “Choose an application to display detailed status on lock screen“, here is a button with the” + “symbol that you can press to add the application that you need to show on the lock screen. Among the apps that can be placed you have” Xbox Console Companion “,” 3D Viewer “,” Mail “,” El Tiempo “, among others.
We have shown you how to customize the lock screen so that you can place the elements you need according to your taste or needs; however, for more information on how customize Windows 10 lock screen, visit the official Microsoft page.
How to activate or deactivate the lock screen?
You will have different ways of executing the enable or disable Windows lock screen, although before doing this you should evaluate the security level of your PC very well; as well as who could have access to your data if you disable the lock screen. This process is as delicate as disabling unnecessary Windows services without first studying what you will need. The options are:
Change the action in registry editor
The registry editor as you well know is a tool that allows access to configuration levels deep from the PC. In this case, you could access this editor to make the necessary changes and deactivate the Windows 10 lock screen. To do so, you must:
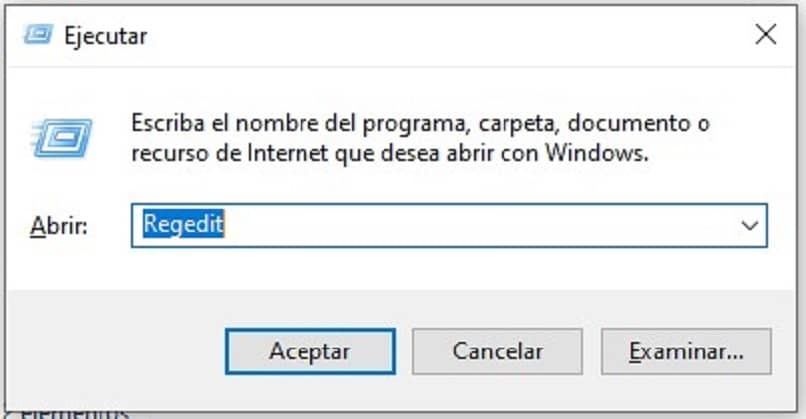
- Press the “Windows + R” key combination.
- In the pop-up window put the word “Regedit”.
- Select the following path: Computer HKEY_LOCAL_MACHINE SOFTWARE Policies Microsoft Windows.
- Then in the same “Windows” location, right click and create a new key called “Personalization”.
- Now in the new folder “Personalization”, right click on the space right and create a new DWORD value (32-bit) that you will call NoLockScreen.
- Double click on this new value and change its value to 1.
- Restart the computer and you will see that the lock screen will no longer be displayed.
Modify it in file explorer
From the file explorer you can make the changes to activate or deactivate your lock screen whenever you want; in this case you have two options. The first is through the configuration screen, choose the option “personalization” and then click on “Lock screen” in the left menu. Navigate to the “Screen time settings” option and choose the “Never” option from the drop-down lists.
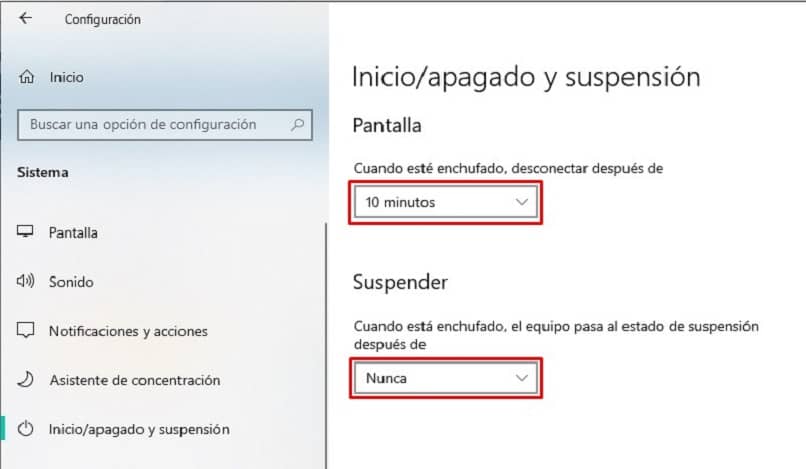
The second possibility that you will have through the file explorer is to place the word “System” in the search field and then in the left menu choose “Start / stop and suspend”. Put the option “Never” in the drop-down list to prevent the lock screen from activating.
Where to remove the automatic screen lock?
To remove the automatic screen lock, apart from the steps mentioned above you can access the systemapps folder Windows 10. Although it is important that you keep the startup lock screen if the PC you work on is not used by yourself. We recommend setting a startup password in Windows 10 to protect your information.
To access the systemapps folder you must place the following link C: / Windows / SystemApps in a Windows explorer window, and then look for the folder called Microsoft.LockApp_cw5n1h2txyewy, and right click on it, change the name by adding “.off” to the end of the original name of the folder. Pressing “Enter” or “Enter” will disable the lock screen.
Finally, the lock screen is a resource that could be used to show relevant information of an app that you need to see the status or some Windows featured images; however, as you may have noticed, you will have several methods to deactivate it. We hope that the information we provide you has been useful to you.
Related posts:
 How to access Steam games without an internet connection
  How to view FPS with Xbox Game Bar in Windows 10: Steps Made Easy
  Hacked account? How to check and remedy
  How to make video calls from WhatsApp Web
  How to increase the RAM memory of a desktop or laptop + Tips and Tricks
  How to organize your YouTube subscriptions into categories
+ Tips and Tricks
How to organize your YouTube subscriptions into categories
+ Tips and Tricks


