


How to repair TCG command returned an error with event ID 10
Many Windows 10 users have been found Error de TCG (Trusted Computing Group) on your system. This error is related to the system device driver and can be seen if software or hardware encryption is enabled in the driver. In certain cases, outdated drivers also cause this problem.
Usually you will see an error message in Event Viewer stating:
A TCG command has returned an error
However, in some cases, users have come across a BSOD. If you see this error on your system, don’t panic. We have selected a list of fixes that could help you resolve the TCG error. Before proceeding with specific fixes, try a clean boot of the system. Check if this resolves the error.
Solution 1: turn off BitLocker for that storage
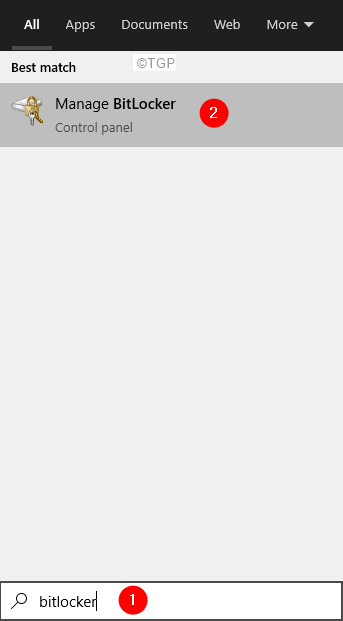
Step 1: In the search box next to the Start menu, type Bit Locker
Step 2: Double-click on the Manage BitLocker application which is the highest result.
Step 3: Now, click Disable BitLocker in the Operating system drive section.
Solution 2: update disk drivers
Step 1: open the Run window by holding down the keys Windows + r
Step 2: Login devmgmt.mscand hit OK

Step 3: locate Disk drives from the list and double-click the Disk drives to expand the selection.
Paso 4: Right click on your drive and choose Update driver.

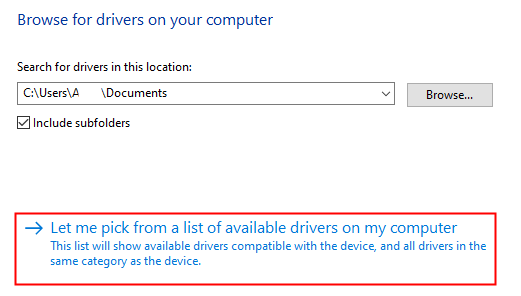
Step 5: In the Update Drivers window, click Find drivers on my computer

Step 6: Now, click Let me choose from a list of drivers available on my computer
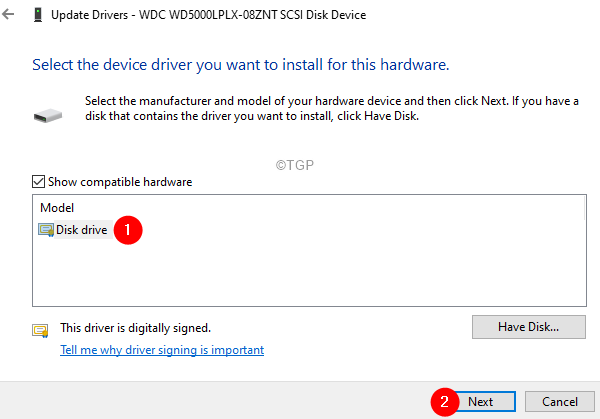
Step 7: select the disk required and click the next button.
Step 8: The system will now install the drivers and notify you when it is done.
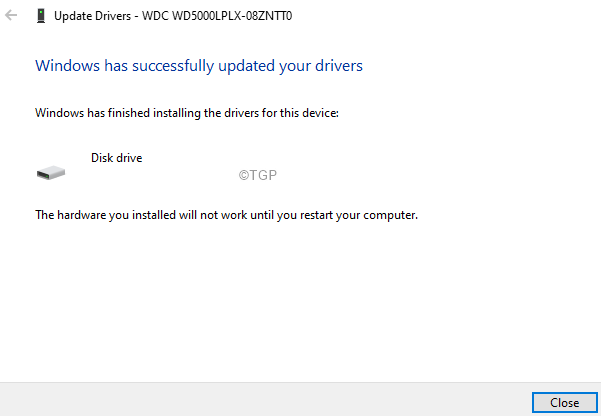
Step 9: restart your computer.
Solution 3: disable the wireless card device
Step 1: open the Run window by holding down the keys Windows + r
Step 2: Login devmgmt.mscand hit OK
Step 3: In the Device Manager window, scroll down and find Network adapters and later double click in that.
Step 4: Locate your Wireless adapter and right click on it.
Step 5: choose Deactivate device.

Solution 4: run the hardware and devices troubleshooter
Step 1: Open Terminal Run with keys Windows + R.
Step 2: Type the following command and hit Enter.
msdt.exe -id DeviceDiagnostic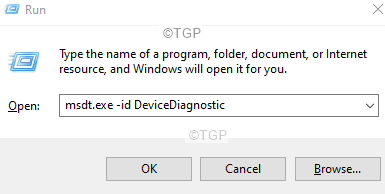
Step 3: In the Hard disk and devices window that opens, click Next.
Step 4: The troubleshooter will begin to detect the problems and notify you of the fixes.
Step 5: Follow the instructions on the screen and complete the process.
Solution 5: update your Windows
Many OEMs send driver updates through the Windows update channel. So updating the window might update the drivers and in turn help resolve the error.
Step 1: Open the Run dialog box and type ms-settings: windowsupdate and hit Pay in.

Step 2: click Check for updates.
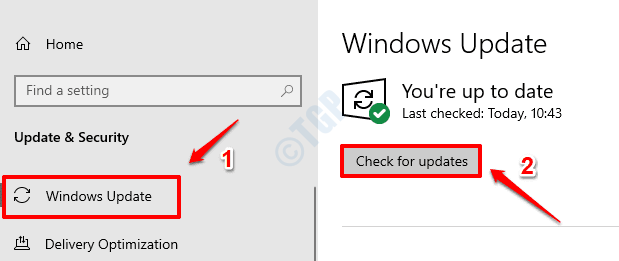
Step 3: Windows will now check for new updates. If new updates are found, they will be downloaded and installed.
Step 4: Click the Restart now button for changes to take over. Check if your problem is solved or not once the system is rebooted.
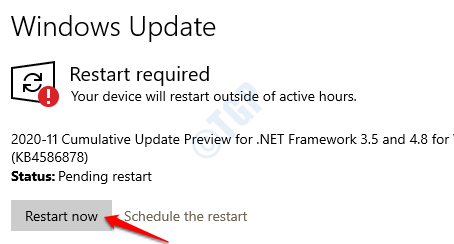
Make sure all updates are installed.
Solution 6: install rapid storage technology
NOTE: This method will only work if you are using Intel-based hardware.
Step 1: Open your browser and visit the Download Intel Rapid Storage Technology link
Step 2: Scroll down and download the file that matches your system needs (32-bit or 64-bit).
Step 3: Double click on the executable file and install it on your system as administrator.
Step 4: reboot your system.
Solution 7: run the system in maximum performance mode
Step 1: Open the Run window. Press the keys Windows + r together.
Step 2: type the command control.exe powercfg.cpl ,, 3 and press OK As shown below
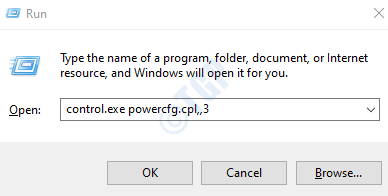
Step 3: In the Power Options window, choose Maximum performance from the drop-down menu.
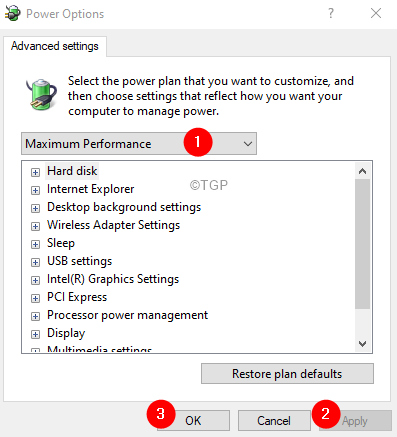
Step 4: click Request and then click it’s okay.
Solution 8: run the Windows Update troubleshooter
Step 1: Open the Run dialog by holding the keys Windows and R together
Step 2: Write ms-settings: troubleshoot and click OK

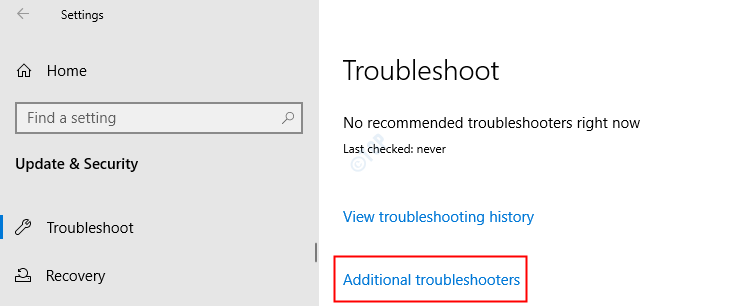
Step 3: In the Settings -> Update & Security -> Troubleshoot window that appears, click Additional troubleshooters
Step 4: in the window that appears, below the Get up and run section, click windows update
Step 5: Click the Run the troubleshooter button

Step 6: You may notice that the Windows Update troubleshooter starts running and detects the problems

Step 7: Now, follow the instructions on the screen to solve the problems
Check if this helps, if not try the next solution.
That is all
We hope this article has been informative. Thank you for reading.
Please comment and let us know which of the above fixes helped you resolve the issue.
Related posts:
 How to access Steam games without an internet connection
  How to view FPS with Xbox Game Bar in Windows 10: Steps Made Easy
  Hacked account? How to check and remedy
  How to make video calls from WhatsApp Web
  How to increase the RAM memory of a desktop or laptop + Tips and Tricks
  How to organize your YouTube subscriptions into categories
+ Tips and Tricks
How to organize your YouTube subscriptions into categories
+ Tips and Tricks


