


How to Temporarily/Permanently Rotate a PDF in Google Drive
When you scan and upload a PDF document to your Google Drive, the chances of that PDF being upside down or from right to left are very high. It is definitely a pain to read a document that is not upright. Sometimes you just need to temporarily view the document, close it, and exit. Other times, you need to fix the orientation of the PDF permanently, so you can avoid the headache of correcting its orientation again in the future. Well you can finally have the last laugh, we have the perfect solution for your requirements.
In this article we explain in detail how you can easily correct the orientation, both temporary and permanent, of a PDF that you have in your Google Drive. I hope you enjoy it!
bonus cookie: you can open any PDF in Google Chrome and then correct its orientation as detailed in Section 1. After correcting the orientation, you can follow the steps detailed in Section 2 to successfully save the PDF with the correct orientation on your machine. the pdf It does not have to be in Google Drive yourself, for this trick to work.
Section 1: How to Temporarily Rotate a PDF in Google Drive
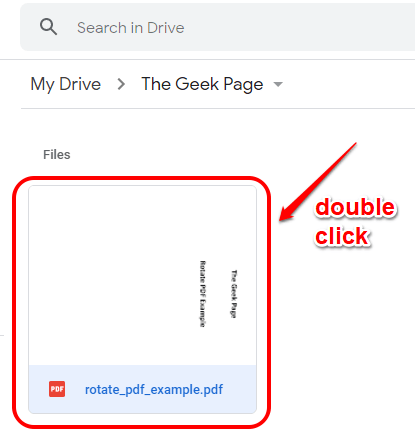
Paso 1: Abre Google Drive through a browser of your choice. Once you have logged in, browse the pdf that needs orientation correction.
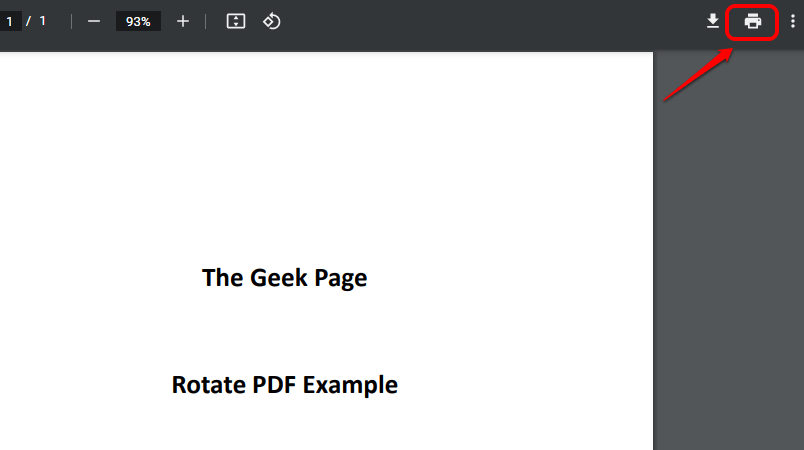
Double click on the PDF first, open it in the browser itself.
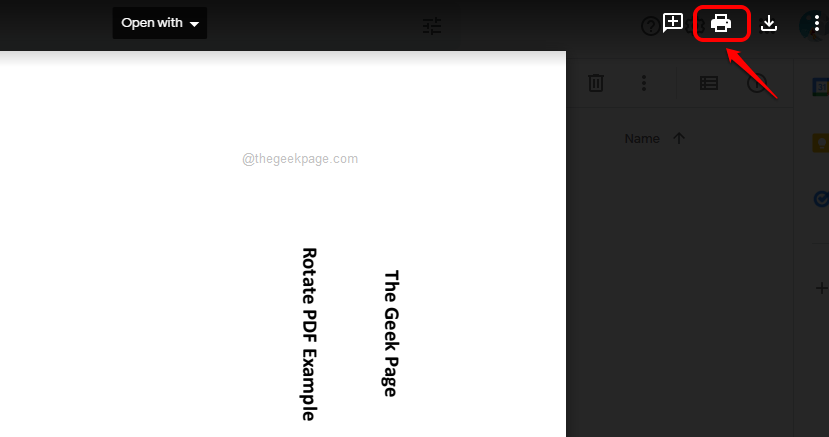
Paso 2: In it Right upper corner on the page, find and click the Print icon.
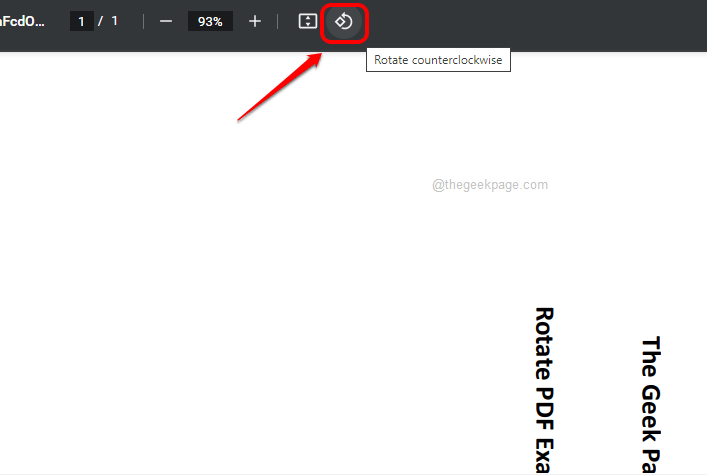
Paso 3: Then click the rotate counterclockwise and correct the orientation of the PDF.
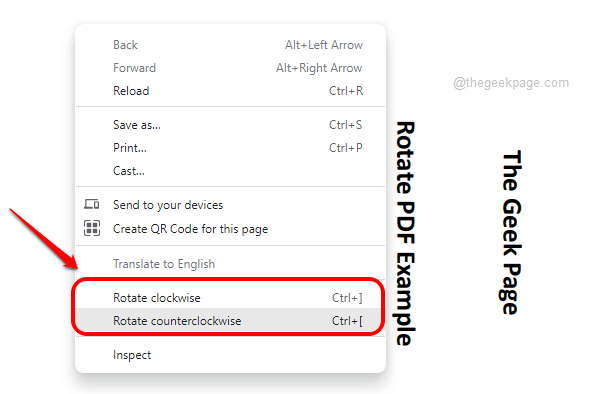
If your browser does not have the rotate counterclockwise button, then you can the right button of the mouse anywhere in a Empty space in you PDF and then click the rotate clockwise or the rotate counterclockwise button according to your preference.
Paso 4: Tada, you have successfully corrected the orientation of the PDF you have in your Google Drive.
But wait, this is only temporary. If you refresh the page or close the tab, this change will disappear. if you would like permanently change the orientation of your PDF, then you can follow the steps in Section 2.

Section 2: How to permanently rotate a PDF in Google Drive
To permanently change the orientation of a PDF in your Google Drive, you must first follow the steps in Section 1 and temporarily change its orientation. That’s it, we’ll take it from there.
Paso 1: Once you have the PDF in the correct orientation, click the Print icon back, on the Right upper corner of the window.
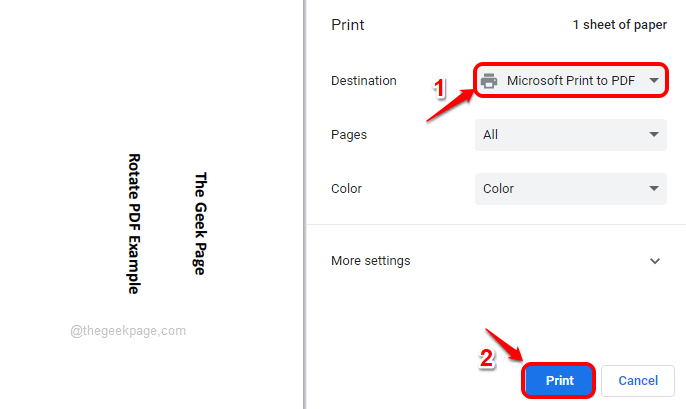
Paso 2: Don’t worry about the orientation of the PDF here, just choose Microsoft Print to PDF option of the Destiny dropdown menu and then press the button Print button at the bottom.
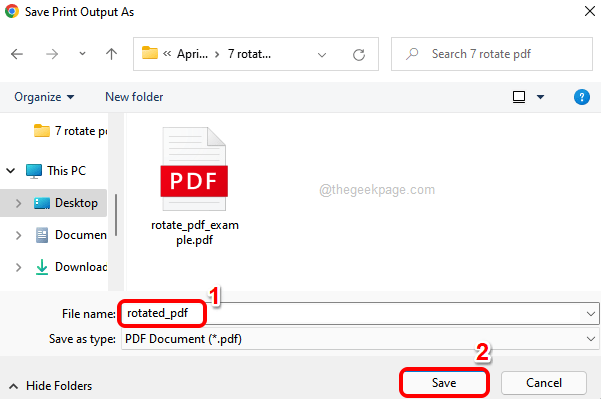
Paso 3: In it Save print output as ventana, navigate to location of your preference, give it a new name (you can even give the old name) to your rotated PDF and then click the Save button.
Paso 4: That’s it. You now have the orientation-corrected PDF stored on your local machine. Next, let’s upload it to your drive.
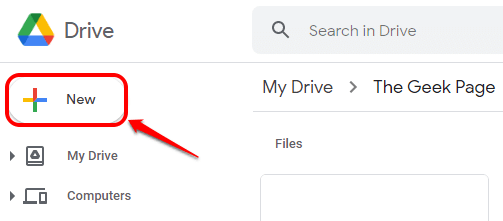
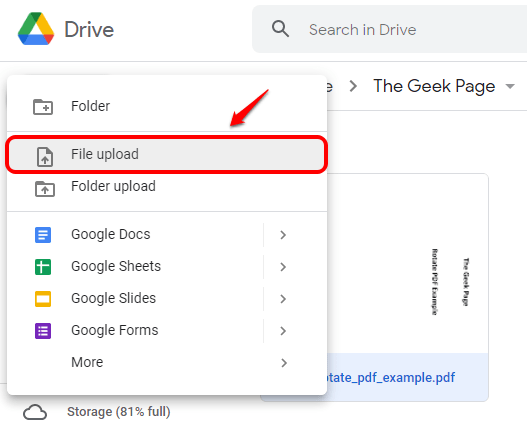
For that, go back to Google Drive and click on the Nuevo button on the left window cristal.
Paso 5: Then click the Upload file option.
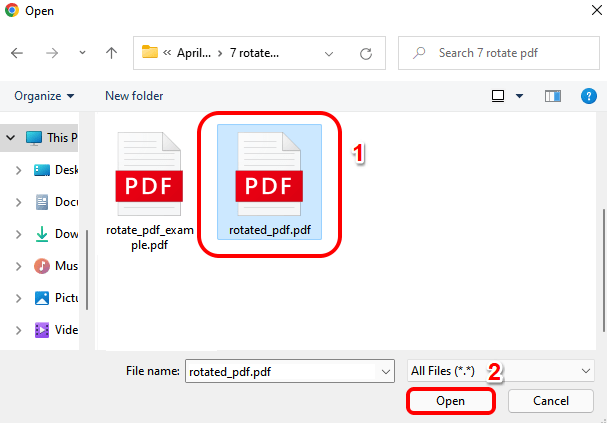
Paso 6: Navigate to location where you have saved your rotated PDF and click on it. After that, click on the Opened button.
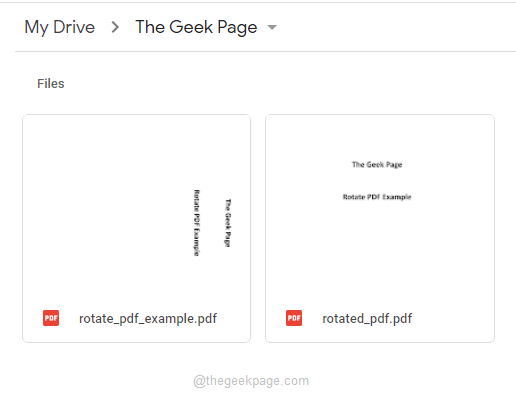
Paso 7: That’s it. You now have your rotated PDF uploaded to your Google Drive. From the preview itself, you can see that the orientation is now correct for the PDF.
Note: If you want, you can now remove the old PDF from your Google Drive, simply right click about him old PDF file and then hitting the Remover right-click context menu option that expands.
Tell us in the comments section if the article was useful to you.
Related posts:
 How to access Steam games without an internet connection
  How to view FPS with Xbox Game Bar in Windows 10: Steps Made Easy
  Hacked account? How to check and remedy
  How to make video calls from WhatsApp Web
  How to increase the RAM memory of a desktop or laptop + Tips and Tricks
  How to organize your YouTube subscriptions into categories
+ Tips and Tricks
How to organize your YouTube subscriptions into categories
+ Tips and Tricks


