


How to transcribe audio to text
– Learn these tips and tricks on how to use your devices in a much easier way as well as solved some of your common problems that are difficult.
It is not easy to follow a lecture at the university, a press conference or an interview, and remember every single word spoken. Fortunately, some time ago, they invented comfortable recorders, which replace the old coupled “paper and pen“.
However, they too have limitations, since they require a long manual transcription once the recording is finished. What to do then?
In this article we explain to you how to transcribe an audio recording under dictation into text (unwind), illustrating the best programs available today. And of each app we also show briefly how it works.
How to transcribe a recording in Word
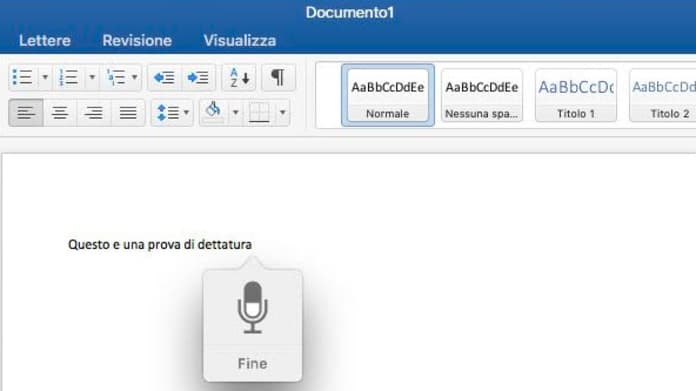
Microsoft Word allows you to transcribe an audio recording using the integrated function “Dictation“, Available only for subscribers to the Microsoft 365 service. This is a feature introduced in Word for the first time in summer 2020: thanks to artificial intelligence, it is able to understand what it hears and transcribe it into words.
The user can choose whether to transcribe an audio by recording directly in Word, or by uploading an audio file. here are the steps to follow:
- Sign in to Microsoft 365 using Microsoft Edge or Google Chrome browser.
- Apri Word.
- Locate the function “Dictation“In the top bar, then click the down arrow key and from the drop-down menu that opens click on”Transcribe“.
- Click on “Allow”To allow Microsoft to access your computer’s microphone.
- Select “Upload an audio file“To transcribe a recording from a previously saved audio, or”Start recording”To transcribe a live audio recording.
- Click the “Pause“(The icon with two vertical lines in the center) and on”Save and transcribe now”To start automatic transcription.
- Wait until the process is completed. At the end, the recording and transcript will be saved on OneDrive in the folder “Transcribed files“.
Note: Each Microsoft 365 subscriber can transcribe up to 300 minutes of audio recording per month.
Read also: 7 Best Free Alternatives to Microsoft Office
How to transcribe an audio recording to Google Docs
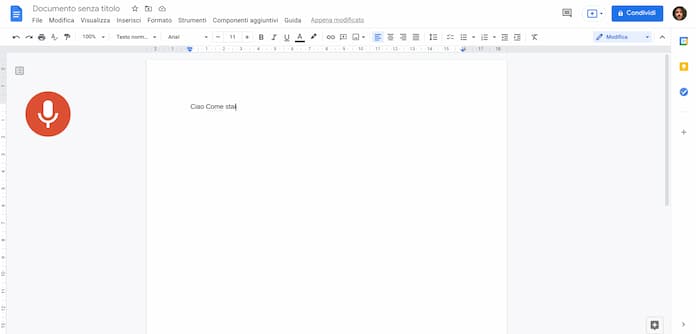
Even Google Docs, the free word processor included in the Google Drive suite, allows you to transcribe an audio recording under dictation using the “Voice typing“. It is an effective tool, first because it has a giant like Big G behind it, and second because it is based on the same artificial intelligence that makes the Google Assistant work.
there how to do:
- Open Google Docs from an Internet browser of your choice.
- Click on “Go to Google Docs“.
- Select the sheet “Empty“Under the heading”Create a new document”To open a new text document.
- Wait for the new page to load.
- Click on “Tools”And, in the drop-down menu that opens, choose the option“Voice typing”(Or use the key combination Ctrl + Shift + S).
- Bring the recorder or smartphone with the audio you want to transcribe into the computer microphone.
- Click on the microphone icon that appeared earlier on your computer to launch the transcription tool.
- If this is your first time using it, click on “Consented”In the small window that appears at the top of the screen.
During recording, the microphone icon turns red, while a flashing red dot appears in the Google Docs window. Unlike what happens in Word, transcription of the audio recording takes place simultaneously.
Note: the function “Voice typing”Of Google Docs is capable of transcribing the audio of dozens of different languages. By default there is Italian, but if necessary you can choose between English, Spanish, French, German and many other languages.
Recommended reading: Best free writing programs for PC and Mac
How to transcribe an audio recording on Mac
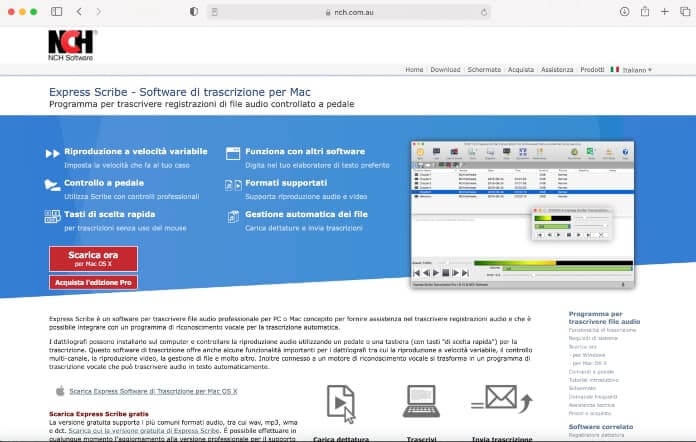
There are several programs to turn audio to text on Mac. One of the best is Express Scribe, a software that allows you to transcribe professional audio files on both Mac and PC with the Windows operating system on board.
Unlike Microsoft Word and Google Docs, however, Express Scribe it does not offer the possibility of automatically transcribing an audio recording into text. However, this can be remedied quite easily: in fact, it is sufficient to associate the program with a voice recognition software such as Dragon NaturallySpeaking, so as to convert the audio of the recording into text.
Express Scribe nasce come program for typists, that is, for those who write by profession. This can be seen from some of the features integrated into the software:
- variable playback speed
- support of professional USB pedal boards for playback control
- compatibility with most audio and video formats
- playback control via hot keys
The free version Express Scribe supports the audio formats .mp3, .wma, .wav, .vox, .mp2, .aiff, and allows the manual transcription of audio files with the help of the pedalboard made by AltoEdge Hardware. That to pay it also offers playback of video files and support for proprietary formats of Sony, Olympus, Philips and Grundig recorders.
How Express Scribe Works on Mac
Below is the procedure for use the Express Scribe program on Mac:
- Go to the NCH Software home page.
- Click on “Download for Mac”To start downloading the scribemaci.zip file.
- Double click on the scribemaci.zip file and select the .dmg package inside it.
- Cheap withAgree“, Then move Express Scribe to the”Applications“.
- Press the right button and select “You open”Twice consecutively to start the program.
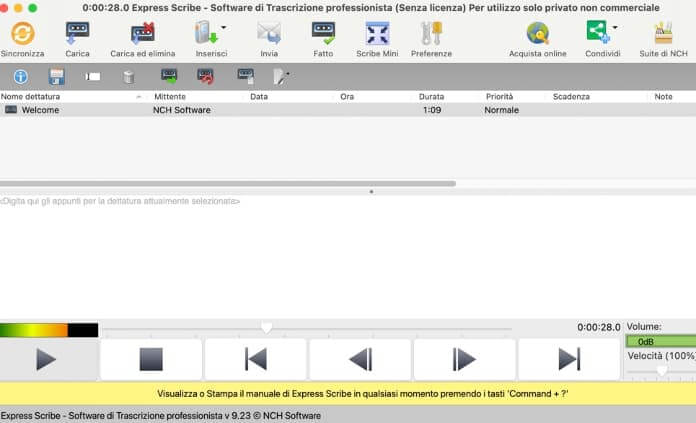
- Click on “Load“To import the file containing the audio recording, or on”insert”To link the program to the recorder previously connected to the computer.
- Press the ▶ ︎ icon to start audio playback and start writing the text in the appropriate field “Enter the notes for the currently selected dictation here“.
When done, you can send the transcript by email to the customer or person concerned: all you have to do is select “Send“, Enter your email address and choose”Send“. To save it on the Mac instead, simply click on “File“And select the command”Export clipboard“, So as to store it in TXT format. Finally, click on “Done”To confirm saving and delete the audio file from the program library.
Important: if you need help, you can refer to the official Express Scribe manual through the Help option at the top right of the main program screen.
App to transcribe an audio recording under dictation
So far we have described programs / tools that allow you to transcribe a voice dictation into text using a PC or a Mac. Now, however, it is time to illustrate the best apps for android and iphone devices.
So if you are wondering how to transcribe audio recordings from phone, pay attention to the next two chapters.
Instant Transcript (Android)
L’app Google Instant Transcript is capable of detecting the words and sounds spoken, automatically displaying them on the smartphone screen. Transcripts can be saved on your mobile for up to three days: during this time, Google ensures that neither audio nor text is stored except on your device.
Even if it is an app designed mainly for people belonging to the deaf community, or in any case for those who have suffered a severe hearing loss due to a lesion of the hearing system, Instant Transcription can also be very useful for automatically transcribing a recording without the need for manual transcription.
there how to use:
- Download Instant Transcript for free from the Google Play Store.
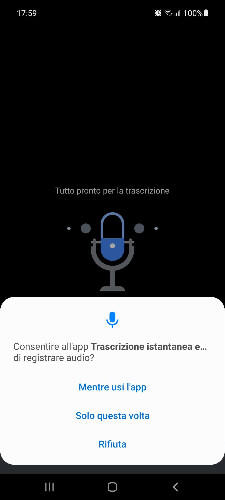
- Open the Instant Transcript app.
- Make sure your phone is connected to the internet.
- Bring the smartphone microphone close to the sound you want to record and transcribe automatically with the app.
At the end of the registration, open the app settings (the gear icon) and activate the command “Save this transcript“. Per save all transcripts automatically for three days, after you tap on “Settings“Select”Other settings” is active “Save transcript“.
Transcribe – audio coil (iOS)
The application Transcribe – sbobina audio turn audio into text on iPhone and iPad. It offers support for more than 120 languages, automatically transcribes audio and video files, recordings and voice memos, and is ad-free. There is a free trial period that allows you to transcribe an audio up to 15 minutes in length. You can then subscribe to Transcribe Pro monthly or yearly subscription, with access to premium features such as:
- synchronization of an unlimited number of files (up to 50GB)
- export in .txt, .pdf, .docx, .srt files
- three hours of free additional transcription every month
Below is a mini-guide to use the Transcribe app on iPhone:
- Download Transcribe from the App Store.
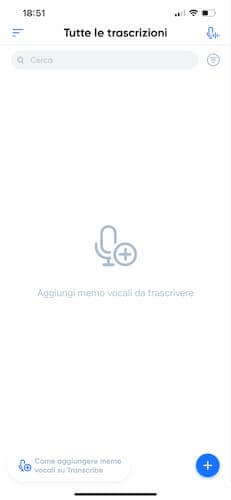
- Open the app with a tap on its icon.
- Follow the Transcribe tutorial presentation on your first use.
- Press on (+) at the bottom right to select the audio file to be transcribed.
- Change transcription settings such as playback speed, punctuation and language to your liking.
- Click on “Transcribe”To start the process of transforming the audio into text.
Each transcript is saved in the list named “All transcripts of the app“. With the Transcribe app you can too record an audio on the spot: just tap on the microphone icon to start recording; at the end presses on “Stop” and then on “Save” to save.
You might also be interested in: How to convert audio to written text

Related posts:
 How to access Steam games without an internet connection
  How to view FPS with Xbox Game Bar in Windows 10: Steps Made Easy
  Hacked account? How to check and remedy
  How to make video calls from WhatsApp Web
  How to increase the RAM memory of a desktop or laptop + Tips and Tricks
  How to organize your YouTube subscriptions into categories
+ Tips and Tricks
How to organize your YouTube subscriptions into categories
+ Tips and Tricks


