


How to uninstall or install WordPad in Windows 11
If you are looking to uninstall / install WordPad then you are in the right place.
WordPad is an application program that comes integrated with Windows, just like the integrated Notepad. It is a simple word processor that helps you write letters, notes, or other documents. WordPad also supports many of the same formatting commands as Microsoft Word. Although it is a basic text editor, it is quite useful for users who urgently want to take note of something, or even create important documents in the absence of a Word document. However, if you want more features than this program offers, you can uninstall it and install Microsoft Word.
With Windows 10, you have the option to uninstall WordPad and now even Windows 11 allows you to remove the application. WordPad works like a complete Word document and can be a great replacement for Notepad ++ for many. While Notepad ++ is a free application and popular with many users, just like Notepad, WordPad allows you to do much more with its advanced features, such as the option to format texts, align text, add images, change the font name or color, and more.
At the same time, there are many advanced functions that WordPad does not support, such as adding a table, changing the background color, checking grammar, etc. And these extensive features are provided by Microsoft Word. So if WordPad functions are good enough for your daily needs, you can install or uninstall them and get MS Word.
Here’s how you can uninstall and install WordPad in Windows 11.
How to uninstall WordPad in Windows 11
If you are looking to install an advanced Word document with better features like Microsoft Word and uninstall the WordPad application, please follow the instructions below:
Paso 1:Go to the Start icon, right click on it and select Settings from the context menu.
Paso 2: At Settings application that opens, on the left side of the panel, click the Applications option.
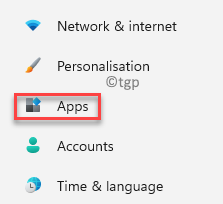
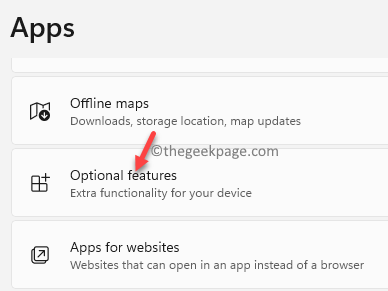
Paso 3: Now, on the right side of the window, click Optional features.
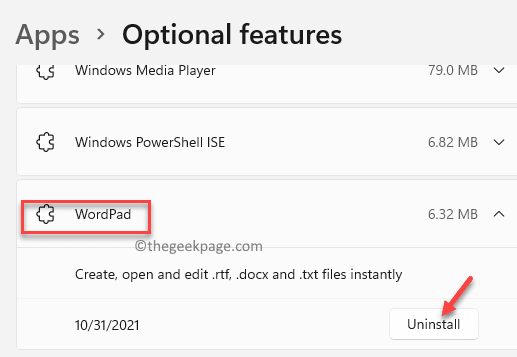
Paso 4: Then in the Optional features settings, go to the right side of the window and under the Installed features, scroll down to find the WordPad app.
Click the down arrow next to it to expand the section and click Uninstall.
Now, wait for it to uninstall. Once uninstalled, you can exit the Settings window and continue installing an advanced Word application.
How to install WordPad in Windows 11
If for some reason you want to reinstall WordPad at a later date, you can easily do so through the application settings. Let’s see how:
Paso 1: press the Win + me keys together on your keyboard to start the Settings app.
Paso 2: At Settings window, click Applications on the left side of the panel.
Paso 3: Now, go to the right side and click on Optional features.
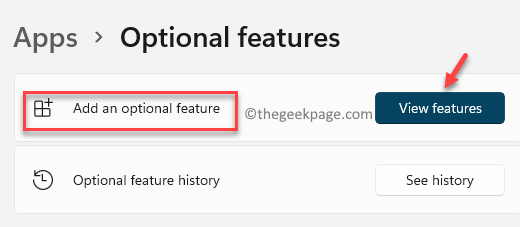
Paso 4: At Optional features configuration window, navigate to the right side and next to Add an optional feature option, click See features.
Paso 5: At Add an optional feature window type WordPad in the search field and the results will automatically appear below.

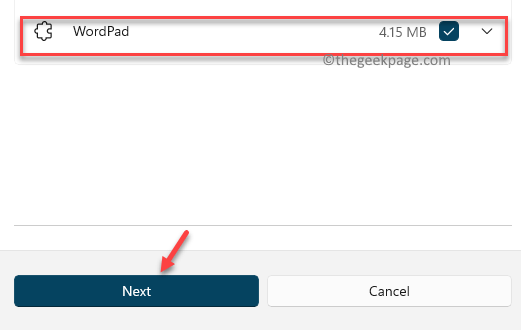
Paso 6: Go to WordPad and check the box next to it.
Click next to proceed.
Paso 7: In the next section, click the Install on pc button at the bottom.
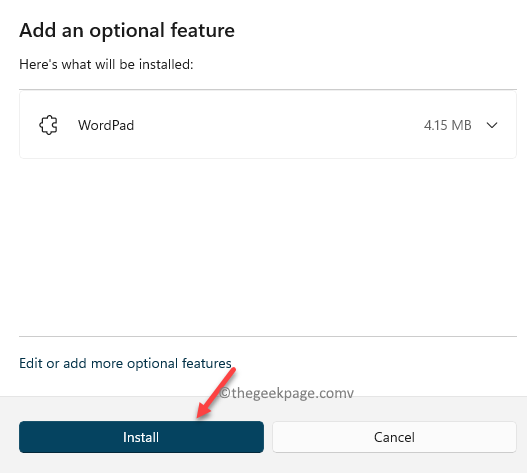
Now, wait for the application to install.
Once completed, close the Settings application and you should now be able to use the WordPad application again.
Related posts:
 How to access Steam games without an internet connection
  How to view FPS with Xbox Game Bar in Windows 10: Steps Made Easy
  Hacked account? How to check and remedy
  How to make video calls from WhatsApp Web
  How to increase the RAM memory of a desktop or laptop + Tips and Tricks
  How to organize your YouTube subscriptions into categories
+ Tips and Tricks
How to organize your YouTube subscriptions into categories
+ Tips and Tricks


