


How to use a Memoji as an Apple ID photo
Using a Memoji as your Apple ID profile photo is fun and gives you the ability to prevent your real face from appearing everywhere. This change in your profile picture is synced across all the devices where you use your Apple ID.
How to use a Memoji as an Apple ID photo on iPhone or iPad
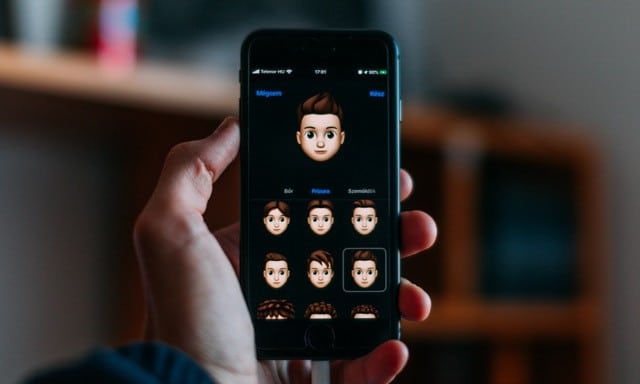
Before you begin, you will need to create a Memoji and Animoji on an iPhone or iPad if you haven’t already. Only then will you be able to use it as your profile picture, your Apple ID.
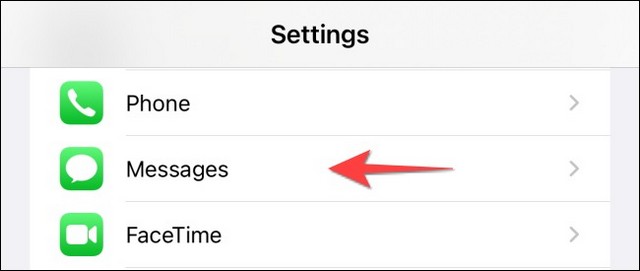
After creating a Memoji, open the “Settings” application on your iPhone or iPad and go to the “Messages” section.
Select “Share name and photo”.

You’ll see your Apple ID profile with an existing photo (if you’ve already shared one). Activate the button for «Share name and photos» if it is deactivated.

Under “Auto share”, select “Contacts only” if you want to automatically share your new photo with your contacts.

Touch “Add Photo.”

In the “Memo” section, select a memo or press “See more” to see more options.

After choosing a Memoji, you can also set your emotion in the Apple ID, so you can choose one of the existing options or create a new one. «Next» after choosing one.

Use the pinch to zoom in on the screen and adjust the size of the Memoji to match the circle.

Tap “Choose” in the lower right corner.

Then select the background color around your Memoji and press “Done”.

Press “Done” again to finalize all changes.

When you see the message “Use this photo everywhere,” select “Use.”

This will set the Memoji as your Apple ID and display it everywhere from the Messages app to the App Store. You can open the “Settings” app and your chosen Memoji will appear as your Apple ID profile picture in the search bar.

Remember, you can also set your Memoji to cover your face during FaceTime meetings.
How to use a Memoji as an Apple ID image on Mac
You can use a Memoji as an Apple ID photo to appear on your Mac’s login screen. For this to work, your Mac must be running the macOS Monterey 12 or higher update.
To get started, press Command + Space to launch Spotlight and type “System Preferences” to open “System and Preferences” on your Mac.
Click on your profile picture in the upper left corner of the “System and Preferences” window.

Select the “Memojis” section. You will see the Memojis you have created and other options.

On the Memoji tab, select a Memoji. Or you can click the plus sign and create a new Memoji from scratch.

Then click on the “Pose” tab to adjust your pose and see the preview in the lower left corner.

Click on the “Style” tab to add a background to the Memoji.

Press the “Save” button to apply all changes.

The Memoji will appear on the lock screen and login screen. It also acts as an Animoji on your Mac’s lock screen and login screen.
conclusion
In this guide, you learned how to use a Memoji as an Apple ID photo. If you have any questions or suggestions, let us know in the comments. Also, check out this guide too if you want to learn how to create a Memoji on iPhone X.
Related posts:
 How to access Steam games without an internet connection
  How to view FPS with Xbox Game Bar in Windows 10: Steps Made Easy
  Hacked account? How to check and remedy
  How to make video calls from WhatsApp Web
  How to increase the RAM memory of a desktop or laptop + Tips and Tricks
  How to organize your YouTube subscriptions into categories
+ Tips and Tricks
How to organize your YouTube subscriptions into categories
+ Tips and Tricks


